Installing Enghouse ARC Enterprise Premium on Windows Server
Originally posted on March 20, 2022 @ 11:51 am
Installing Enghouse ARC Enterprise Premium on Windows Server
Have you tried installing Enghouse ARC on Windows Machine? The installation is quite easy and simple. I would walk you through the installation of ARC Software on a Windows machine. The detailed configuration would be in next article.
Pre-Requisite:
- Windows Server
- SQL Application to be installed beforehand
Let’s begin with the installation:
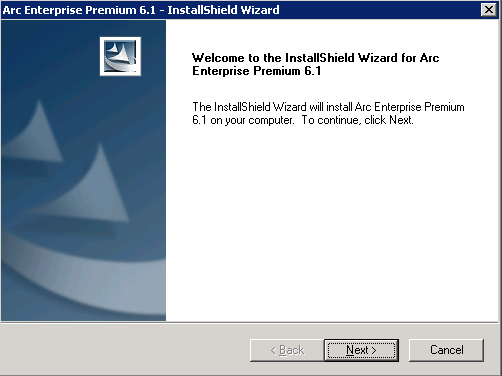
Click on Next
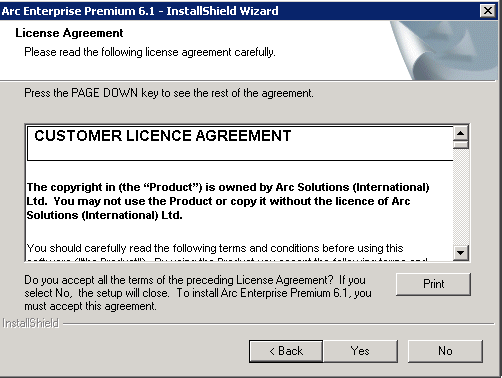
Click on Yes
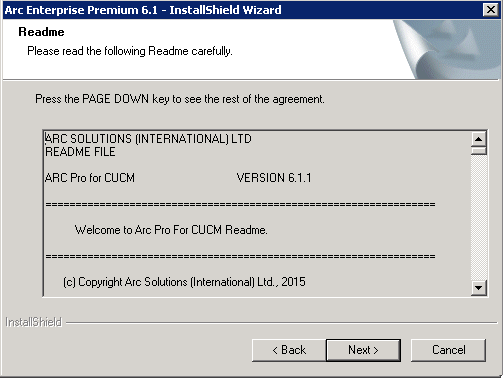
Click on Next
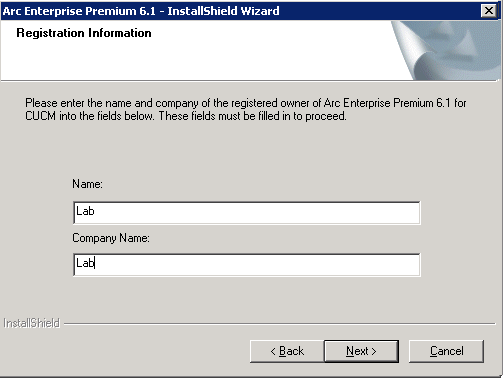
Enter Name and Company Name
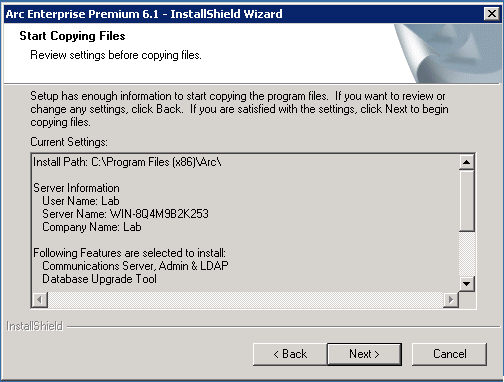
Click on Next
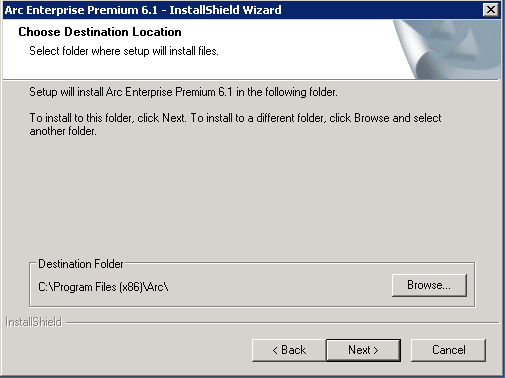
Choose Destination Folder and Click on Next

Radio Check on Custom and Click on Next
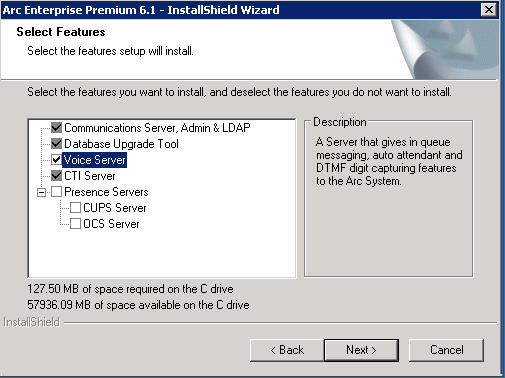
Check Mark Voice Server and Click on Next
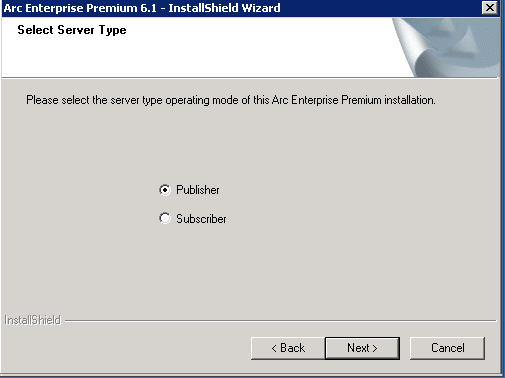
Radio Check Publisher and Click on Next
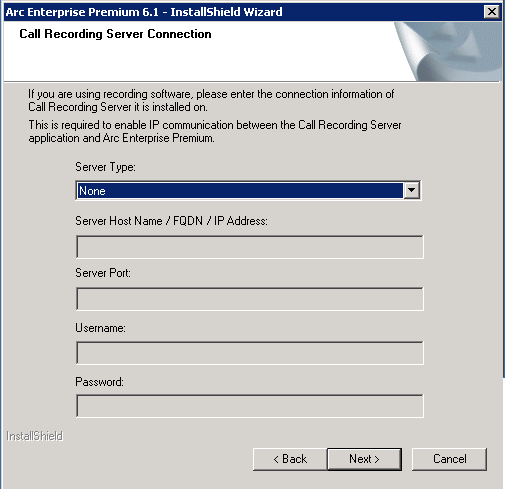
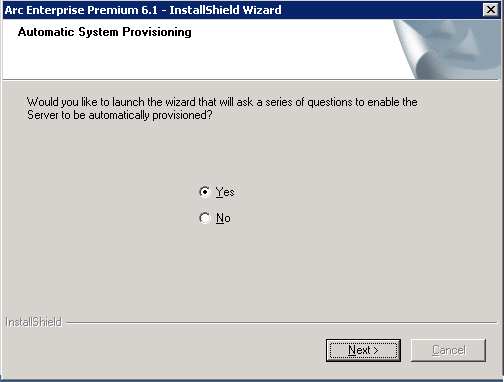
Server Type > Select None and Click on Next
![]()
Check Box “Add Icon(s) To desktop” and click on Next
Click on Next
Radio Check No and Click on Next
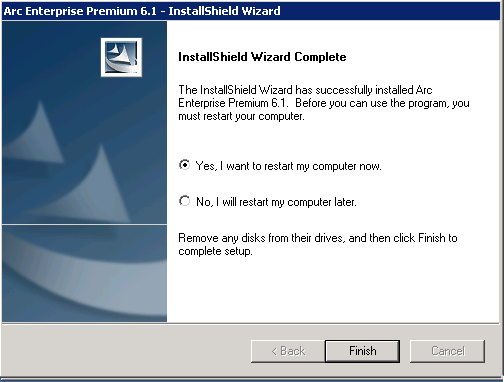
Radio Check “Yes, i want to restart my computer now” and click on Next
Installing TSP Driver:
Next step would be downloading the TSP Driver from your Cisco Unified Communication Manager and install it.
- Login to Cisco Unified Communications Manager
- Go to Application > Plugin > Click on Find
- Download TAPI Driver from CUCM
Launch CiscoTSP on your Windows Machine
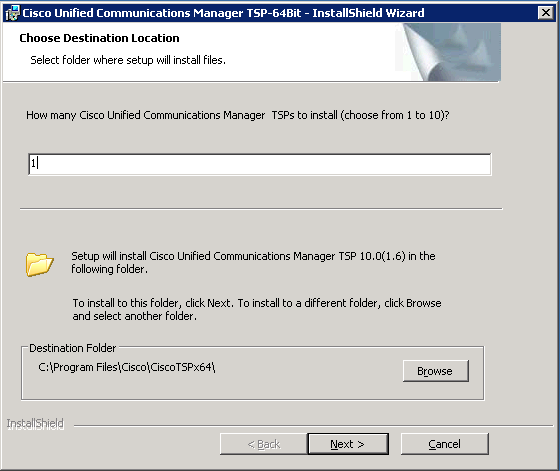
Click on Next
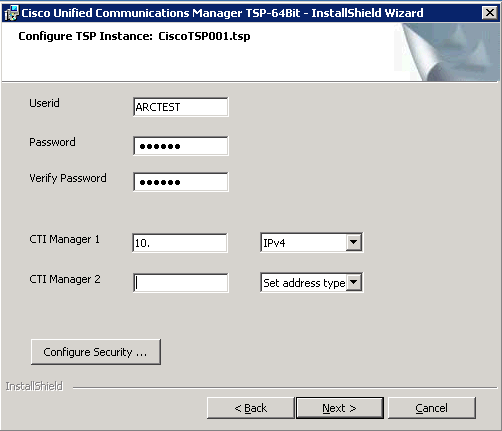
Enter User ID, Password, CTI Manager IP Address
Click on Next
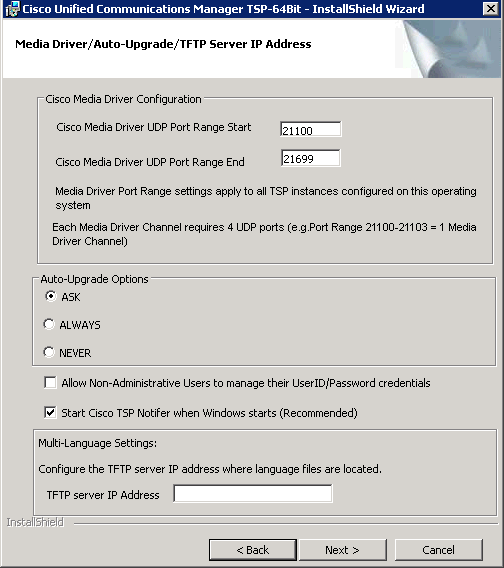
Click on Next
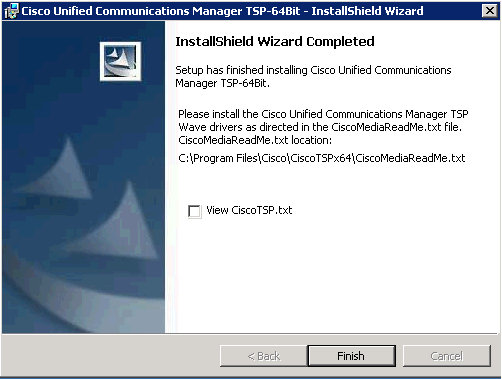
Click on Finish
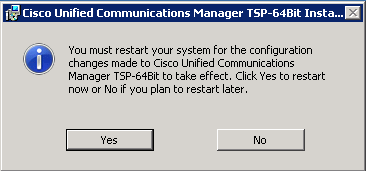
Click on Yes
………………..
That’s all, you are done with the installation. Next step is to begin with the ARC Server Configuration which will be published in the next article.
Hope this helps!

I am working in an IT company and having 10+ years of experience into Cisco IP Telephony and Contact Center. I have worked on products like CUCM, CUC, UCCX, CME/CUE, IM&P, Voice Gateways, VG224, Gatekeepers, Attendant Console, Expressway, Mediasense, Asterisk, Microsoft Teams, Zoom etc. I am not an expert but i keep exploring whenever and wherever i can and share whatever i know. You can visit my LinkedIn profile by clicking on the icon below.
“Everyone you will ever meet knows something you don’t.” ― Bill Nye