In our last post, we understood the installation and configuration process of VoIP Detective. In this article, we will see the results.
For testing purpose, i made few calls to ensure that the CDR records are getting imported and the reports are getting generated. The test call sample would include some successful calls and unsuccessful calls to ensure that we see all sort of calls in the CDR report.
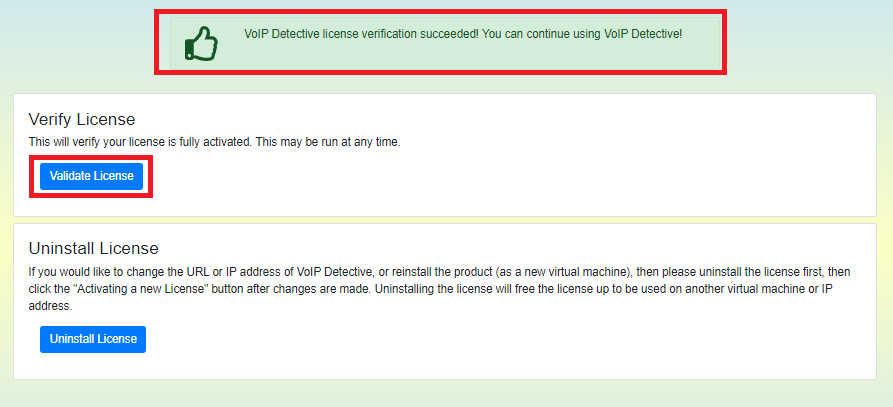
Validating License Activation
First and the foremost is to validate if License is successfully activated and working. To validate, follow the below steps:
Navigate to Administration > Licensing > Click on Validate License
Is CDR are getting imported?
The next step is to validate if the CDRs are getting imported every minute (for PRO license users) and every hours (for free license users). To validate this, follow the below steps:
Navigate to Administration > Logs
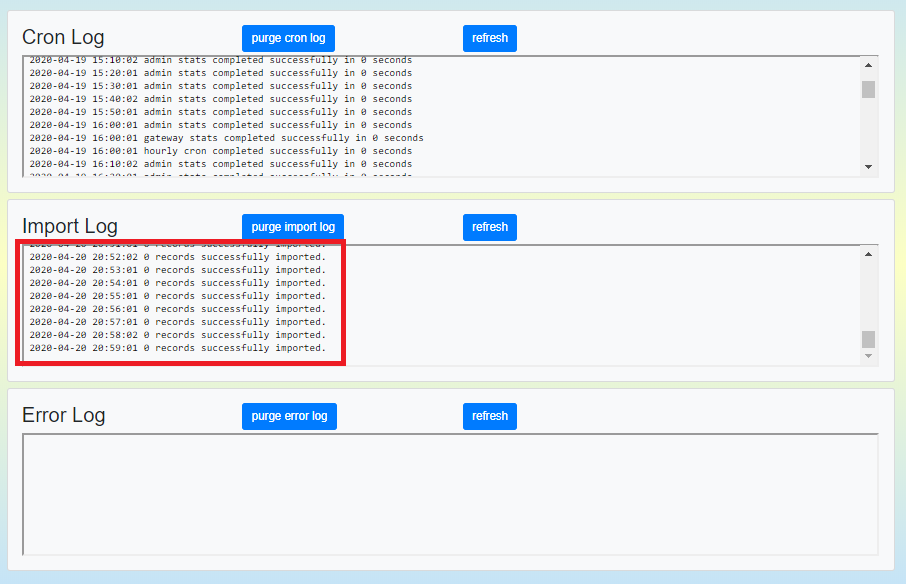
If you see the above section “Import Log“, the records are imported every minute. There are no error seen.
Dashboard
It’s time to validate the Dashboard and see if the records are getting updated or not. Just click on Administration and the dashboard will be shown.
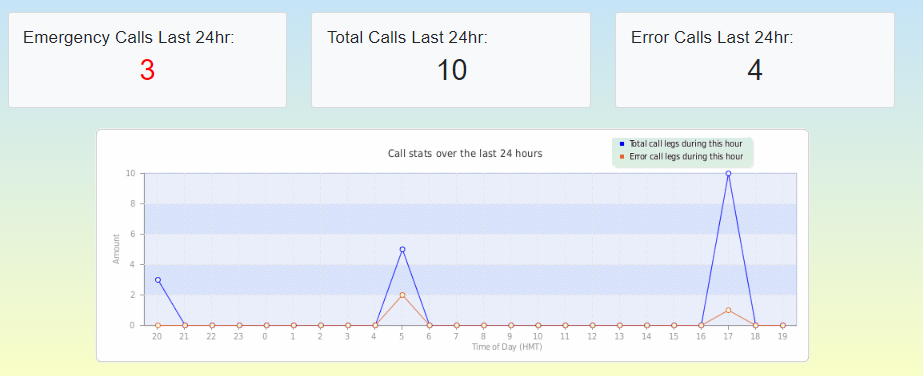
If you see the Dashboard there are 3 Emergency calls made in last 24 hours (highlighted in RED), and a total number of calls made is 10 in last 24 hours (this includes emergency calls and successful calls but not error calls) and 4 error calls made in last 24 hours.
Track Calls – Admin Search
It’s time to see the number of calls recorded by VoIP Detective tool. To do so, you can follow the below:
Navigate to Track Calls > Expand Admin Search

There are various number of filters available such as:
Filter by local calls, filter by long distance calls, filter calls by voicemail, source ip, destination ip, specific gateway. specific number etc. which is a good option available to filter our the call you wish to see along with a specific date. In our query, we will filter all calls for Today’s date.
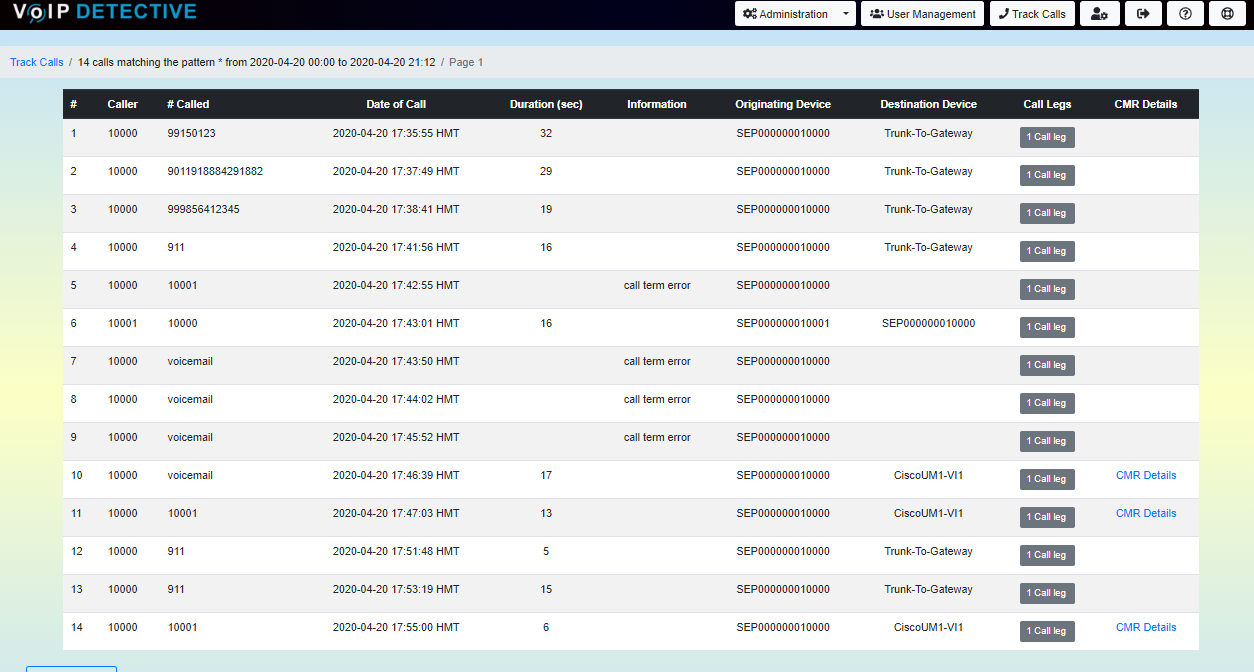
If you see above image, there are 14 calls seen in the report.
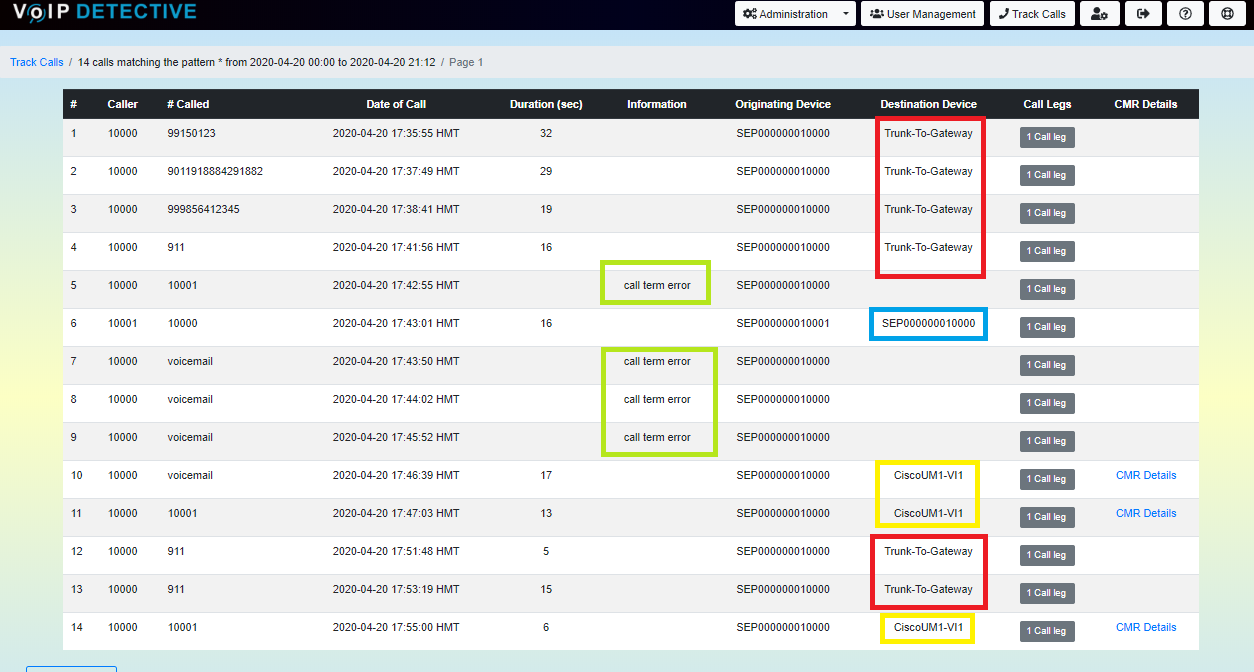
- The one highlighted in RED are the one which were Local/Long Distance/International Calls passed through the Voice Gateway
- The one highlighted in BLUE is the one which was made from an IP Phone to another IP Phone.
- The one highlighted in GREEN are the one which resulted in error.
- The one highlighted in YELLOW are the one which went to Cisco Unity Connection (Voice mail server)
Call Leg
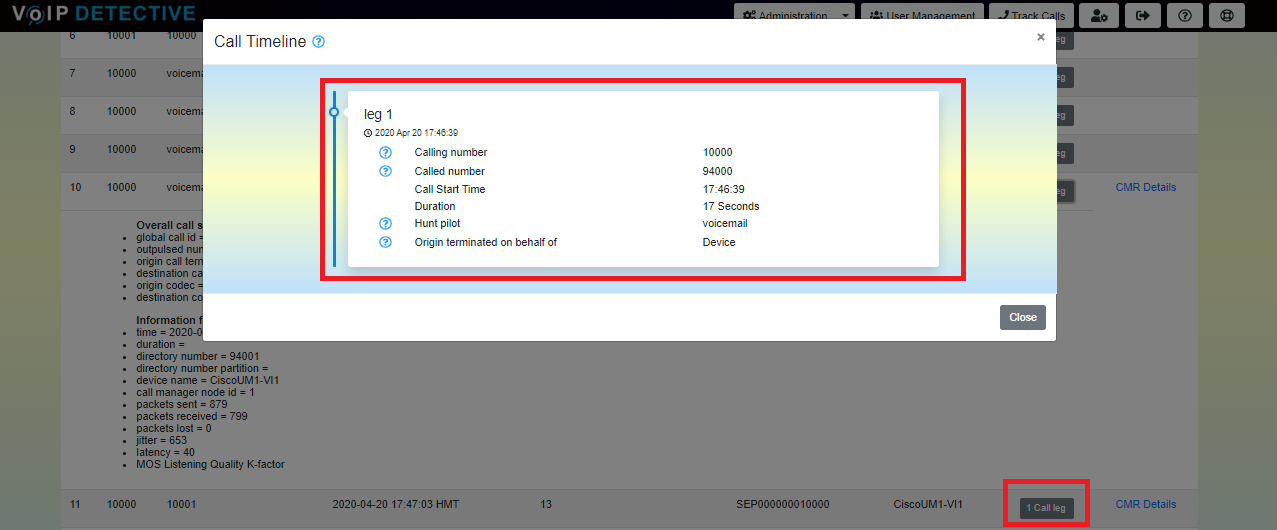
There is an option available on all the calls made i.e., “Call Leg“. If you click on that button, it will display you the call leg information.
CMR Details
There is another option available on specific calls i.e., “CMR Details” which will give you important information such as Origin/Destination Codec, Packets Sent, Packets Received, Packets Lost, Jitter, Latency and MOS value.

Export the Report to Excel
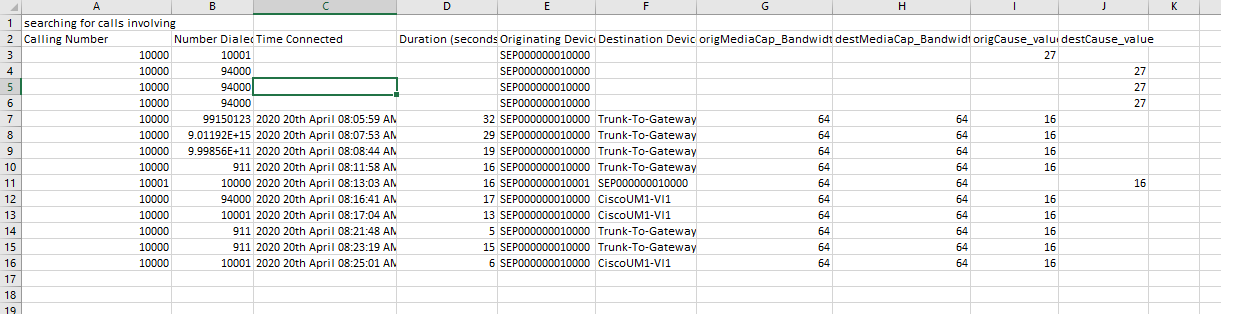
You can export the CDR Report to an Excel format. At the bottom of the page, you will find an option to “Export to Excel“. Click on that option to download the report. The downloaded report will look as follow:
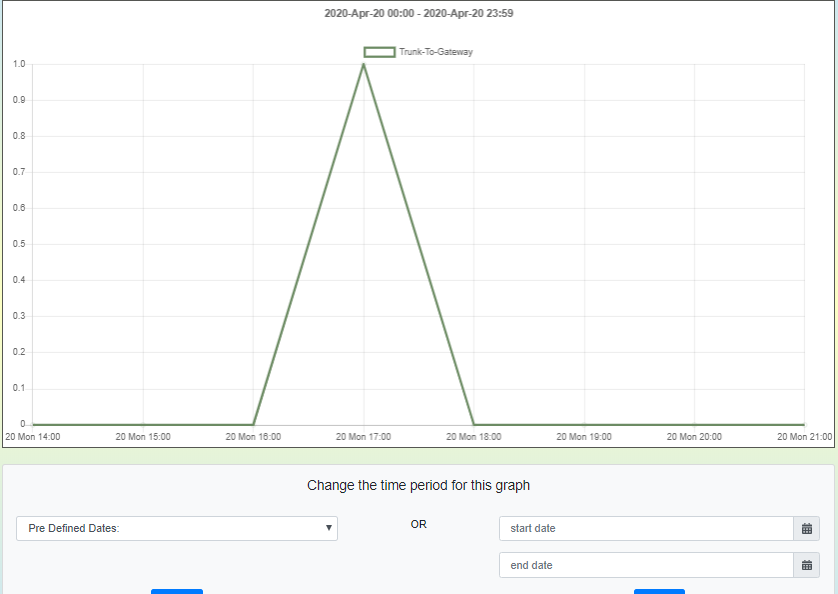
Gateway Utilization
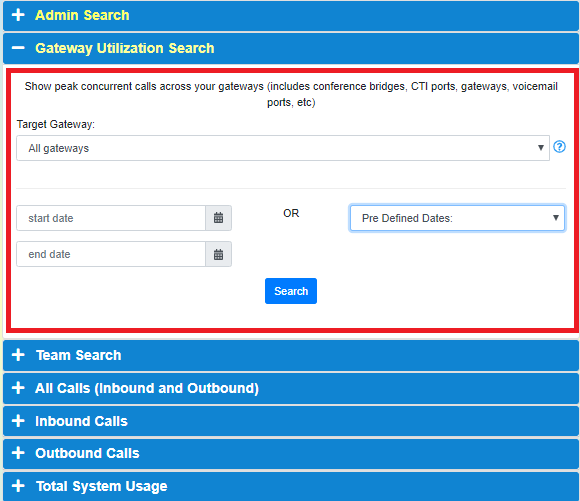
If you wish to know how much your trunks (gateway/voicemail/conference bridges/CTI ports etc) were utilized at any point of time, you can find the usage with an ease.
Navigate to Track Calls > Gateway Utilization Search > Select the target gateway along with date.
There are many other options available such as Team Search, All Calls (Inbound and Outbound), Inbound calls, Outbound calls and Total System Usage.
Last but not the least, i would like to take you through Total System Usage which is a very helpful summarized report of the calls made.
Navigate to Track Calls > Expand Total System Usage
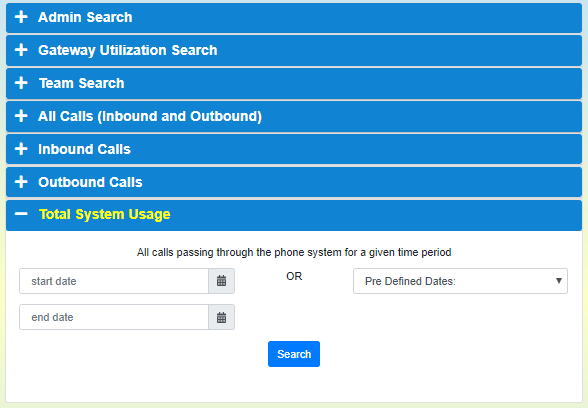
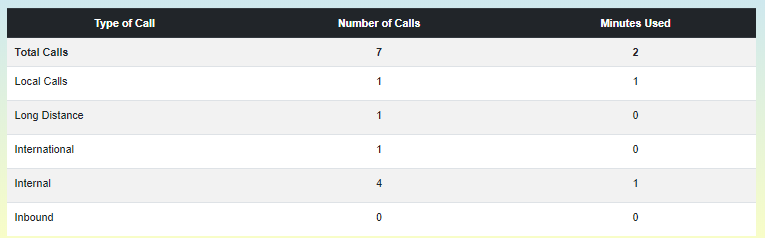
You can filter out with a customized date and click on Search and here is how the summarized report looks like.
Emergency call alerts on Email
When you dial 911 or any emergency number, the Admins would like to be well aware of the situation that there is some emergency. I implemented the same almost 8-9 years back using UCCX, click here to read the article. So, VoIPDetective have this awesome functionality where they have an option to configure email-address (who should be notified when emergency numbers are dialed). To make this work, you need to make sure that the SMTP is configured and working and you put appropriate email address so that the emails can be triggered.
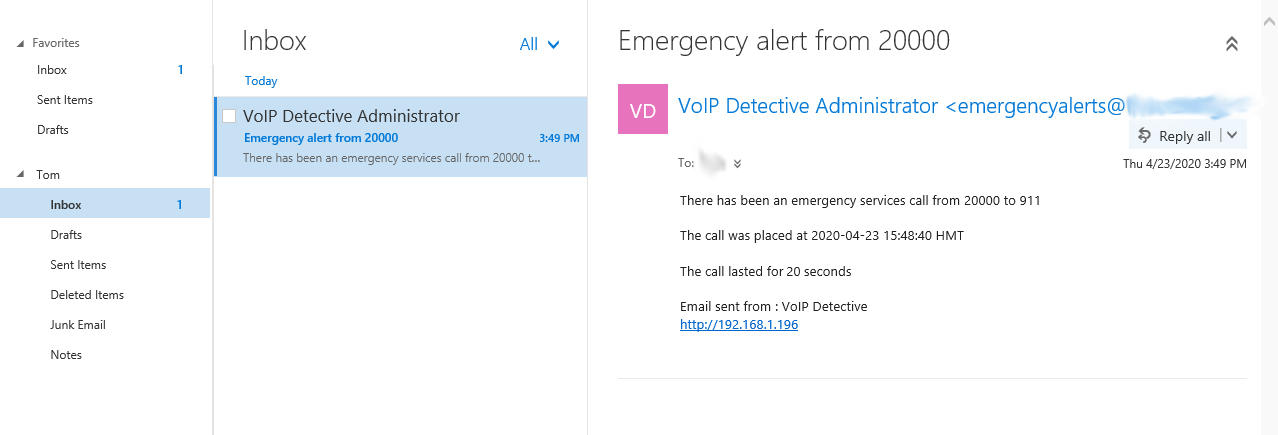
In our testing, i dialed 911 and I immediately received an email notification stating who dialed the emergency number and at what time.
To validate the configuration:
Navigate to Administration > Configuration >
This is how my configuration looks like:

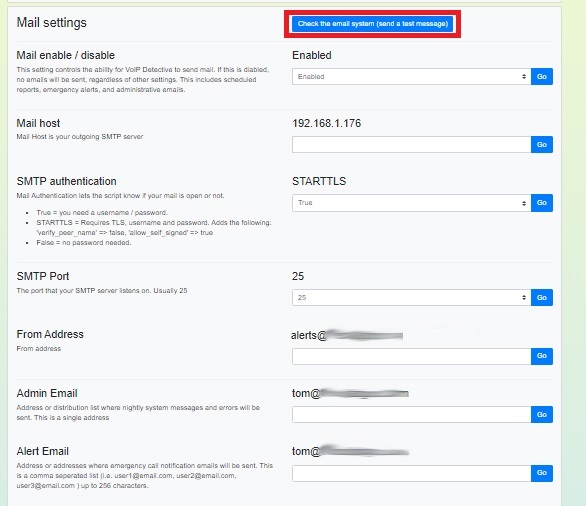
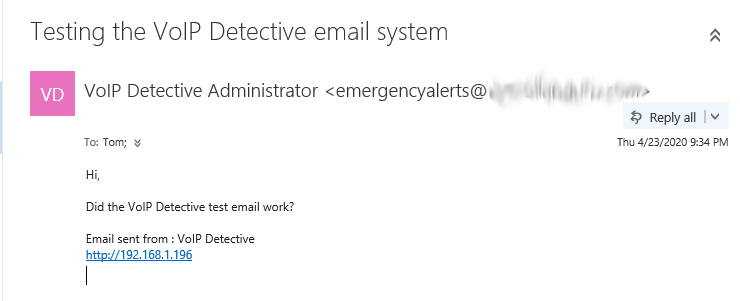
Make sure to you test the SMTP by clicking on “Check the email system (send a test message)” to know if the SMTP is working or not. I am using Exchange 2016 as a mail server. (See below test message from VoIPDetective).
See below emergency alert received when someone dialed 911.
Still there are many options available in the tool which i have not explored such as automatically send scheduled daily/weekly/monthly reports over an email, number lookup service etc.
I hope this detailed analysis of the tool helps you to understand more about the tool and it’s usage.

I am working in an IT company and having 10+ years of experience into Cisco IP Telephony and Contact Center. I have worked on products like CUCM, CUC, UCCX, CME/CUE, IM&P, Voice Gateways, VG224, Gatekeepers, Attendant Console, Expressway, Mediasense, Asterisk, Microsoft Teams, Zoom etc. I am not an expert but i keep exploring whenever and wherever i can and share whatever i know. You can visit my LinkedIn profile by clicking on the icon below.
“Everyone you will ever meet knows something you don’t.” ― Bill Nye

Pingback: How to Install and Configure VoIP Detective