Step by Step IM & Presence Configuration
Are you looking to configure IM & Presence step by step? Do not worry, here are the steps that would help you to configure IMP from scratch. Assuming that you have already installed IM & Presence.
Activating IM & Presence Services
- Login to IM & Presence Serviceability
- Go to Tools > Service Activation
- Under Server > Select your IM & Presence server from drop down menu
- Check Mark > Check all services
- Click on Save
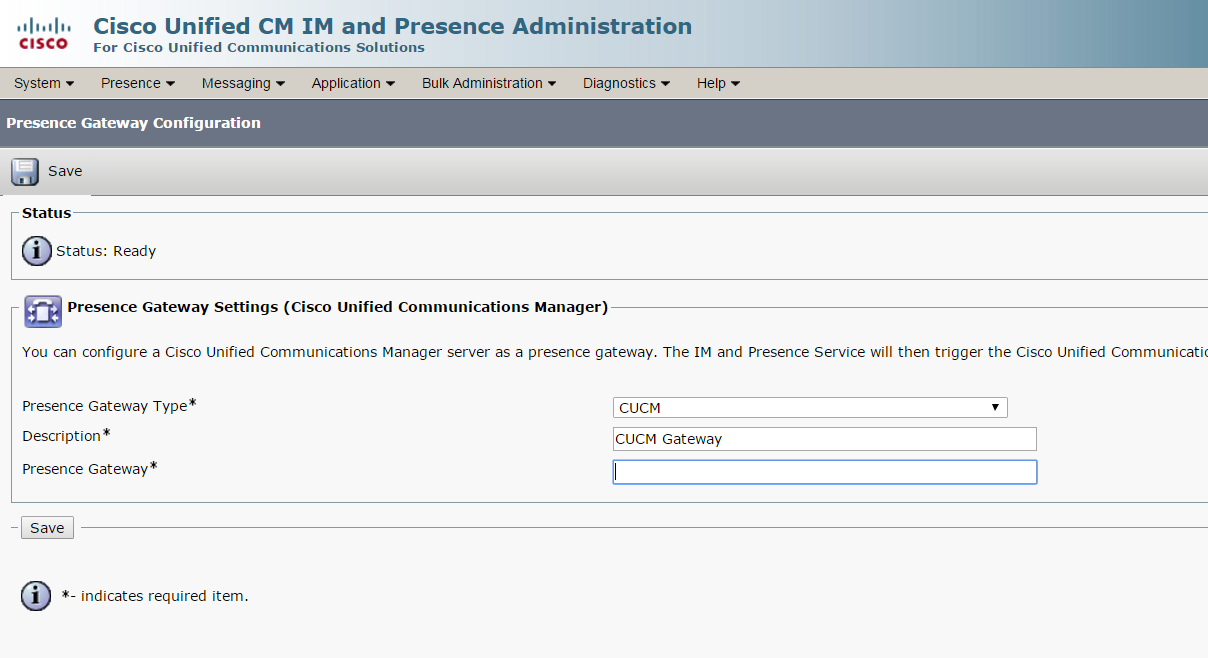
Presence Gateway Configuration – (This will publish phone presence info like on hook or off hook)
- Login to IM & Presence Administration Page
- Go to Presence > Gateway > Click on Add New
- Presence Gateway Type > Select CUCM from drop down
- Description > Enter a small description
- Presence Gateway > Enter the IP Address of CUCM
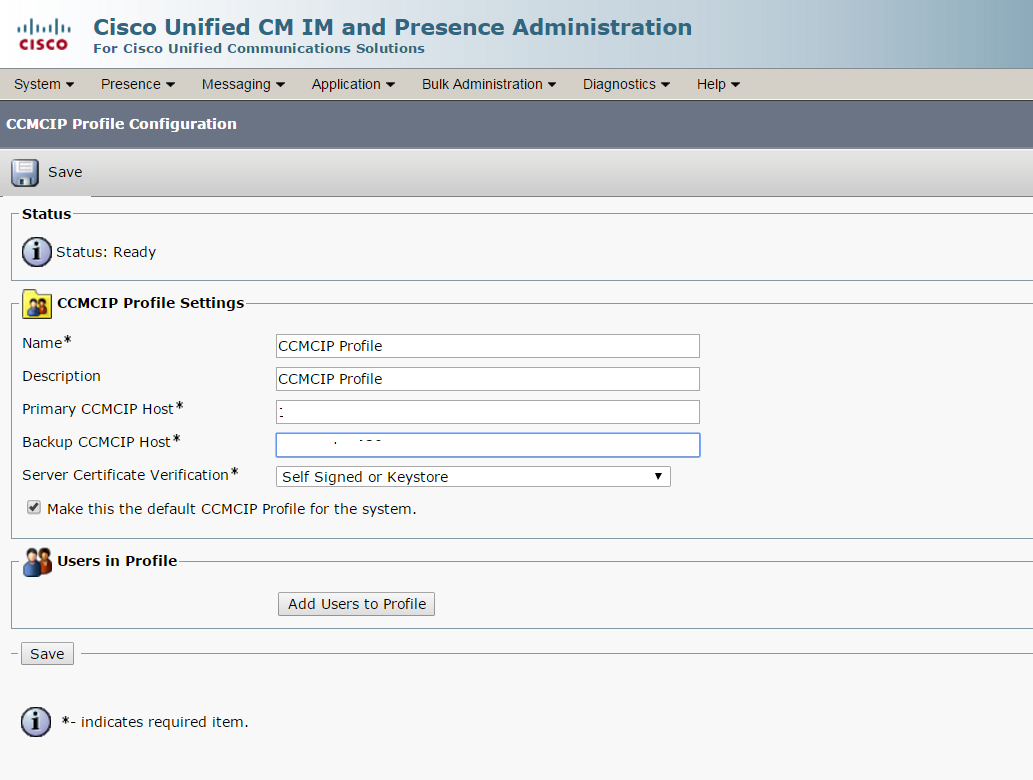
Configure Cisco CCM CIP Profile
- Go to Application > Legacy Client > CCMCIP Profiles > Click on Add New
- Name > Enter a Name
- Description > Enter a Description
- Primary CCMCIP Host > Enter Primary CUCM IP Address
- Check Mark > Make this the default CCMCIP Profile for the system.
- Click on Save
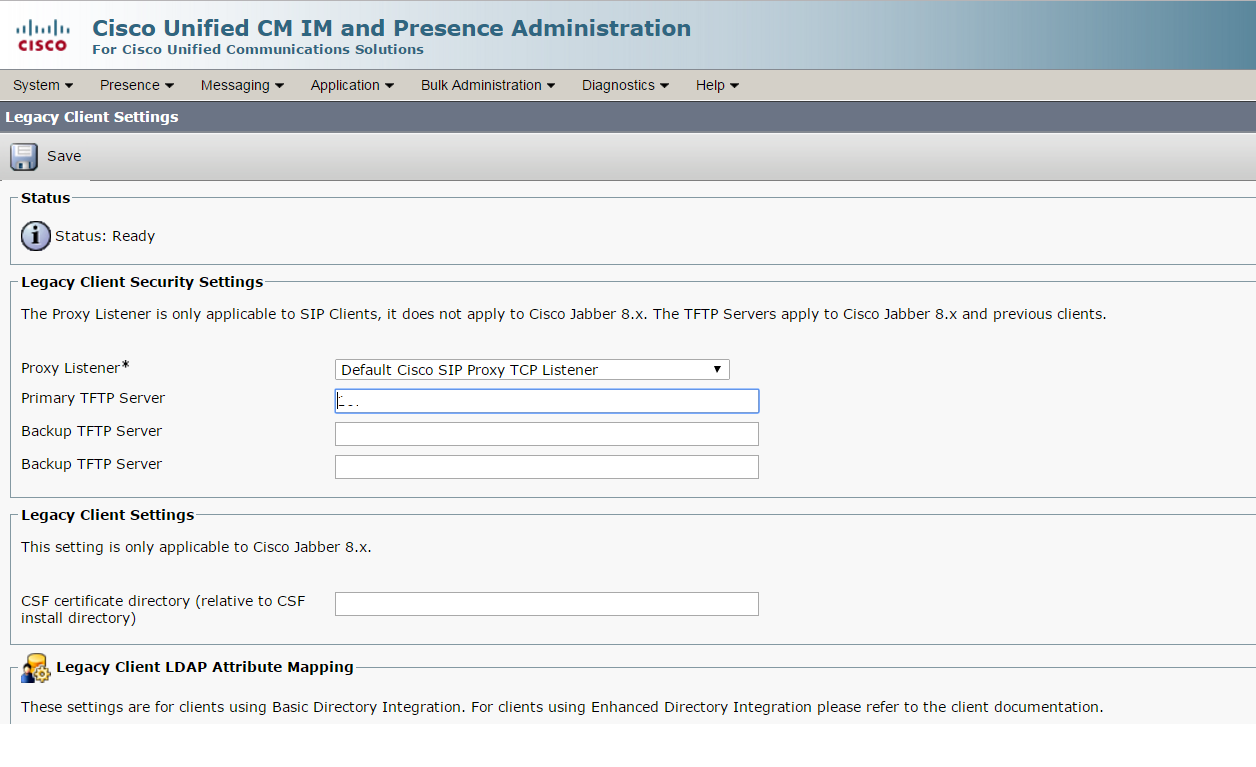
Configure Legacy Clients Settings
Go to Application > Legacy Clients > Settins
- Primary TFTP Server > Enter your primary TFTP Server
- Backup TFTP Server > Enter your backup TFTP Server
- Click on Save
Click on Next Page to see the final part of IM & Presence configuration

I am working in an IT company and having 10+ years of experience into Cisco IP Telephony and Contact Center. I have worked on products like CUCM, CUC, UCCX, CME/CUE, IM&P, Voice Gateways, VG224, Gatekeepers, Attendant Console, Expressway, Mediasense, Asterisk, Microsoft Teams, Zoom etc. I am not an expert but i keep exploring whenever and wherever i can and share whatever i know. You can visit my LinkedIn profile by clicking on the icon below.
“Everyone you will ever meet knows something you don’t.” ― Bill Nye
Pages: 1 2

I am working in an IT company and having 10+ years of experience into Cisco IP Telephony and Contact Center. I have worked on products like CUCM, CUC, UCCX, CME/CUE, IM&P, Voice Gateways, VG224, Gatekeepers, Attendant Console, Expressway, Mediasense, Asterisk, Microsoft Teams, Zoom etc. I am not an expert but i keep exploring whenever and wherever i can and share whatever i know. You can visit my LinkedIn profile by clicking on the icon below.
“Everyone you will ever meet knows something you don’t.” ― Bill Nye

Pingback: Installation & Configuration of MRA Expressway C & E
thanks for all you do. much appreciate.
i have issue to deploy presence server. when i launch jabber, after putting password jabber cannot communicate with server.
What if your “userpriclename” is 123456789121002@mil and when you pull the user up, is says this IM Scheme is 123456789121002@mil@default domain? I cannot change my userprinclename settings, is there a way to strip the @mil and make the IP Scheme 123456789121002@defaultdomain?
Hello, this page with these blogs seems excellent to me, I hope they continue to make more content,
Regarding the issue of jabber when you enter the user as you show it in images, only the support user in my case tells me the wrong format, use [email protected], you can upload the configuration that is done with the Domains.
Dear Friend,
Although your contents are very informative and useful, I need help in two things…
How I creat a Jabber profile for an existing user added through Device Profile.
How do I change the Mac address of an existing user’s phone.
Sorry I am new to CUCM.
Thanks in advance,