Converting LDAP to Secure LDAP (LDAPS) for your CUCM/CUC
Lightweight Directory Application Protocol (LDAP) and Secure LDAP (LDAPS) is a protocol that is used between the application and network directory/domain controller in an infrastructure. LDAP transmits communication in clear text whereas LDAPS communication is encrypted and secure. LDAP over SSL requires certificate to verify the source and destination of the request and confirm the identity of the machine before it is allowed to read the information.
In order to convert your LDAP to Secure LDAPS, you would need the certificate from your Domain Controller server. There are various ways to get the certificate.
- Ask your DC admin to provide your the certificate from the Domain Controller.
- You can use openSSL tool in order to get the certificate without DC team’s intervention.
- You can make use of LDAPAdmin tool (third party tool) to get the certificate by using Wireshark.
Sometimes it is difficult and cumbersome process to get the certificate from the DC team as they have many questions in place to be satisfied before they issue you the certificate. In order to avoid such situations, you can make use of option 2 and 3.
Option 2: Use OpenSSL tool in order to get the certificate
- Download OpenSSL on your windows machine and install it.
- Open Command Prompt and go navigate to a location where you would like to store the certificate.
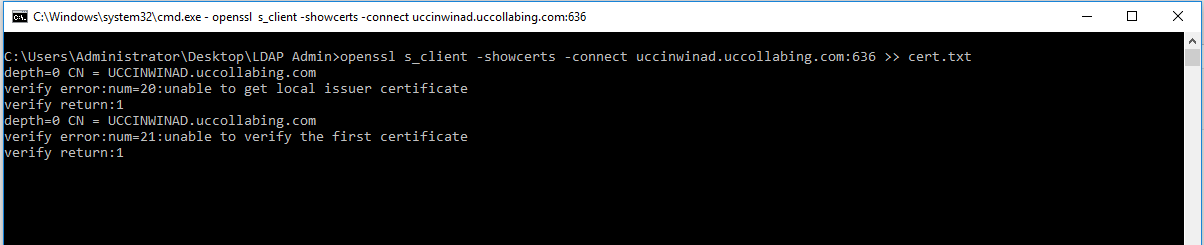
- Enter the following command in order to get the certificate.
openssl s_client -showcerts -connect <IP Address or FQDN of your DC>:636 >> cert.txt
Note: Replace <IP Address or FQDN of your DC> with your Domain Controller IP Address or FQDN.
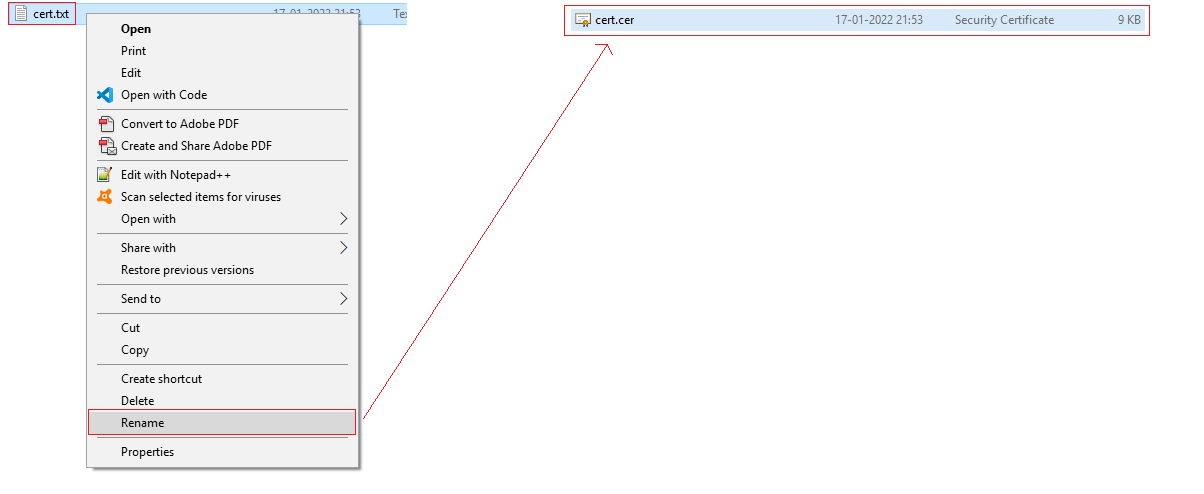
- Close the command prompt.
- Go to the folder where you stored the certificate (path that you selected on your command prompt while executing the command) and rename the file from cert.txt to cert.cer
Option 3: Use LDAPAdmin tool and Wireshark tool to download the certificate
- Download LDAP Admin tool from the website http://www.ldapadmin.org/download/ldapadmin.html
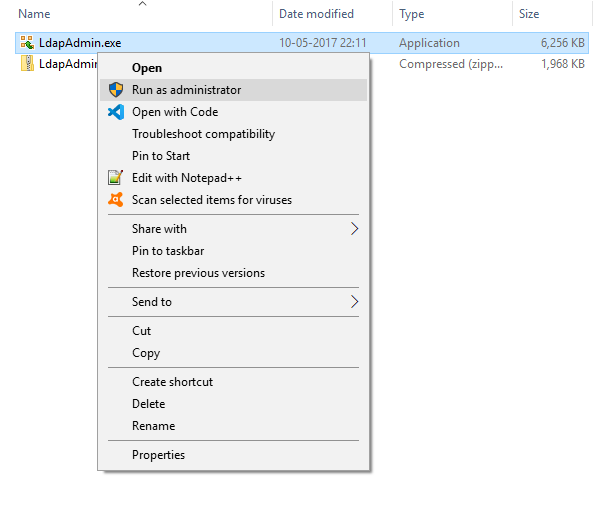
- Extract the file and launch the file (Run the file as Administrator).
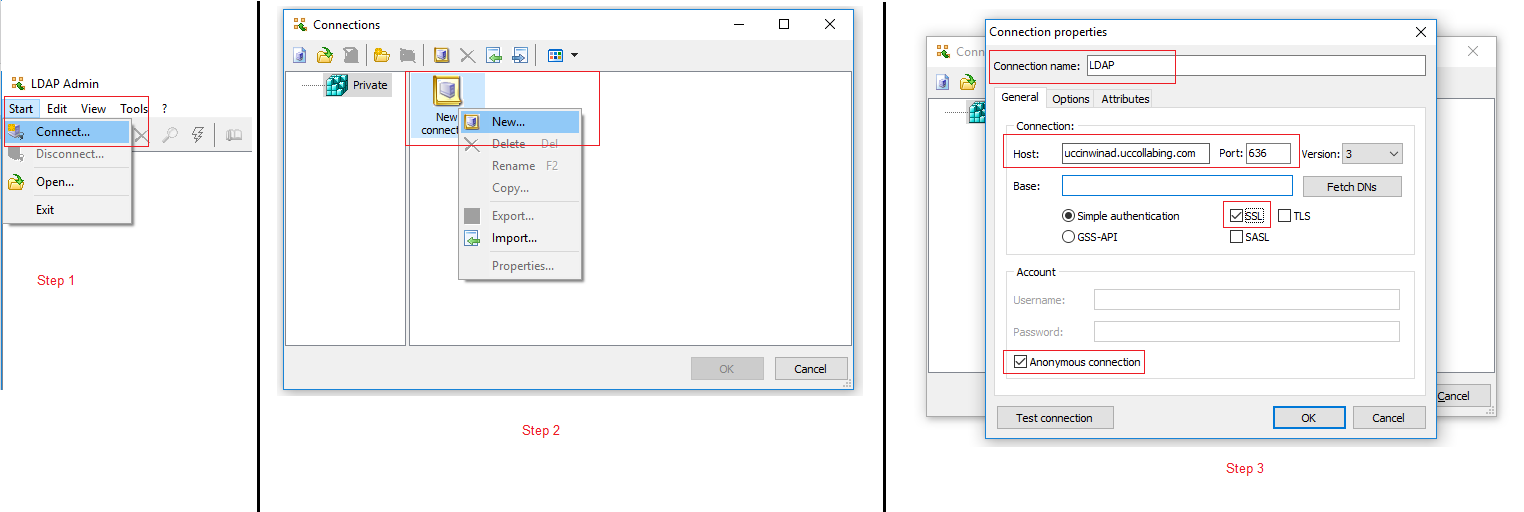
- Click on Start > Click on Connect
- Right click on New Connection > Click on New >
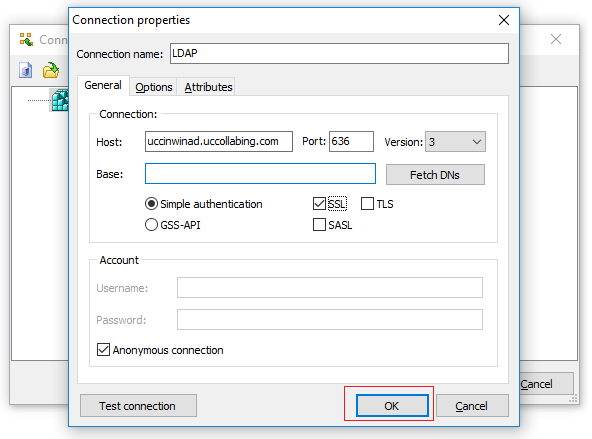
- Enter the Connection Name
- Enter the Hostname of the Domain Controller server >
- Enter the Port as 636
- Checkbox SSL
- Checkbox Anonymous connection
- DO NOT CLICK ON OK
- Launch Wireshark and select the Interface on which the network is connected and you are accessing CUCM/Domain Controller server access etc.
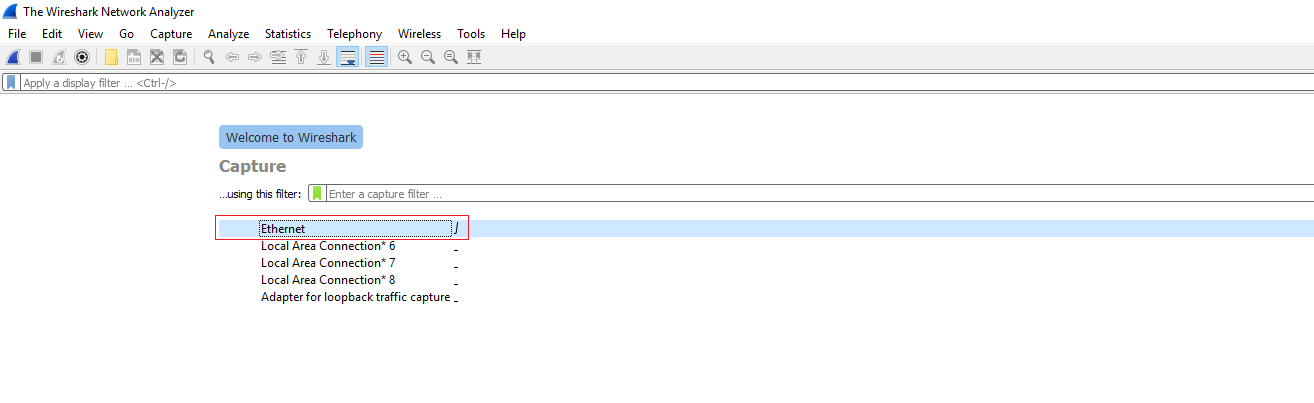
- The packet will automatically start capturing.
- Now go back to LDAPAdmin tool and click on OK
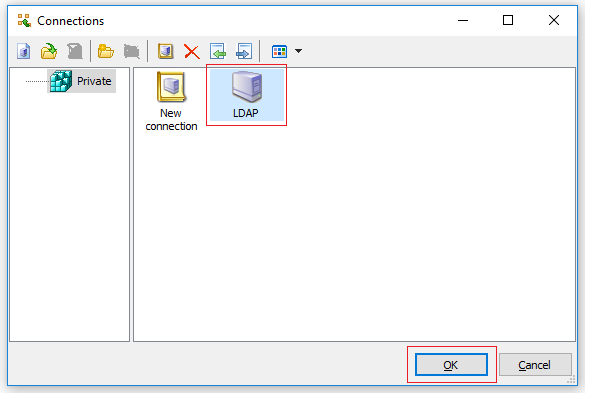
- Select the LDAP Connection name you created and click on OK again.
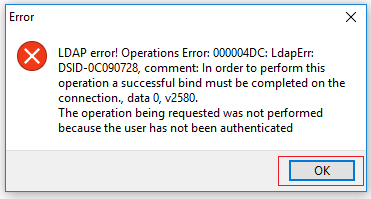
- You will receive a warning : Issue certificate not found. Click on Yes
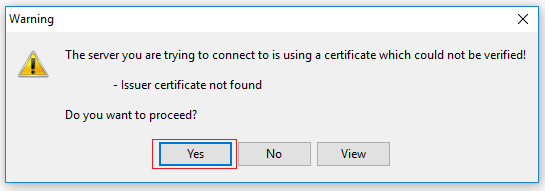
- You will receive an error message, just click on OK again.
- Go back to Wireshark and Stop the packet capture.

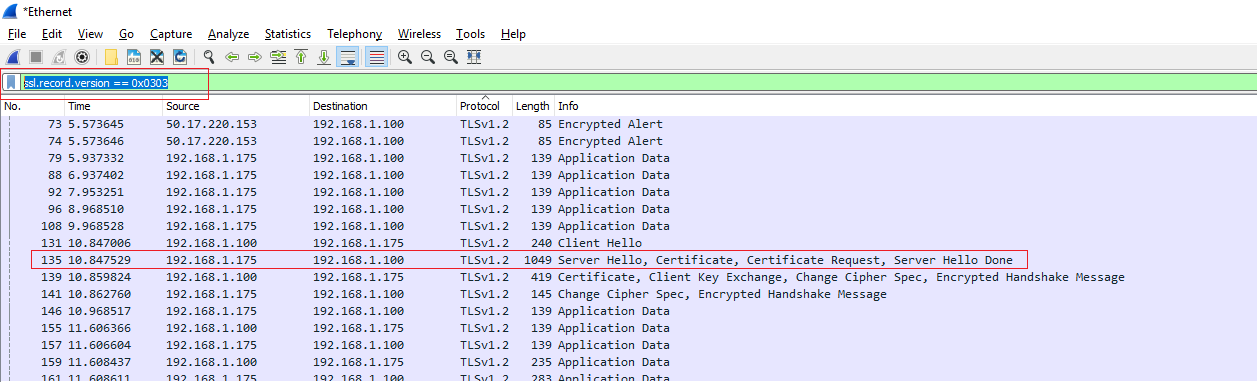
- In the filter section, enter “ssl.record.version == 0x0303” without quotes and then click on “Server Hello, Certificate, Certificate Request, Server Hello Done“
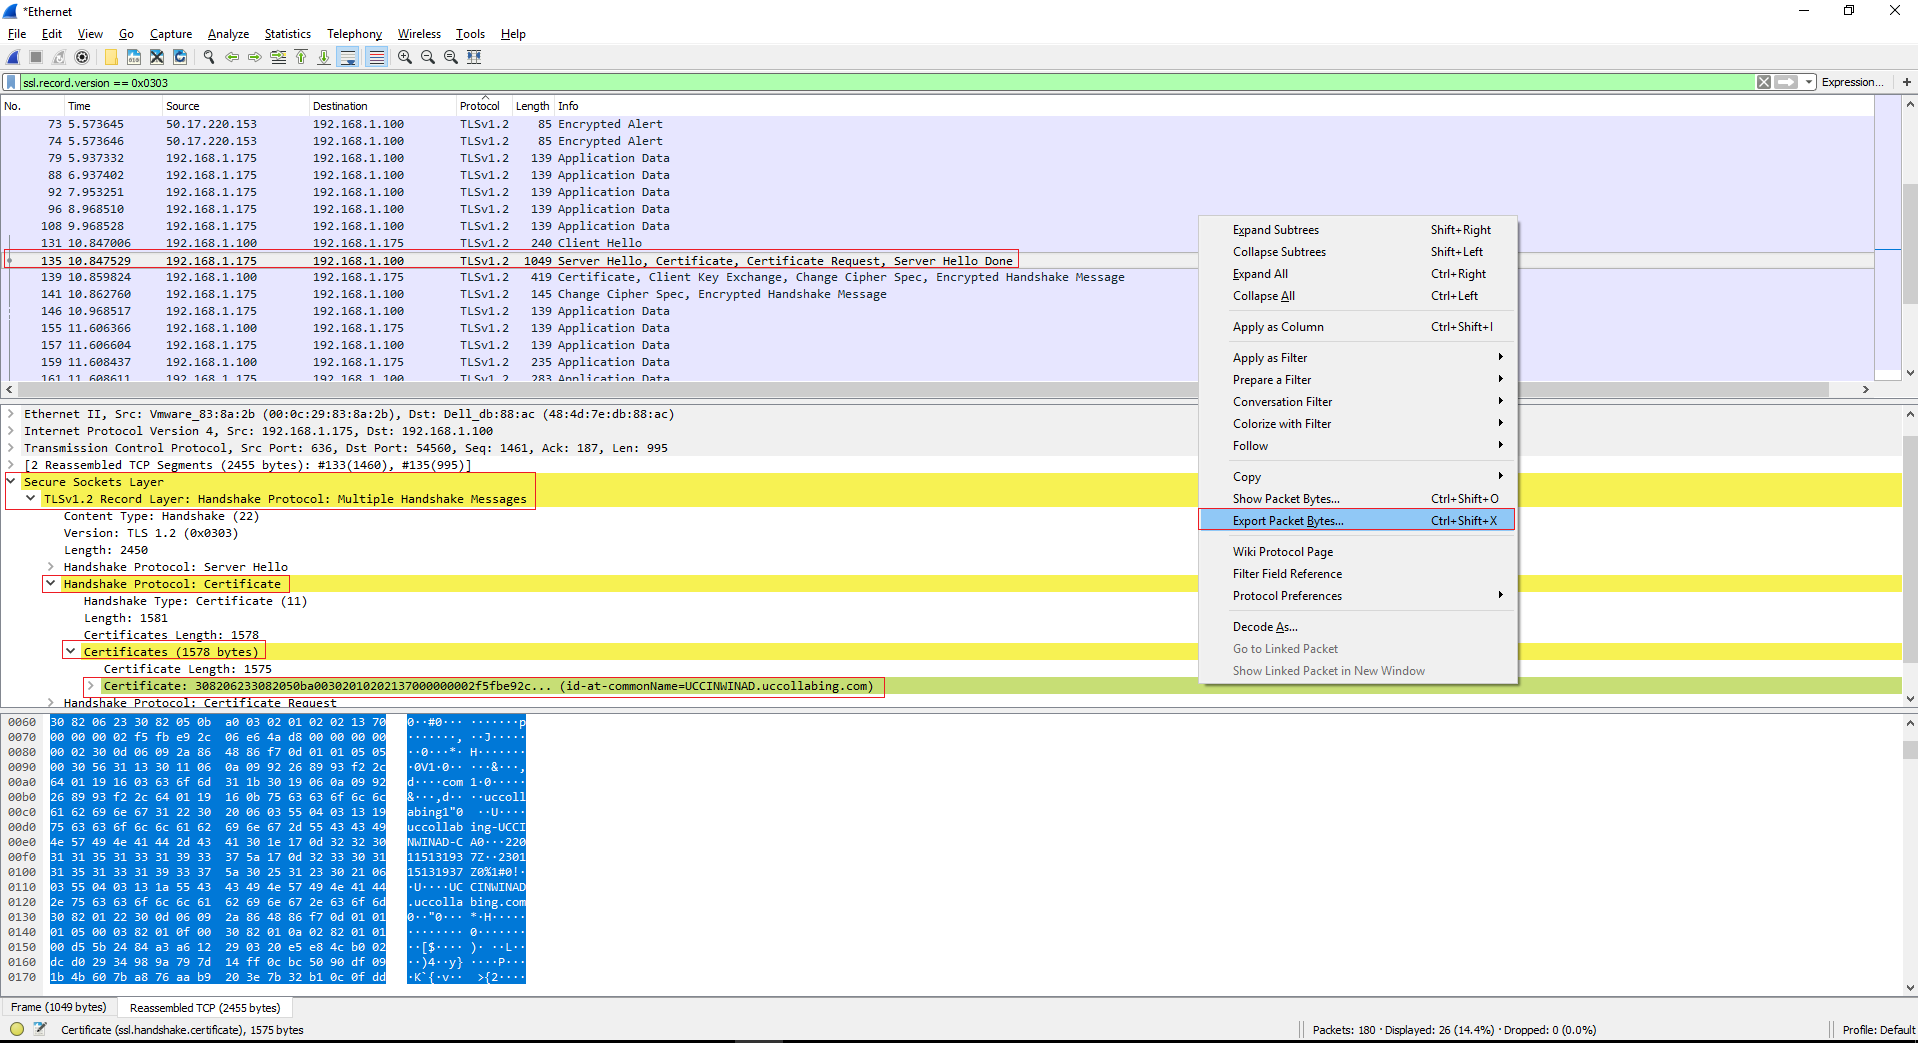
- On the below pane, expand as shown in the below diagram and right click on “Certificate: 308206233082050ba00302010202137000000002f5fbe92c… (id-at-commonName=UCCINWINAD.uccollabing.com)” and click on Export Packet Bytes
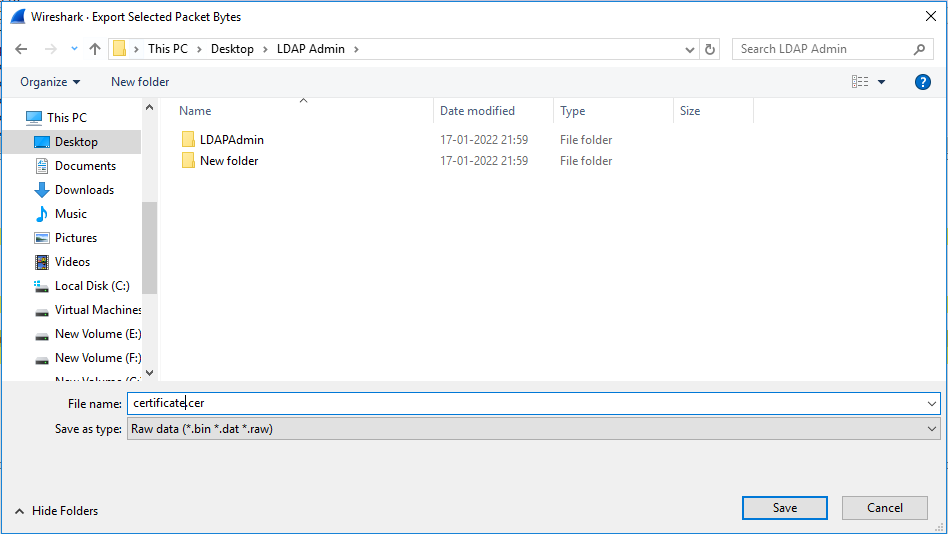
- Save the file as certificate.cer
Upload the downloaded certificate into Cisco Call Manager
- Login to Cisco Unified Communications Manager Platform Administrator.
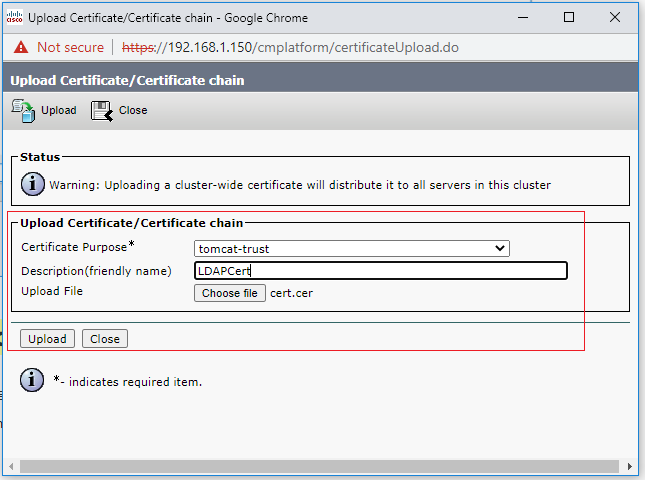
- Navigate to Security > Certificate Management > Click on Upload Certificate/Certificate Chain
- Certificate Purpose > Choose Tomcat-Trust
- Description > Give a name
- Choose the downloaded certificate (any one of them used in option 2 or option 3).
- Click on Upload
- Restart Cisco Tomcat on all your server (Publisher/Subscribers)
- Once the service is restarted, navigate to CUCM Administration
- Navigate to System > LDAP > LDAP Directory
- Select the LDAP Directory that is being used
- Go to LDAP Server Information >
- Change the LDAP port to 636
- Checkbox Use SSL
- Click on Save

- Once you save this, you should not encounter any error. If any error is received, you would need to see the reason and troubleshoot further.
- Navigate to System > LDAP > LDAP Authentication
- Change the LDAP port to 636
- Checkbox SSL
- Click on Save
Video tutorial on converting your LDAP to LDAPS for your CUCM

I am working in an IT company and having 10+ years of experience into Cisco IP Telephony and Contact Center. I have worked on products like CUCM, CUC, UCCX, CME/CUE, IM&P, Voice Gateways, VG224, Gatekeepers, Attendant Console, Expressway, Mediasense, Asterisk, Microsoft Teams, Zoom etc. I am not an expert but i keep exploring whenever and wherever i can and share whatever i know. You can visit my LinkedIn profile by clicking on the icon below.
“Everyone you will ever meet knows something you don’t.” ― Bill Nye
