Cisco IPMA – (Manager-Asssitant) – Shared Mode
What is IPMA (IP Manager Assistant) – IPMA feature, is provided in a manager / assistant provides call-routing capabilities in an environment to work together more effectively with enhanced sub-features.
Cisco IPMA has two modes – Shared Line & Proxy Line mode. In the below topic, we will cover the configuration related to shared line.
***Note :- I have never tested this in Real Time Environment but however i suspect this to be working as expected. If you find the configuration or my understanding to be incorrect, please do not hesitate to post me which would be helpful for me to rectify my post and configuration which would help others.***
(Let’s configure Manager’s Primary Extension as 81012000 and Shared Extension is 81012001, assistant’s Primary Extension 81012002 and shared extension 81012001)
Configuration: –
1. Ensure that Cisco IP Manager Assistant Service is enabled/activated in Cisco Unified Serviceability Activation Page.
2. Ensure to configure Manager’s and Assistant’s phone with a shared line as mentioned above. Also Ensure that Manager’s Softkey is selected as Standard Manager and Assistant’s softkey as Standard Assistant which is used for IPMA.
3. Go to System > Service Parameter > Choose Server and Service as Cisco IP Manager Assistant
- Cisco IPMA Server (Primary)
- Cisco IPMA Server (Backup)
- Cisco IPMA Server Port – Default Port 2912
4. Restart the IPMA Service in Cisco Unified Serviceability page
5. Go to End User > Select Manager’s End User Configuration > Ensure that the Phone is associated to the End user.
- Click on Related Links > Select Manager Configuration from Drop Down Menu > Click GO
- Check Mark > Mobile Manager & Uses Shared Line
- Device Name/Profile
 > Select Manager’s Device Name
 - Intercom Line > Select Intercom Line
- Select Assistant > Drop Assistant to Associated Assistants
- Select Available > Drop to Selected Line
- Click on Save
6. Go to End User > Select Assistant’s End User Configuration > Ensure that the Phone is associated to the End user.
- Click on Related Links > Select Assistant Configuration from Drop Down Menu > Click GO
- Select Device Name, Intercom Line and Primary Line
- Under Manager Association to Assistant Line > Select Available Lines, Manager Names and Manager Lines
- Click on Save
7. Download the Plugin from Ciscon Unified Communication Manager > Application > Plugin > Cisco Unified Communication Manager Assistant Console
8. Login with assistant’s user id and password and try to make calls from a standard user’s phone and test the scenario.
Example :-
1. Call was made from 81011002 (XYZ user) to 81012001 (Shared Line between Manager/Assistant). Both the Phones were ringing. If you also notice Assistant’s console window is also reading that the Manager’s line is currently having one call from XYZ user.

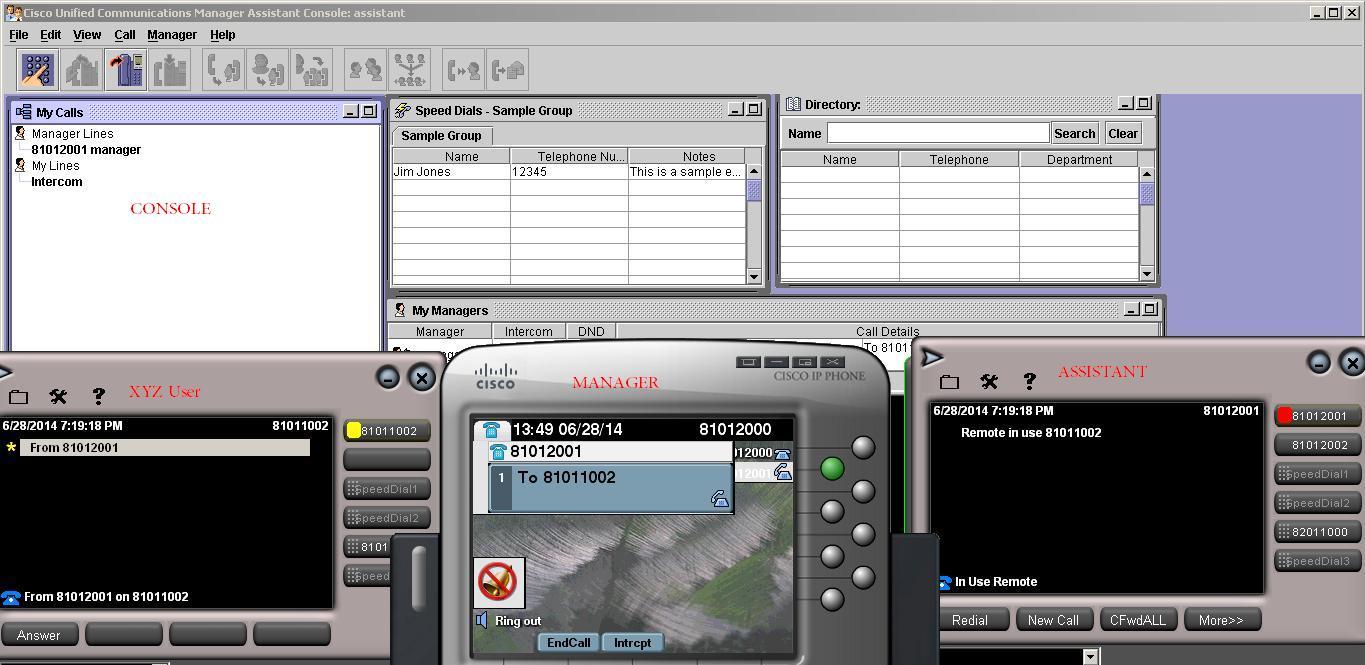
2. Call made from Manager’s shared line (82012001) to XYZ user 81011002 and you could see that Assistant’s Phone screen is reading Remote in use 81011002 and if you also notice the console window is also not displaying any numbers dialed by the manager.
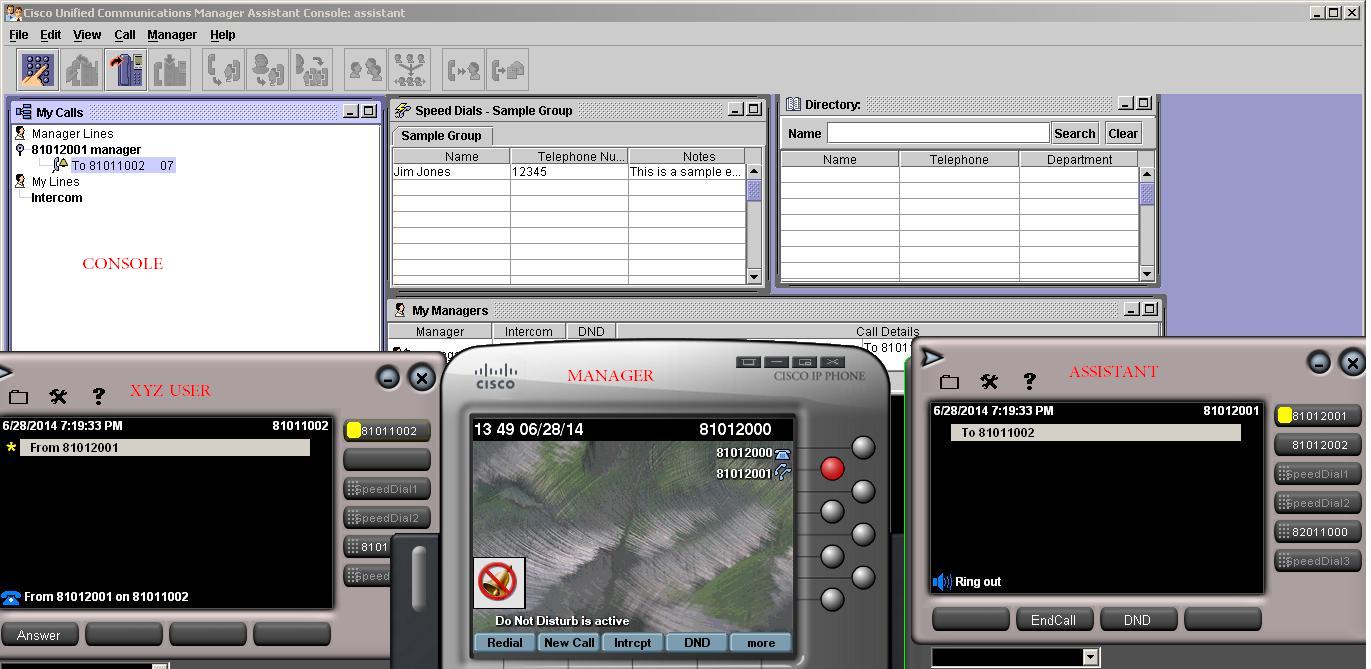
3. Call made from Assistant’s shared line (82012001) to XYZ number (81011002). If you see Manager’s Phone button is showing as BLF and if you also notice that the console also reads the number being dialed by the Assistant.

Good day .
I trust you are well , Could you kindly provide me with your contact number , i would like to ask you some few equation regarding the Cisco IPMA