Building and Publishing Lync 2013 Topology
In our last article, we learned “How to Prepare first Standard Edition Server and Install Administrative Tools”. In this article, we will learn “How to create a new topology and publish it in Lync Server 2013”.
Lync 2013 Server – Create a New Topology :
To build a topology, you need to follow the below steps:
- Login to Lync Server 2013
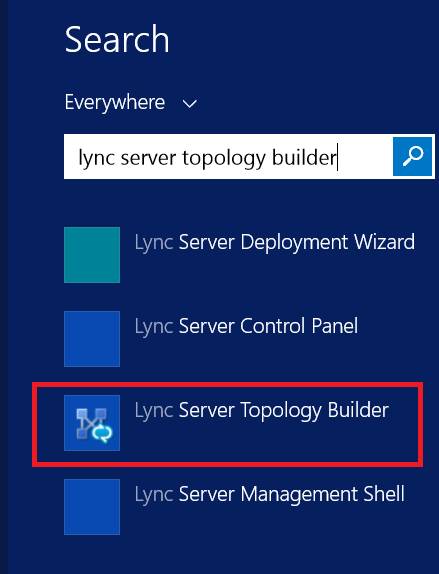
- Click on Start > Search for “Lync Server Topology Builder”
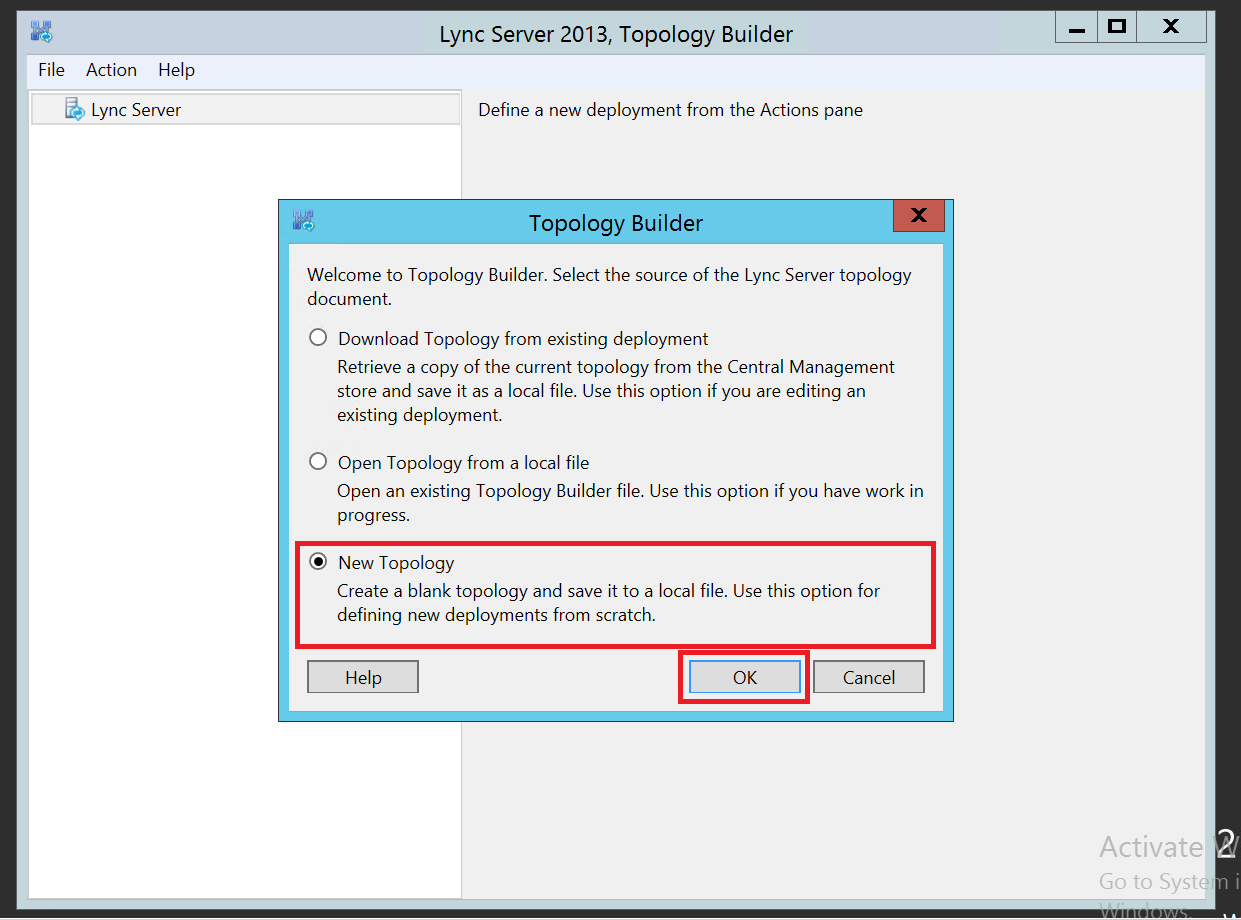
- Radio Check “New Topology” and Click on OK
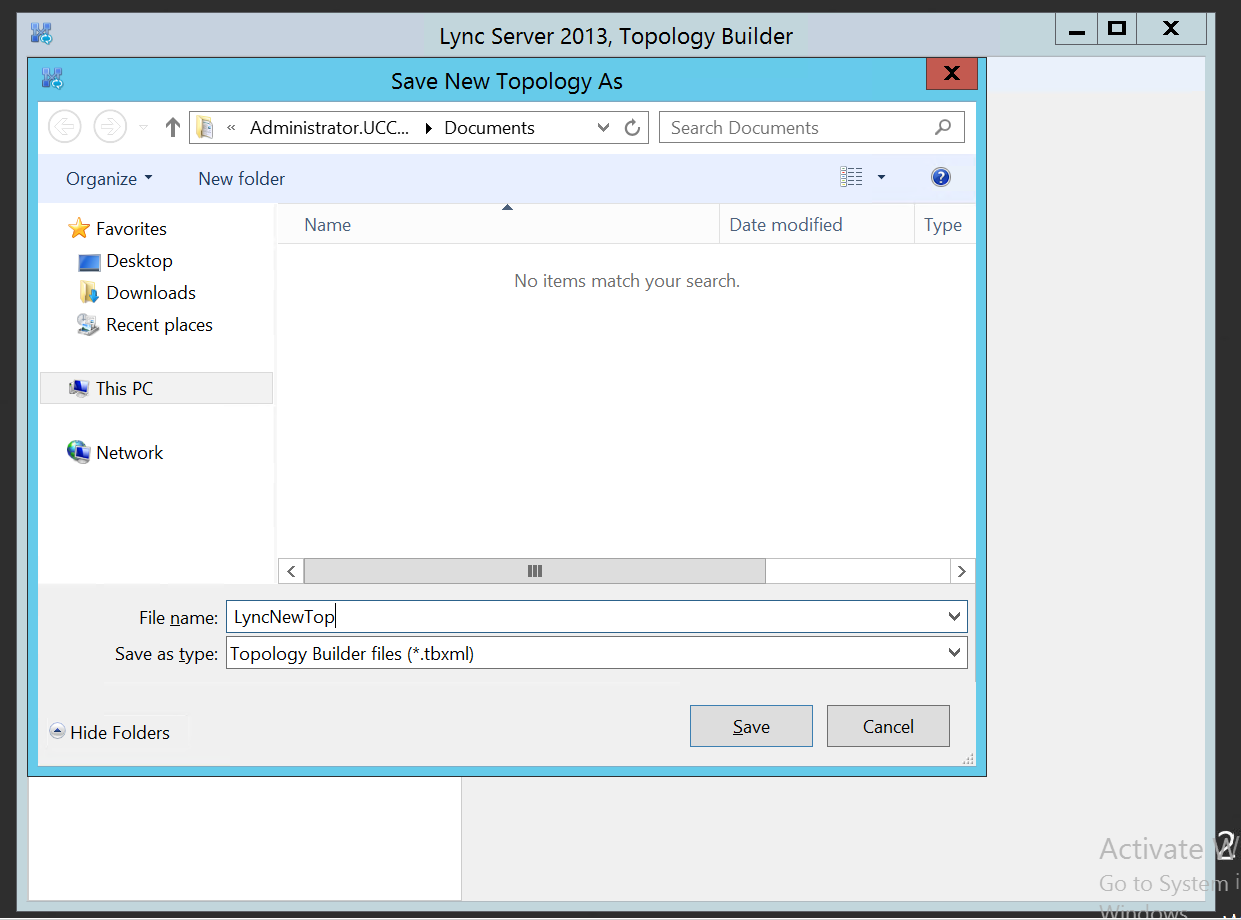
- Save New Topology As – Enter a name of the Topology and click on Save
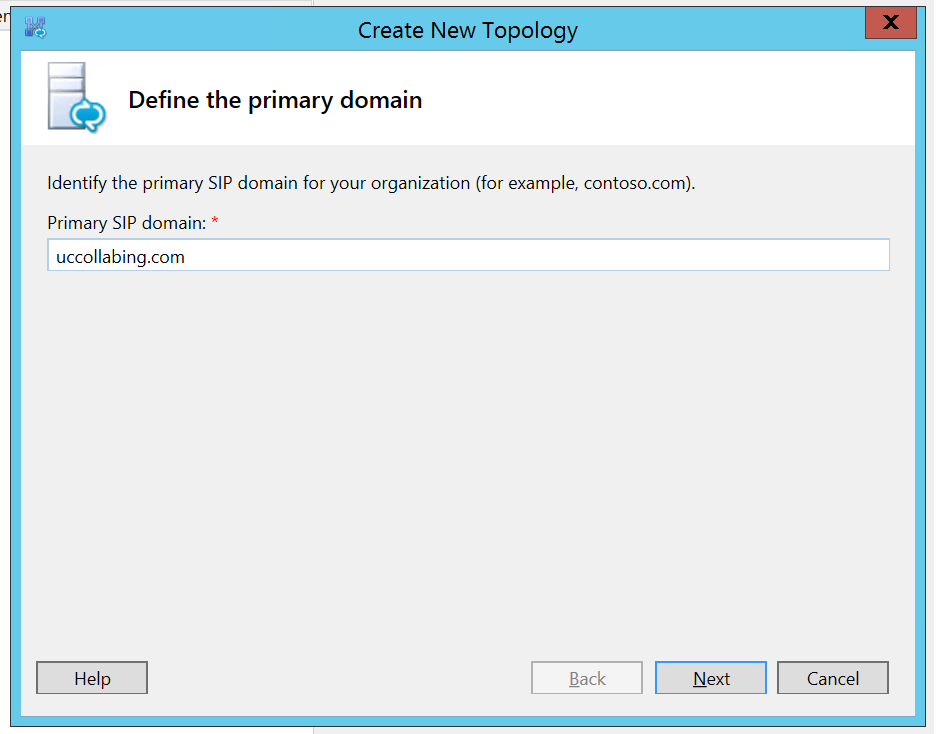
- Primary SIP Domain – Enter a primary SIP Domain (“domain.com”). In our example, it is “uccollabing.com”
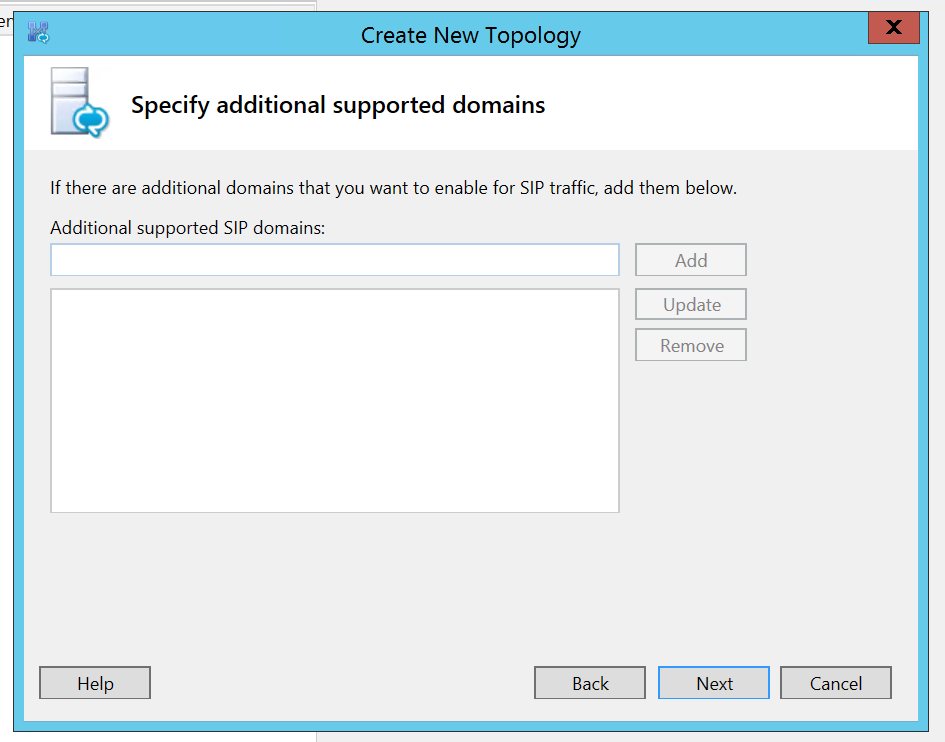
- If you have any additional supported domain, enter the domain name, else click on Next
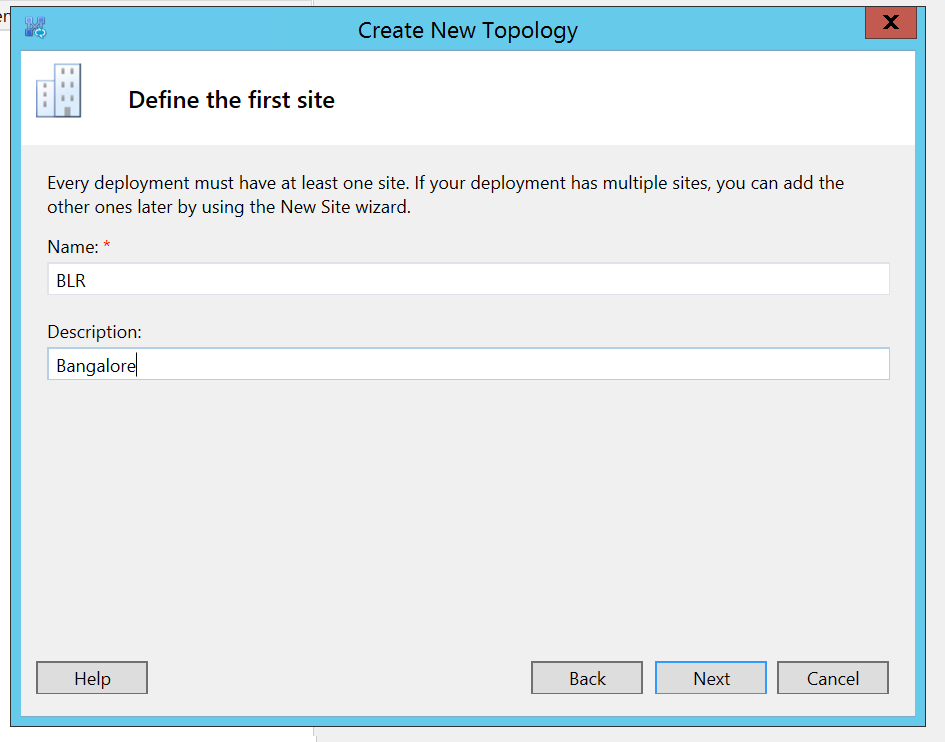
- Define the first site – Enter the name of the first site in your deployment and a small description of it.
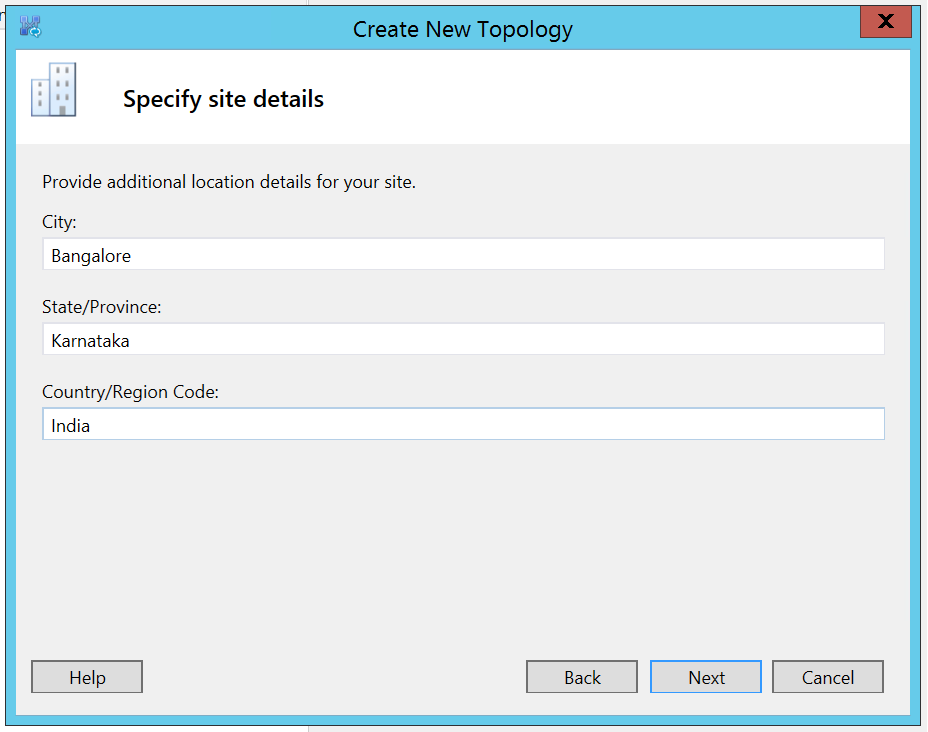
- Enter City, State/Province/Country/Region Code details for your site.
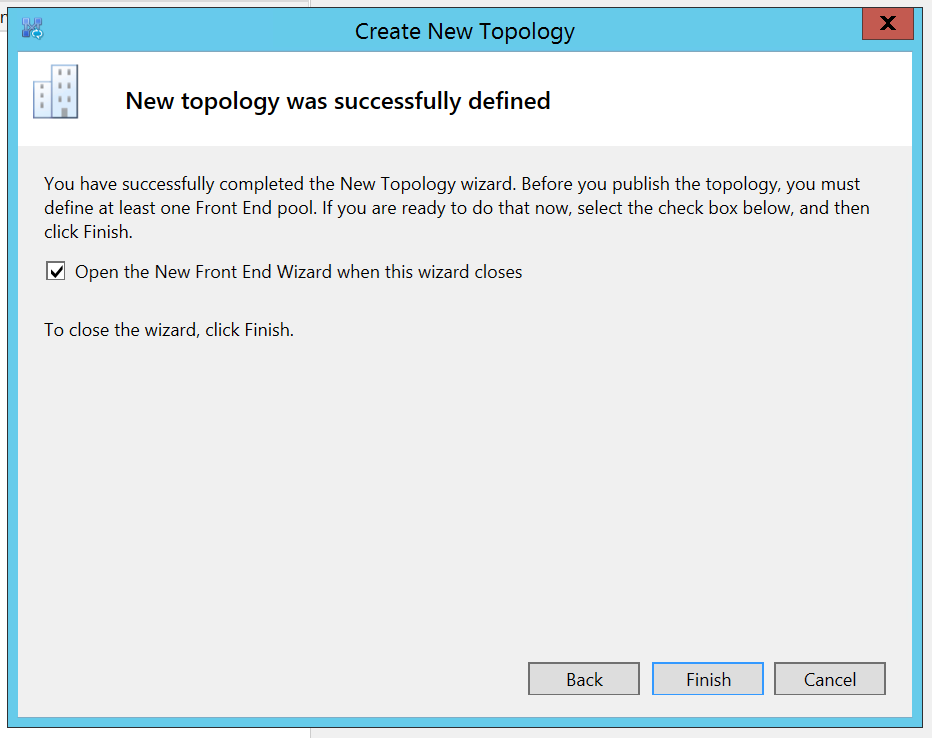
- New Topology was successfully defined – Click on Finish
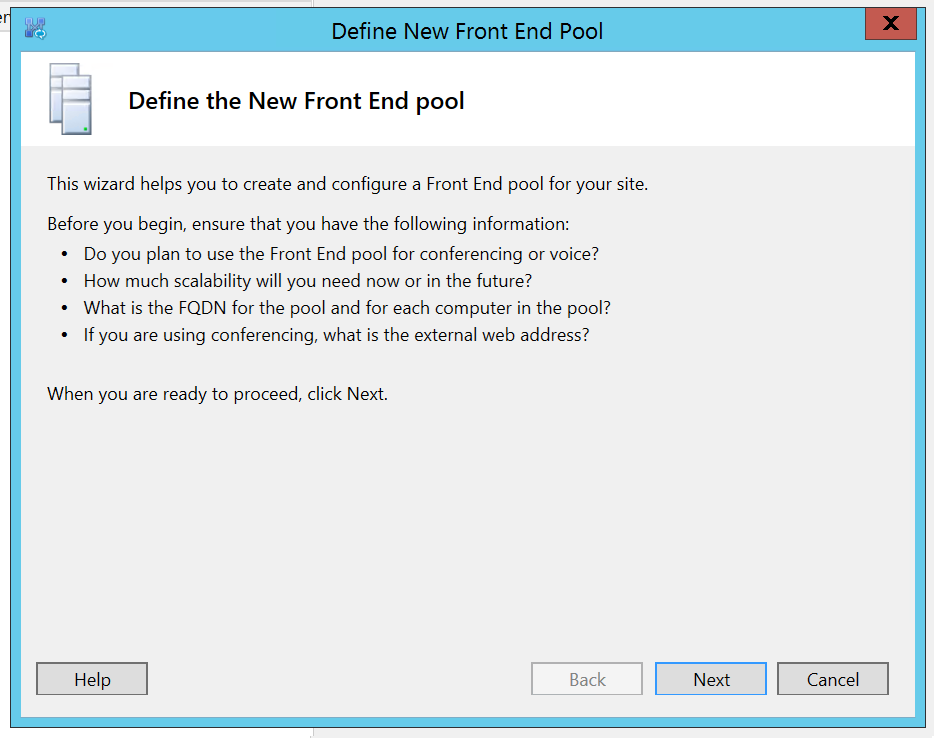
Defining New Front End Pool in Lync 2013 Server:
- Define the New Front End Pool – Click on Next
- Define the Front End Pool FQDN – Enter the Lync Server 2013 system FQDN
(To get the Lync Server 2013 FQDN, Right Click on My Computer, Click on Properties and See Full Computer Name)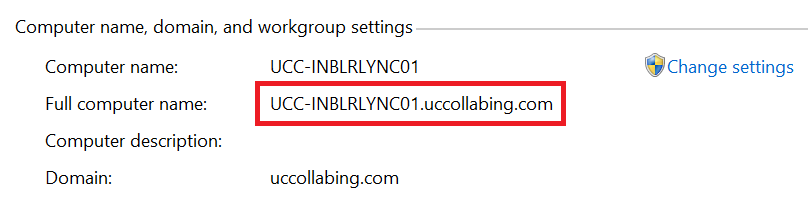
Radio Check “Standard Edition Server” since we will be using only one Front End Lync Server 2013 server.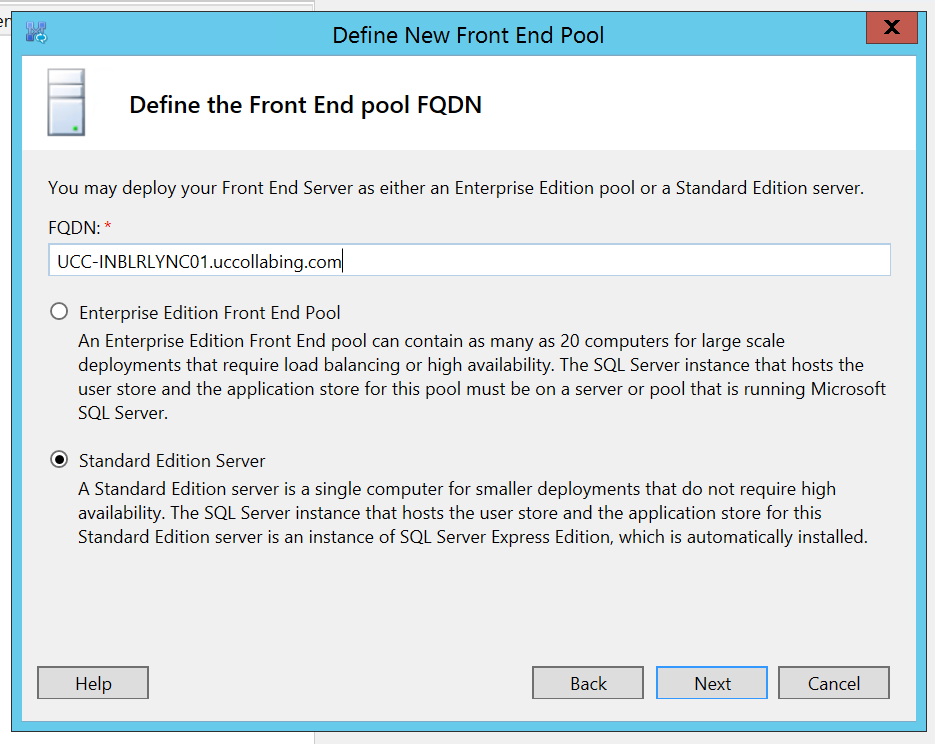
Click on Next - Select features – Check Mark the following and click on Next
“Conferencing”
“Dial-In”
“Enterprise Voice”
“Call Admission Controll” (Optional)
“Archiving” (Optional)
“Monitoring” (Optional)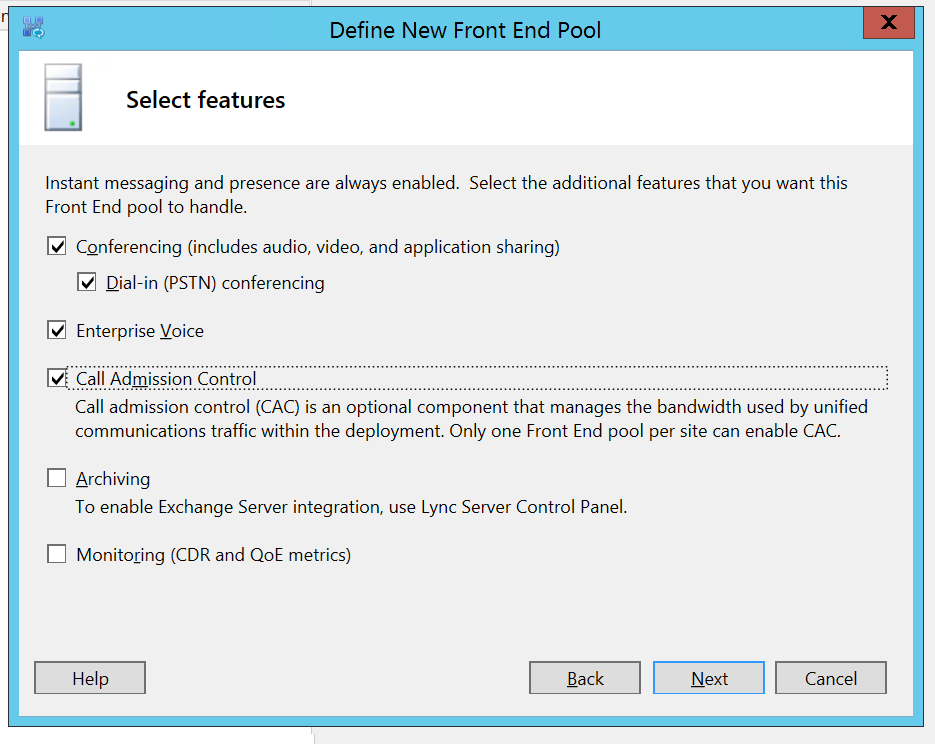
- Select collocated server roles – Click on Next
(Since we are deploying in lab, we will have Mediation Server collocated on a Front End Pool)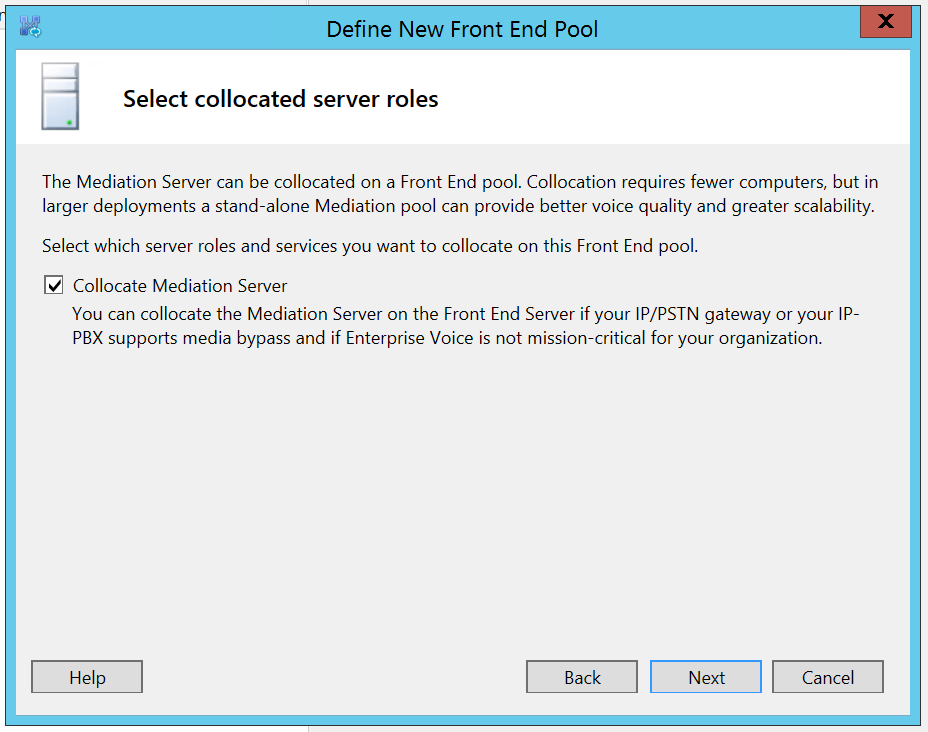
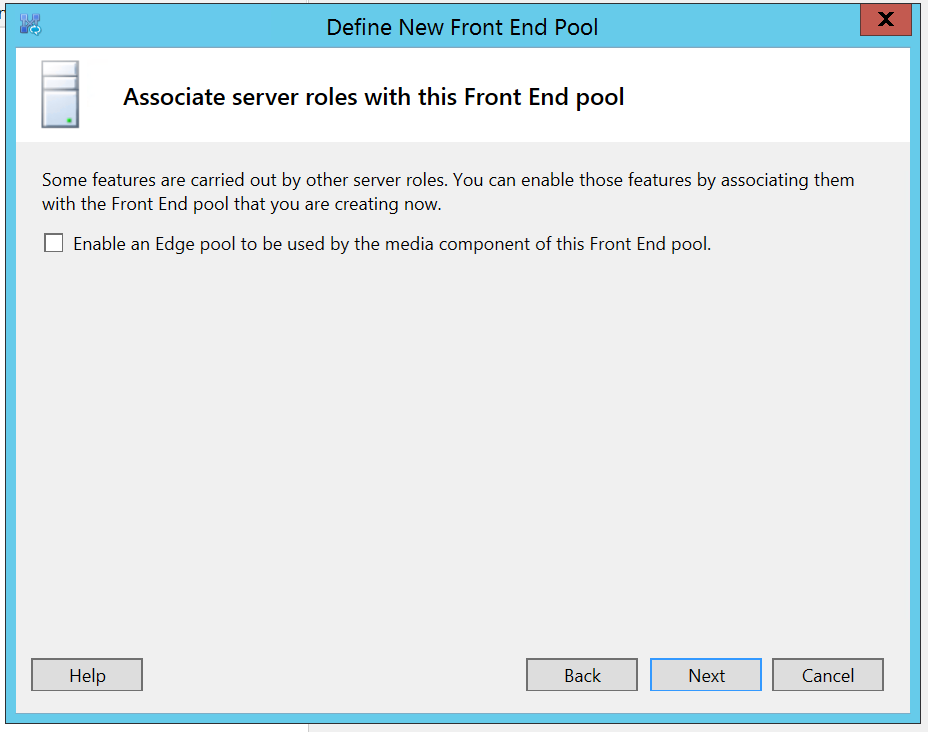
- Associate server roles with this Front End Pool – Click on Next
- Define the SQL Server store – Click on Next
(Since this is a Standard Edition deployment, the user information will be stored locally on the SQL Server Express Edition)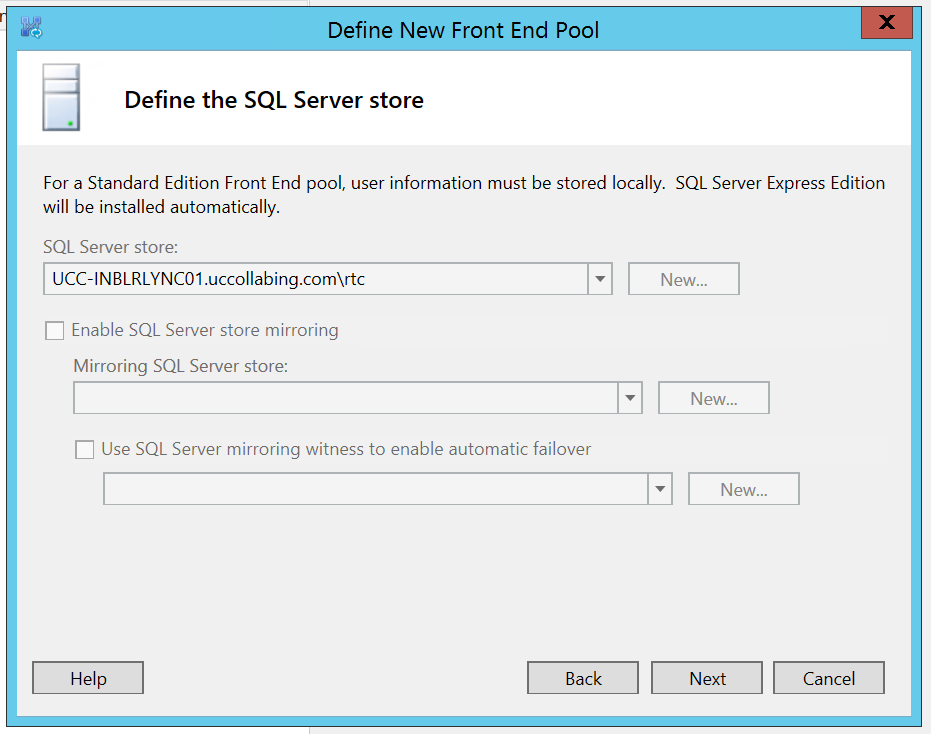
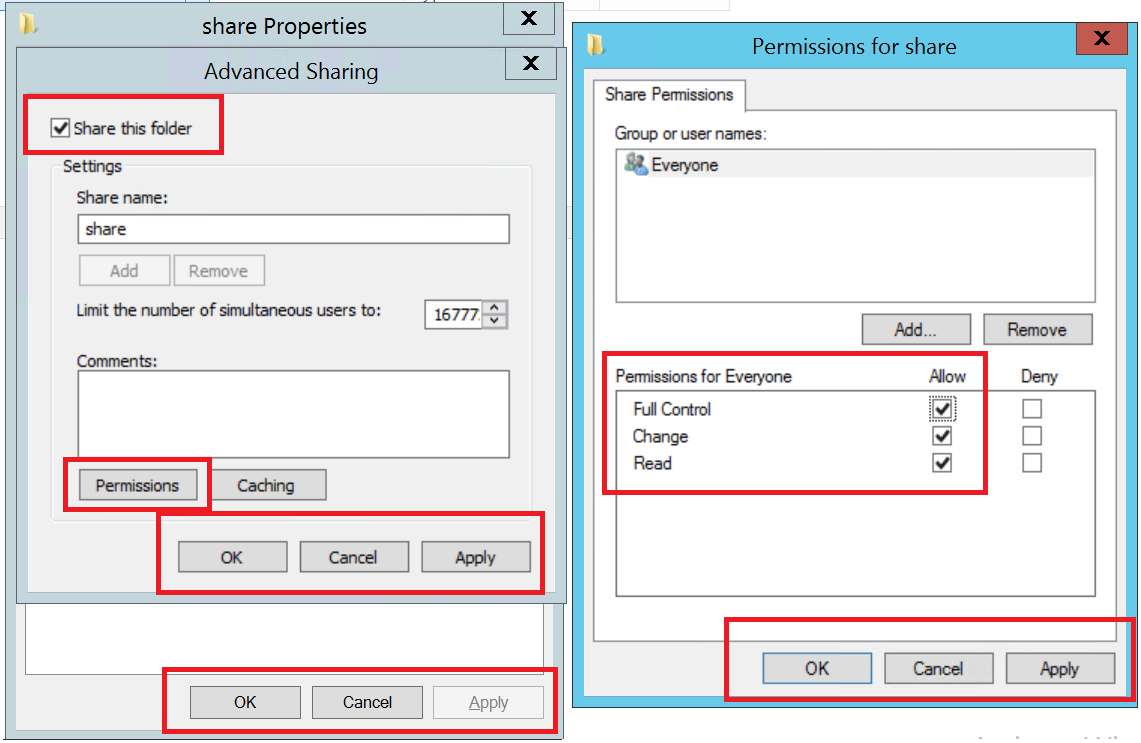
- Go to C:\ Drive
- Create a folder named as “share”
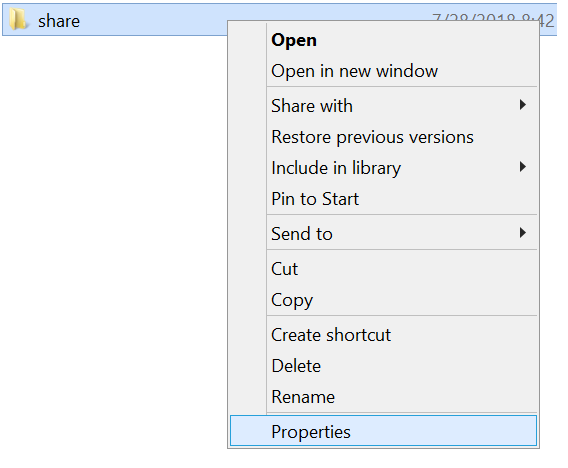
- Right Click share folder and click on Properties
- Click on Sharing Tab and Click on Advanced Sharing

- Check Box “Share this folder”
- Click on Permissions
- Check Mark – Full Control (Allow), Change(Allow) and Read(Allow)
- Click on Apply and OK
- Click on Apply and OK
- Click on Close
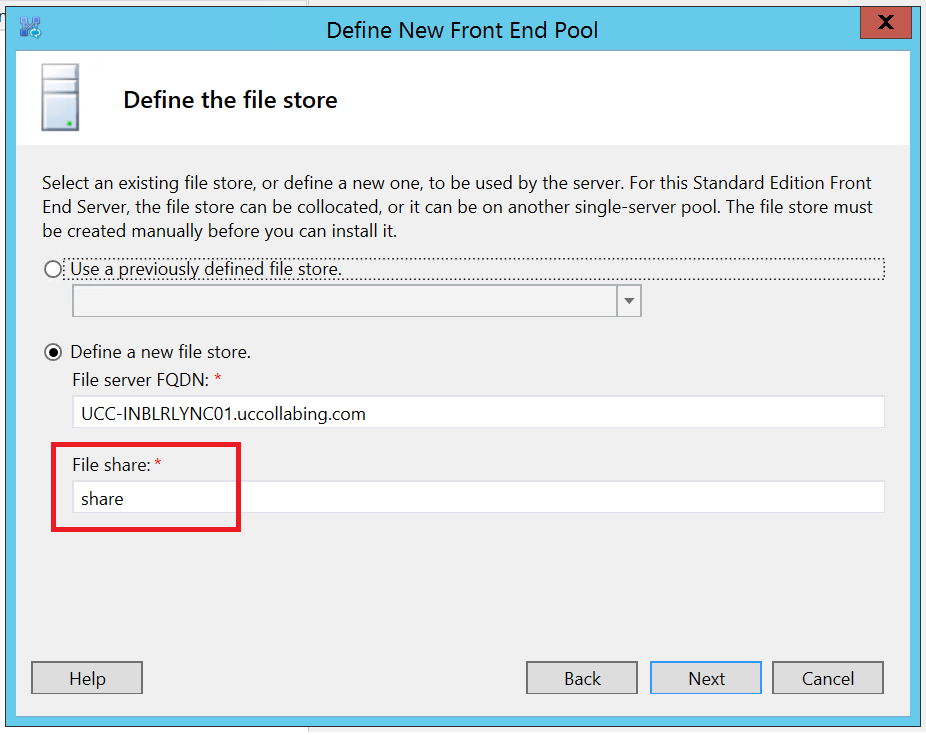
- Define the file store – Make sure that the File Share name matches exactly the folder you have created in the above step. Click on Next
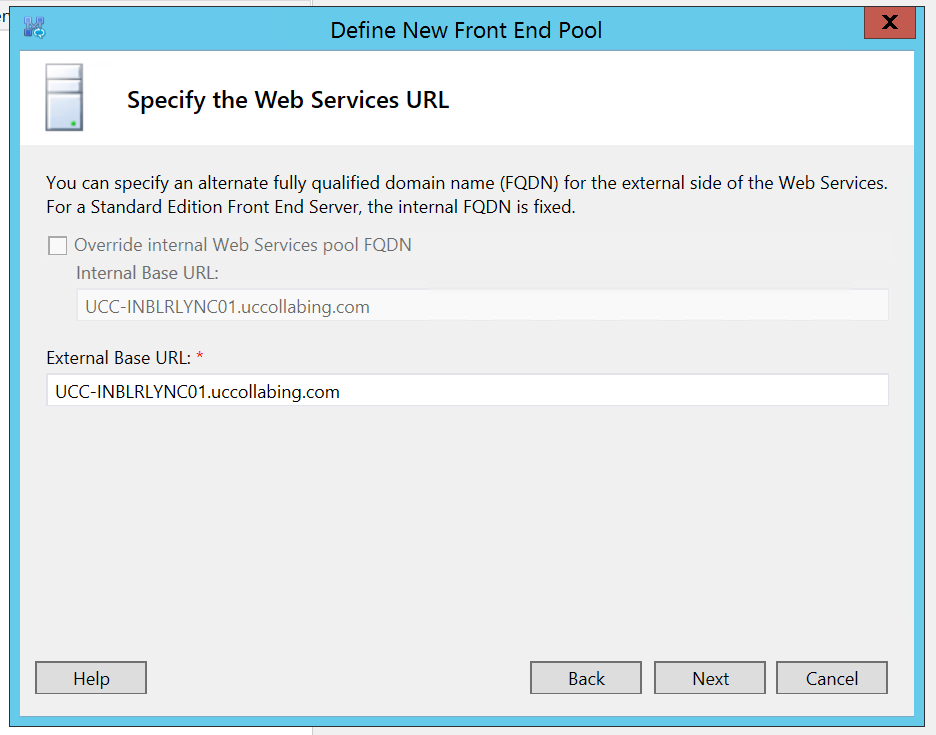
- Specify the Web Services URL – Click on Next
- Select an Office Web Apps Server – Click on New
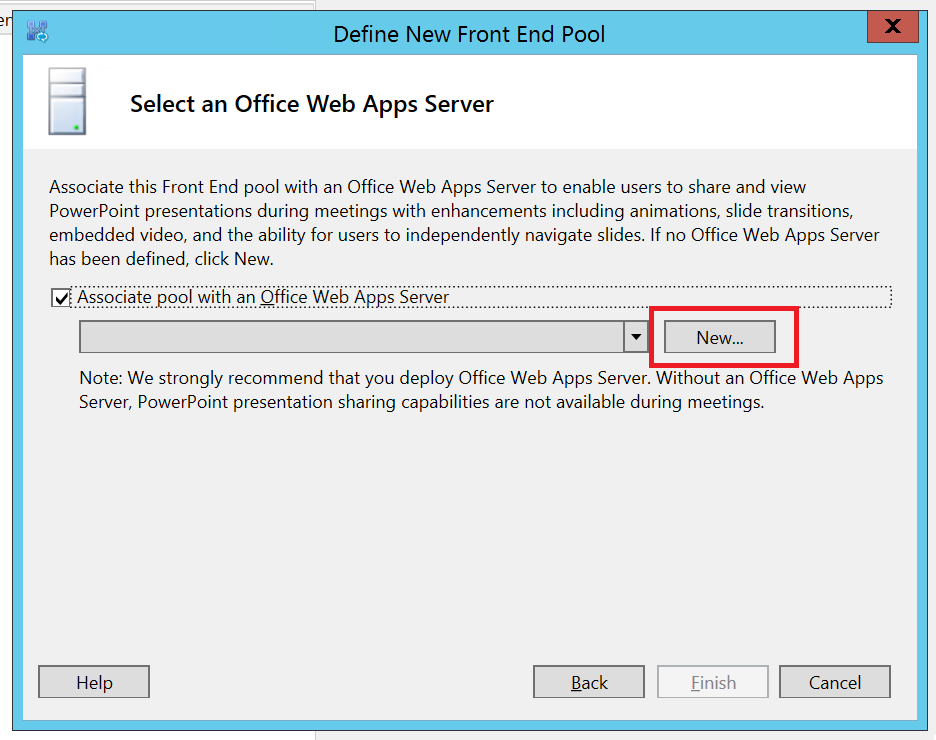
Enter Office Web Apps Server FQDN and then Click on OK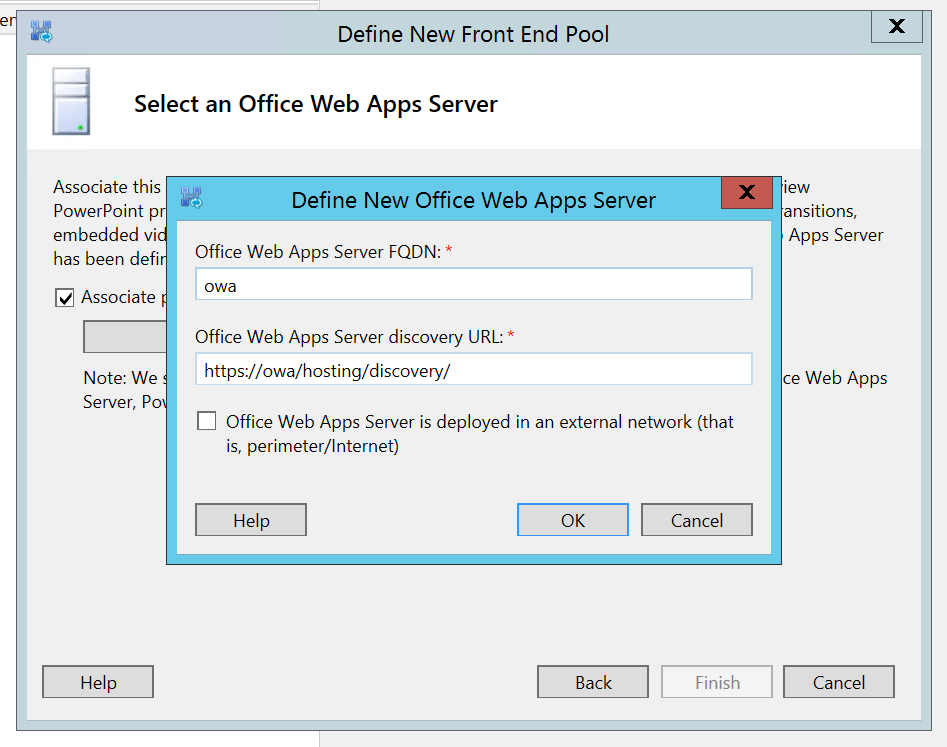
Click on Finish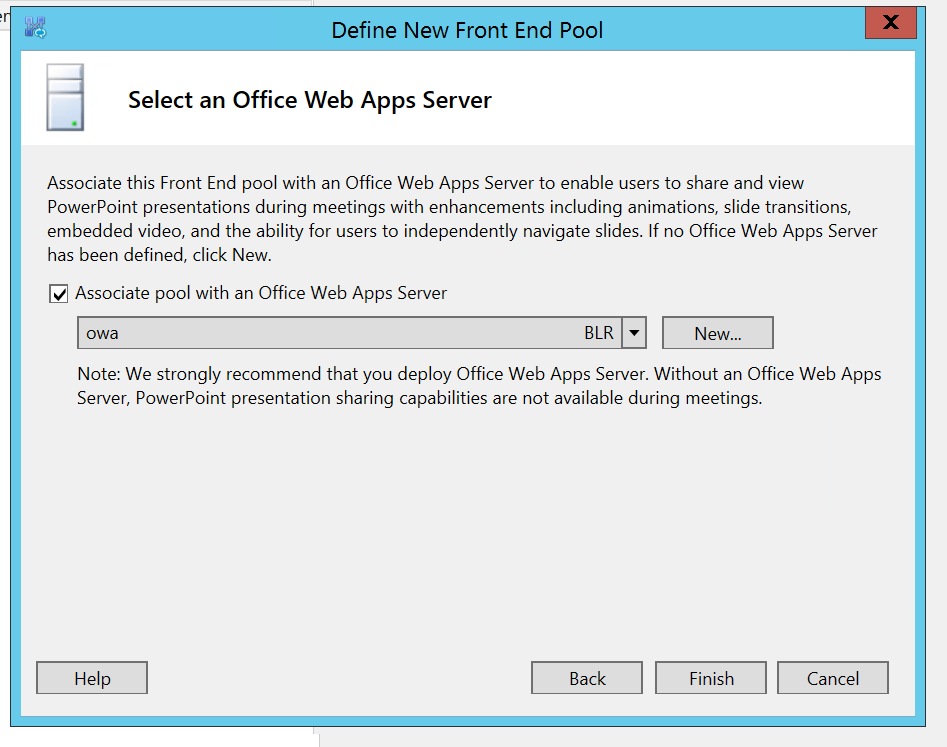
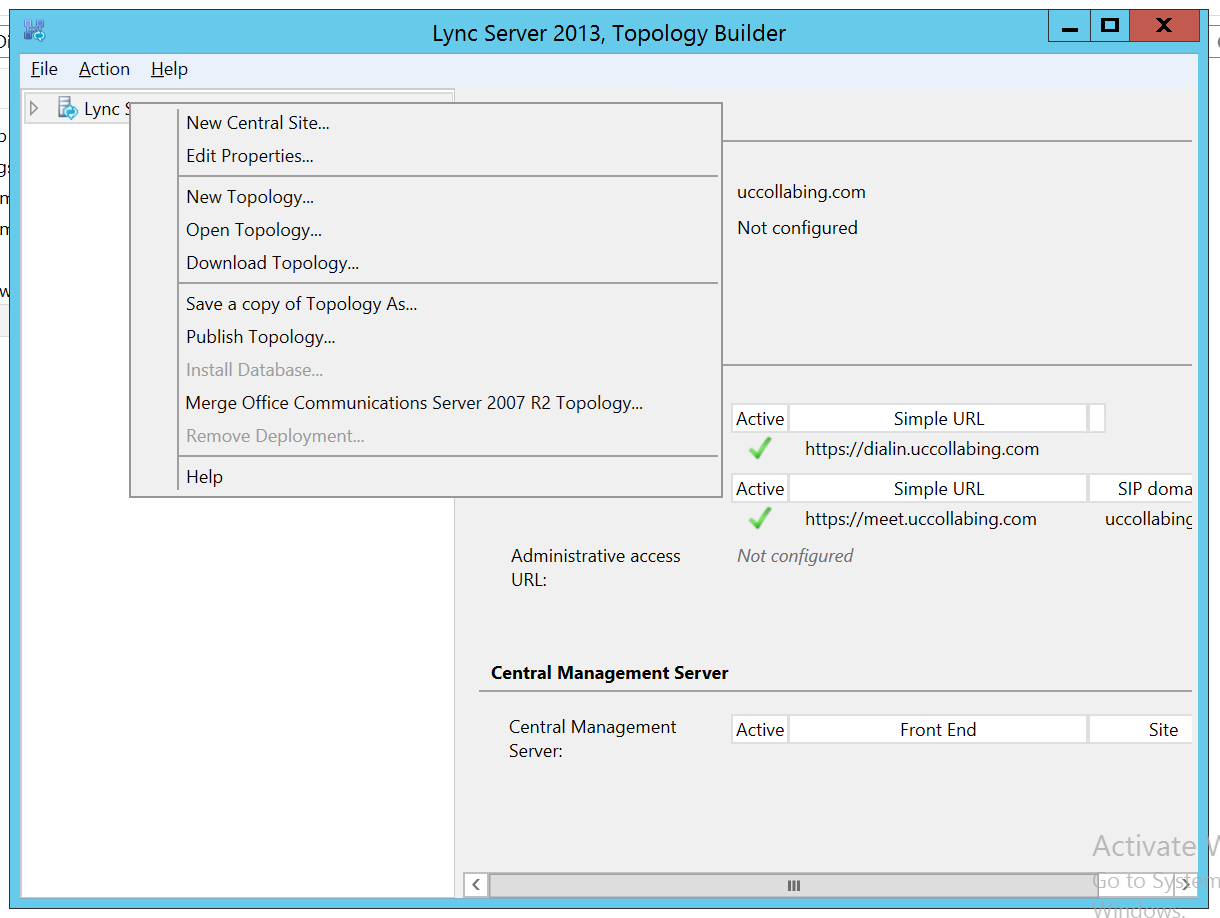
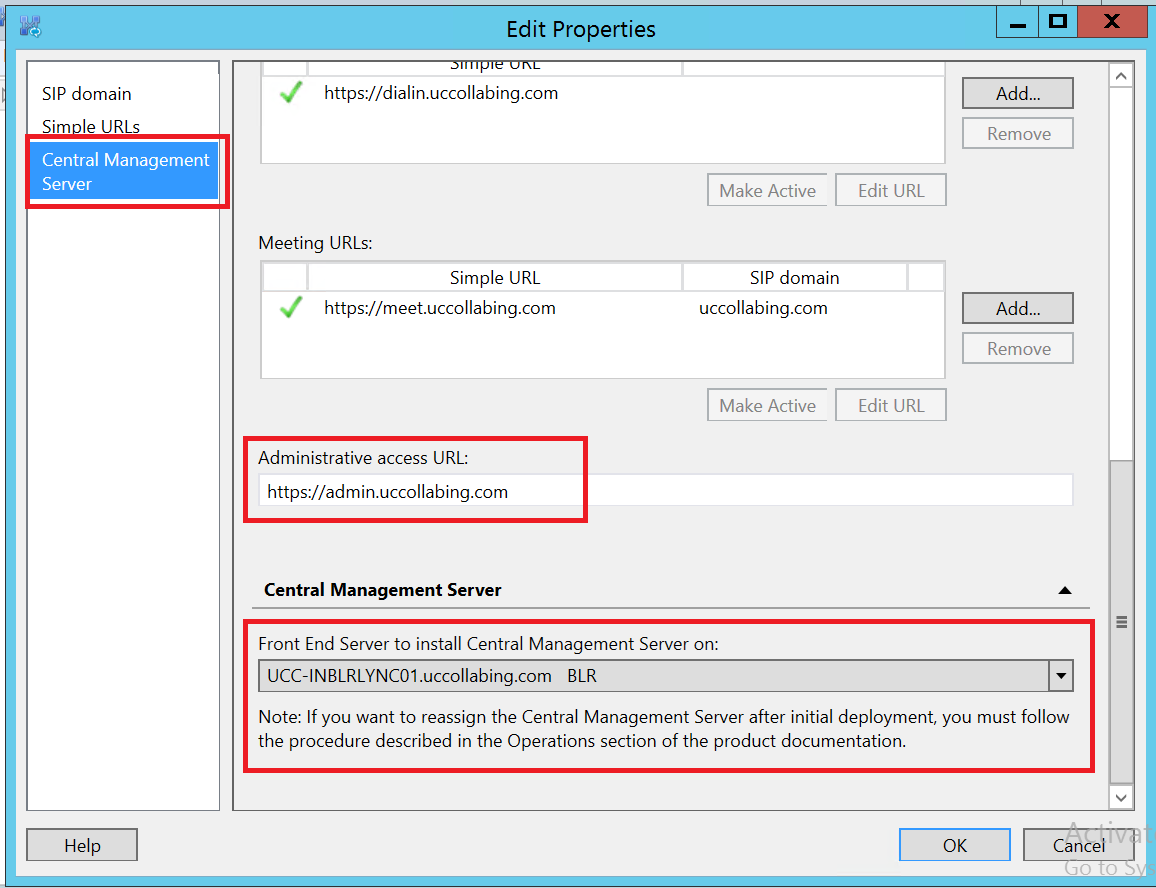
Editing Topology Properties in Lync 2013 Server :
- Right Click on Lync Server and click on Edit Properties
- Click on Central Management Server and enter the following:Administrative access URL: https://admin.uccollabing.com
Under Front End Server to install Central Management Server on: Select Lync Server 2013 FQDN from the drop down menu and click on OK
Publishing newly created Lync 2013 Topology:
- Right Click on Lync Server and Click on Publish Topology

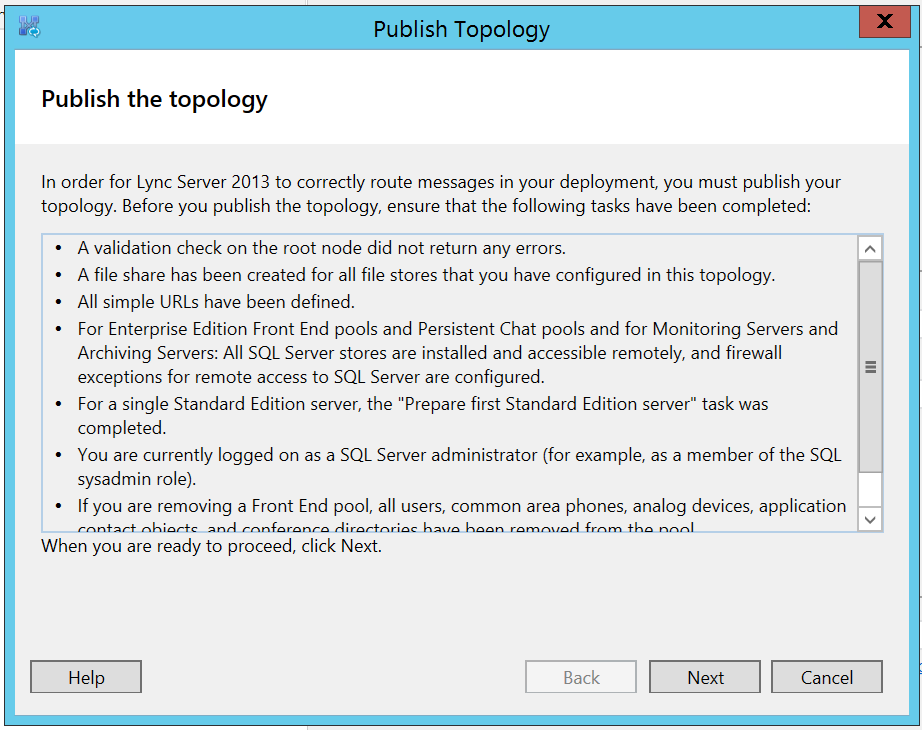
- Publish the Topology – Click on Next
- Select Central Management Server – Click on Next

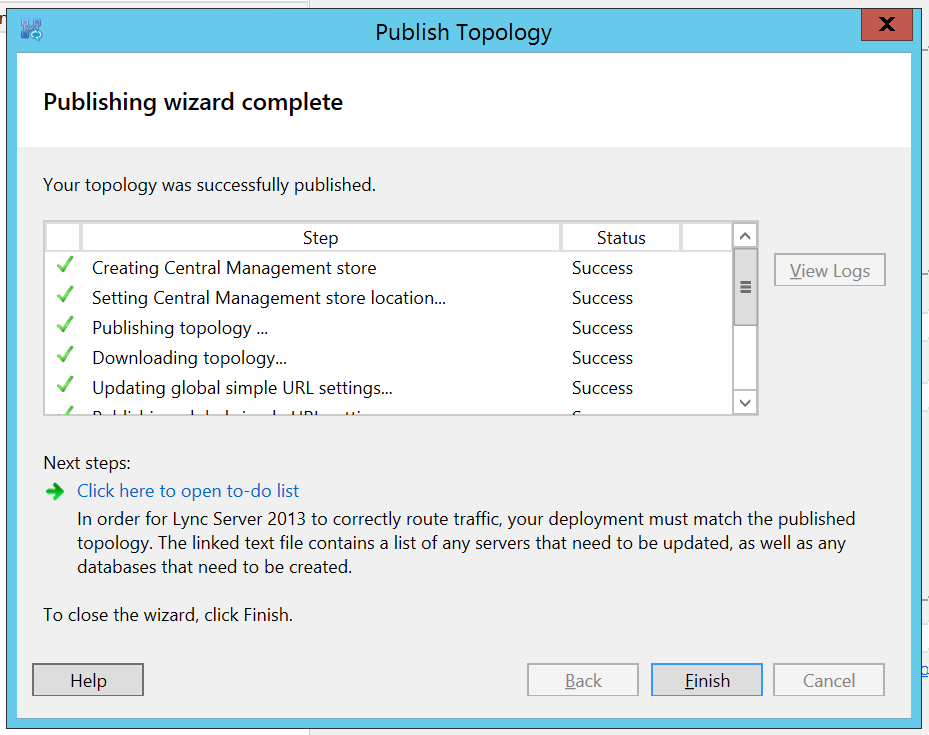
- Publishing Wizard Complete – Once the Publishing is completed and the status shows Success against each Step, click on Finish
- Close the Topology Builder Menu
That’s all. In the next article we learn “How to Install or Update Lync Server System”.
Hope this helps!
Go back to – Step by Step Lync Server 2013 Installation & Configuration

Pingback: Step by Step Lync Server 2013 Installation & Configuration