Installing AsteriskNow on VMWare
Have you ever installed Asterisk on VMware? It’s quite easy and it takes hardly 60 mins to complete the installation. Below are the steps.
- Download AsteriskNow ISO File from official website.
- Create a Virtual Machine.
- Mount the ISO that you have downloaded in the Virtual Machine.
- Power ON the Virtual Machine
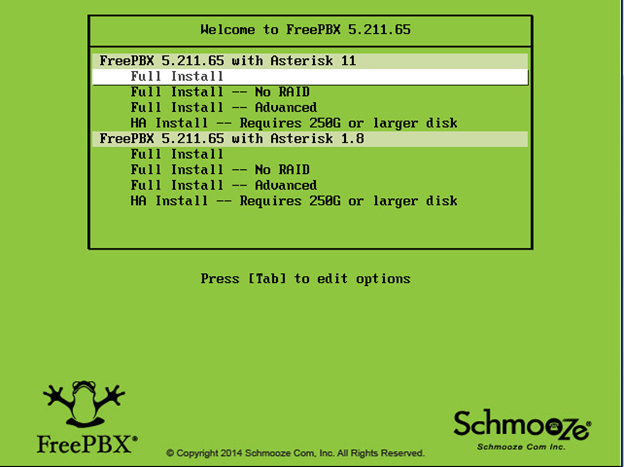
- Select “Full Install” when screen reads “Welcome to FreePBX X.X version”and hit Enter
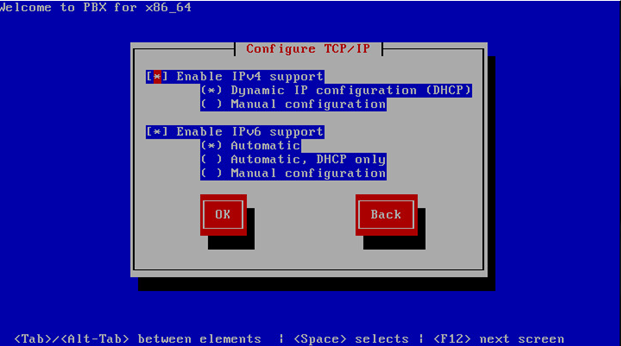
- Select “Enable IPv4 Support”
- Select “Manual Configuration”
- Hit Enter on OK button
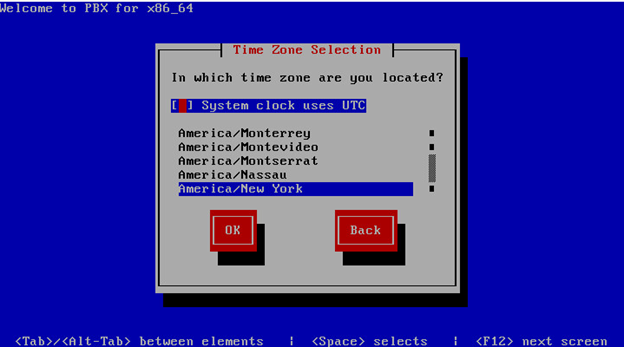
- Select Timezone and Hit Enter on OK button when prompted
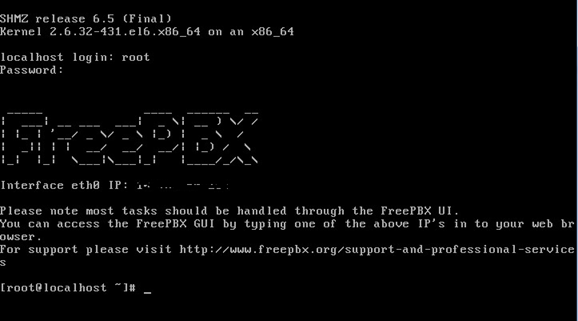
- Enter root password when prompted
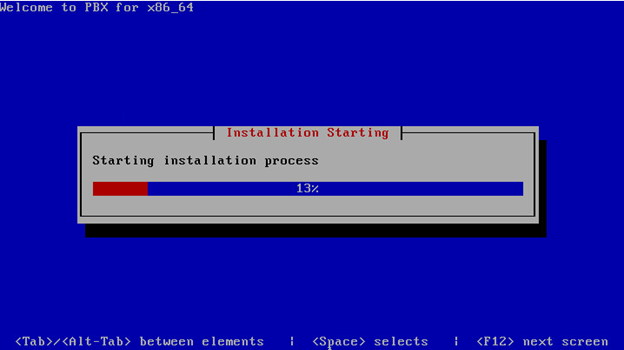
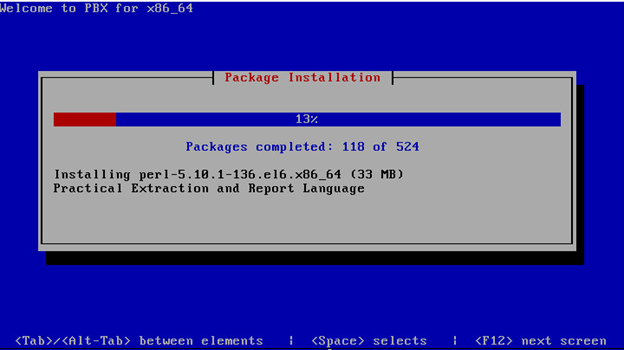
- Wait for an hour time and the installation will be completed. Once the installation is completed, it will ask you to enter credentials for root.
- Launch your favorite browser and enter the IP Address that you defined in Manual configuration for IPv4
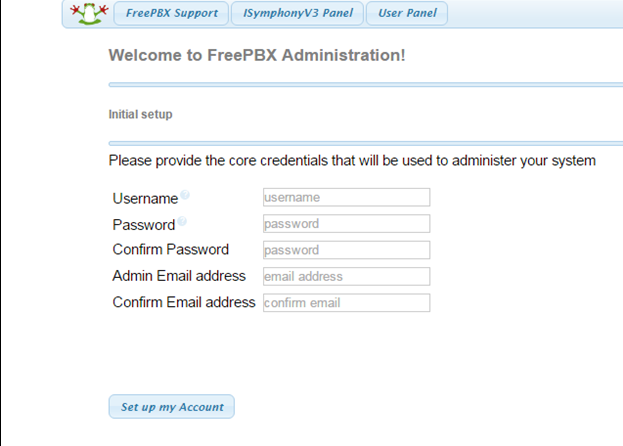
- Create Username and Password
- Enter Email Address
- Click on “Set up My Account”

That’s all !! You are done with the installation.

I am working in an IT company and having 10+ years of experience into Cisco IP Telephony and Contact Center. I have worked on products like CUCM, CUC, UCCX, CME/CUE, IM&P, Voice Gateways, VG224, Gatekeepers, Attendant Console, Expressway, Mediasense, Asterisk, Microsoft Teams, Zoom etc. I am not an expert but i keep exploring whenever and wherever i can and share whatever i know. You can visit my LinkedIn profile by clicking on the icon below.
“Everyone you will ever meet knows something you don’t.” ― Bill Nye
