Lync 2013 Server – Installing Certificate Authority (CA) Server
In our last post, we learned “Setting up of a Domain Controller server and joining Systems/Computers to the domain“. In this post, we will learn how to install Certificate Authority role in Domain Controller Server.
Installing Certificate Authority Server:
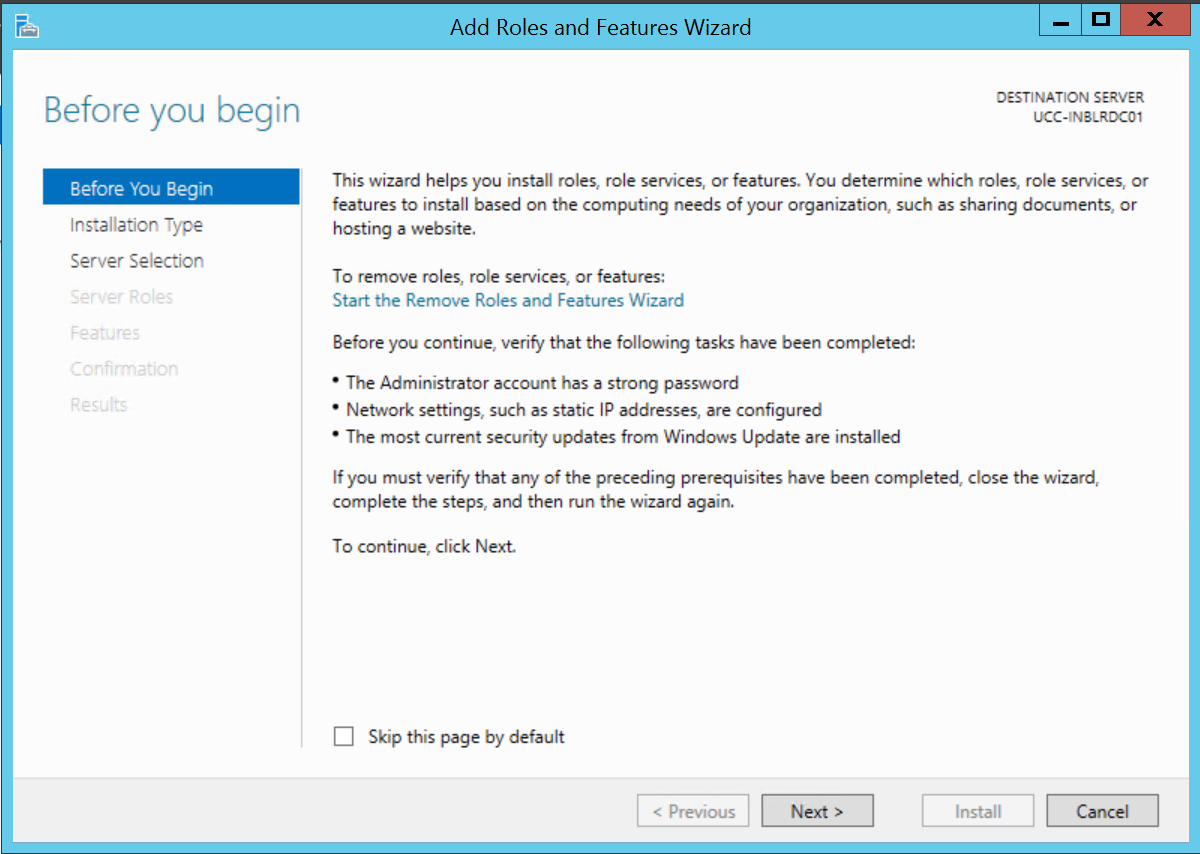
To install CA or Certificate Authority on a domain controller, login to Domain Controller Server.
- Launch Server Manager window.
- Click on Add roles and features.
- Click on Next.
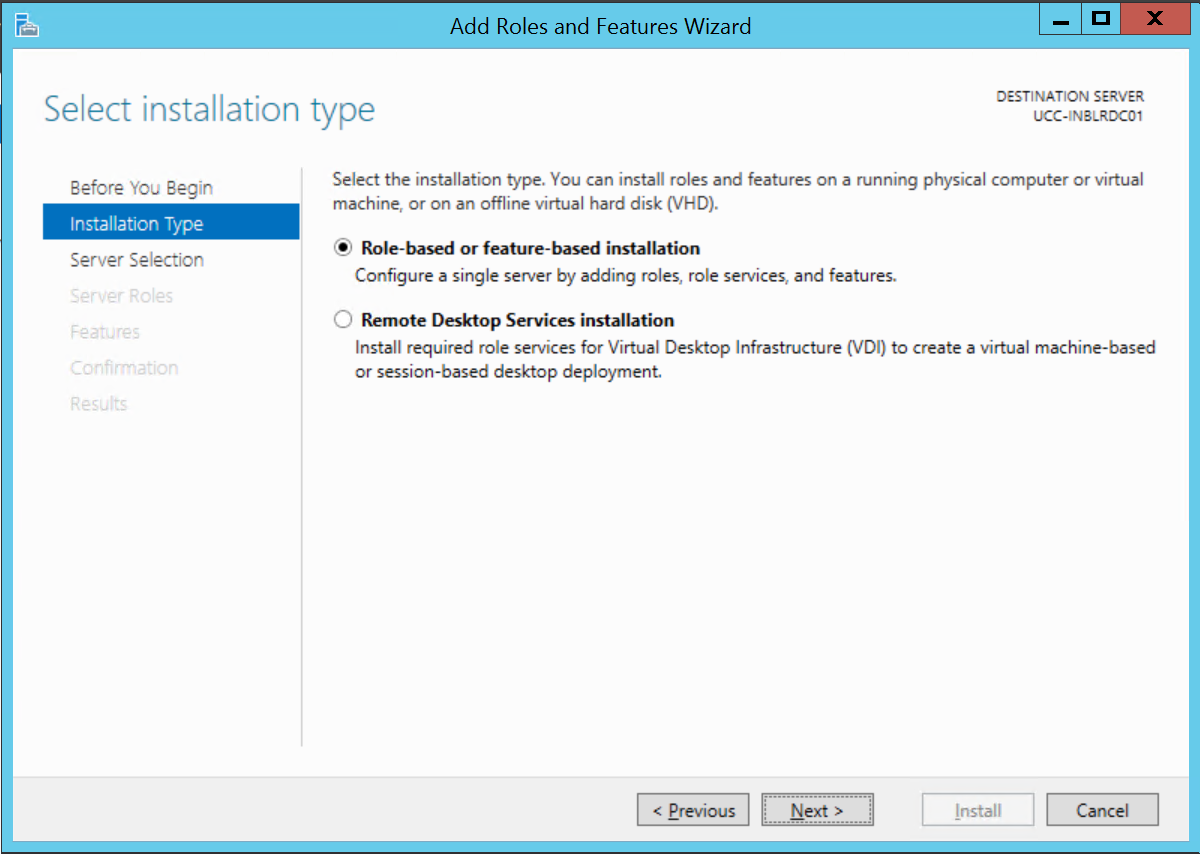
- Radio Check “Role-based or feature-based installation” and click on Next

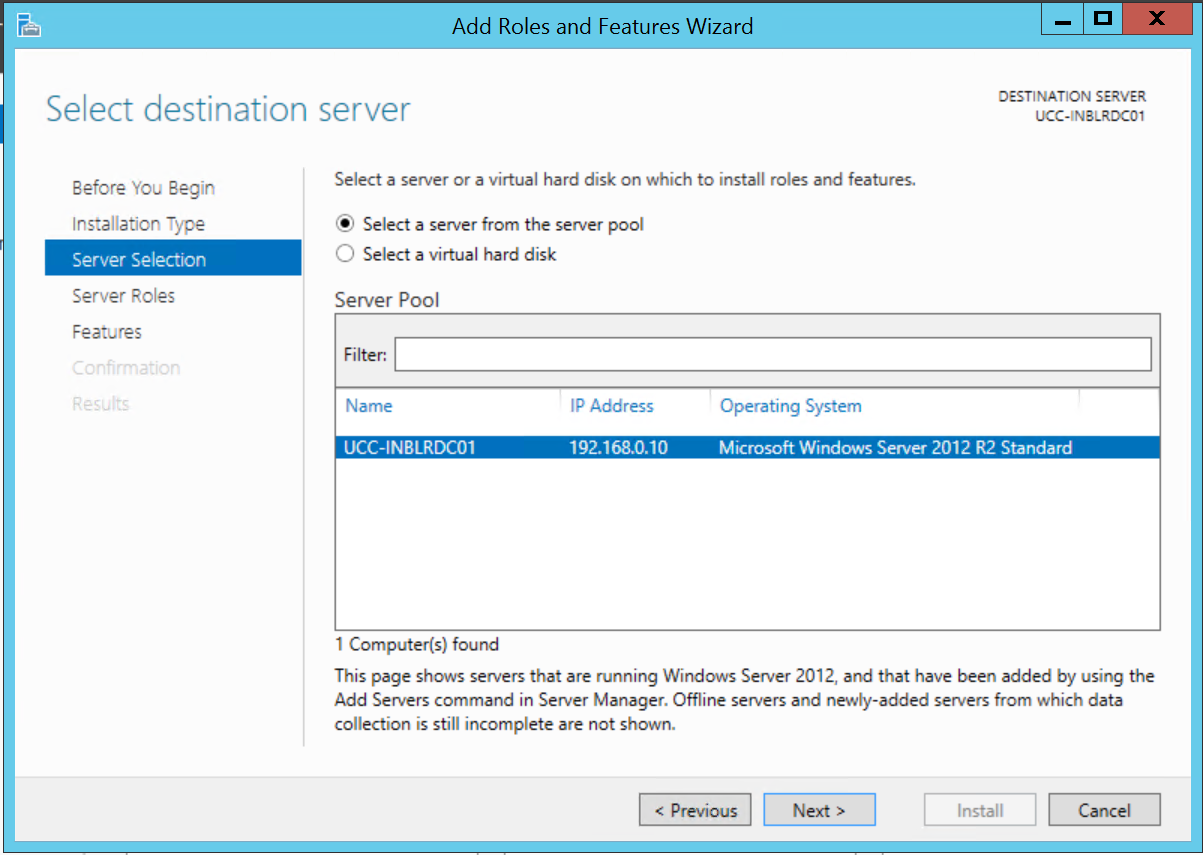
- Radio Check “Select a server from the server pool” and click on Next
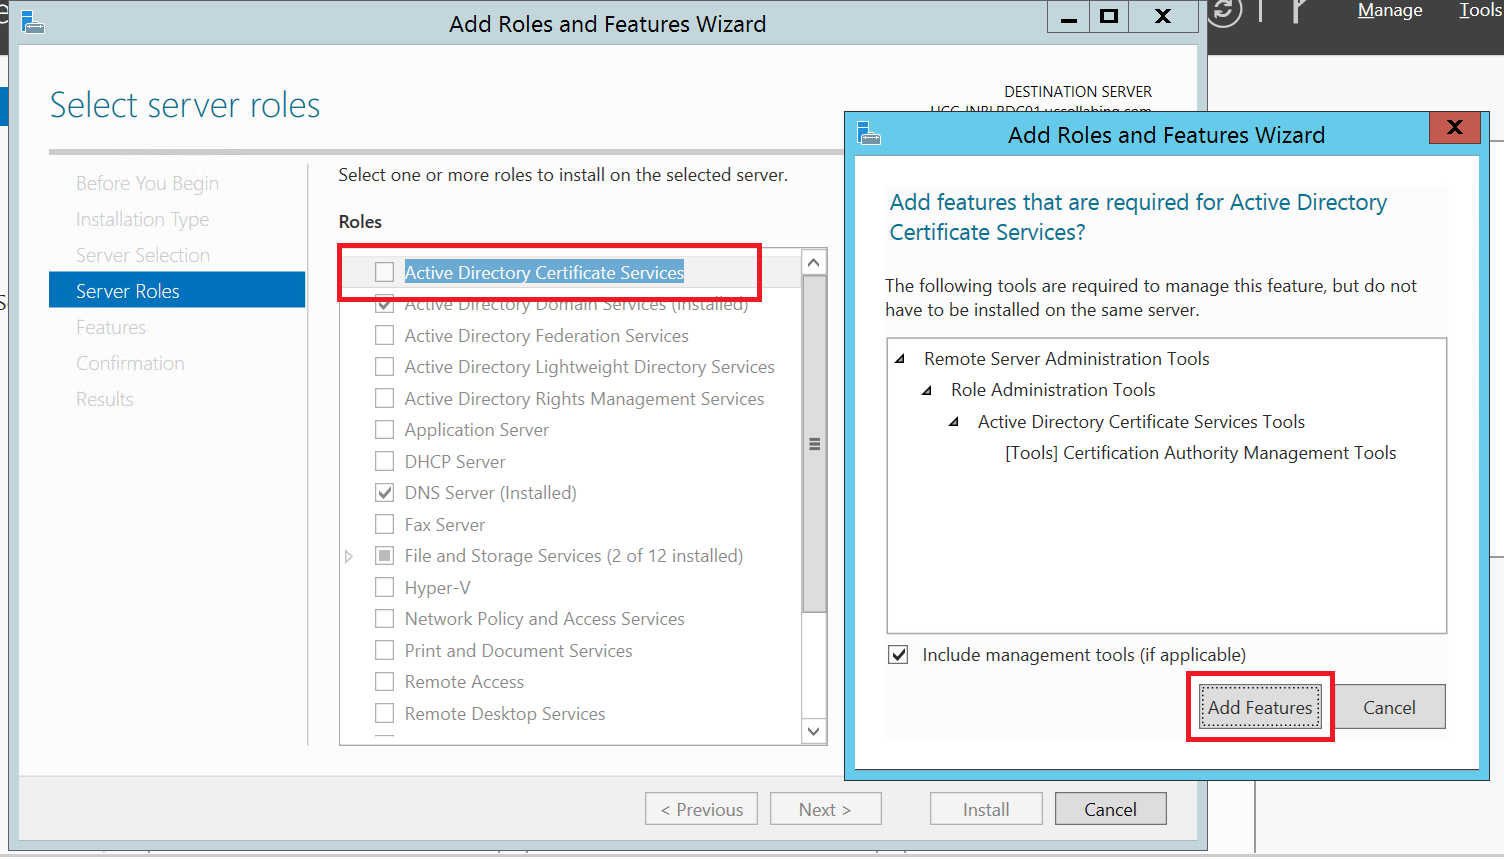
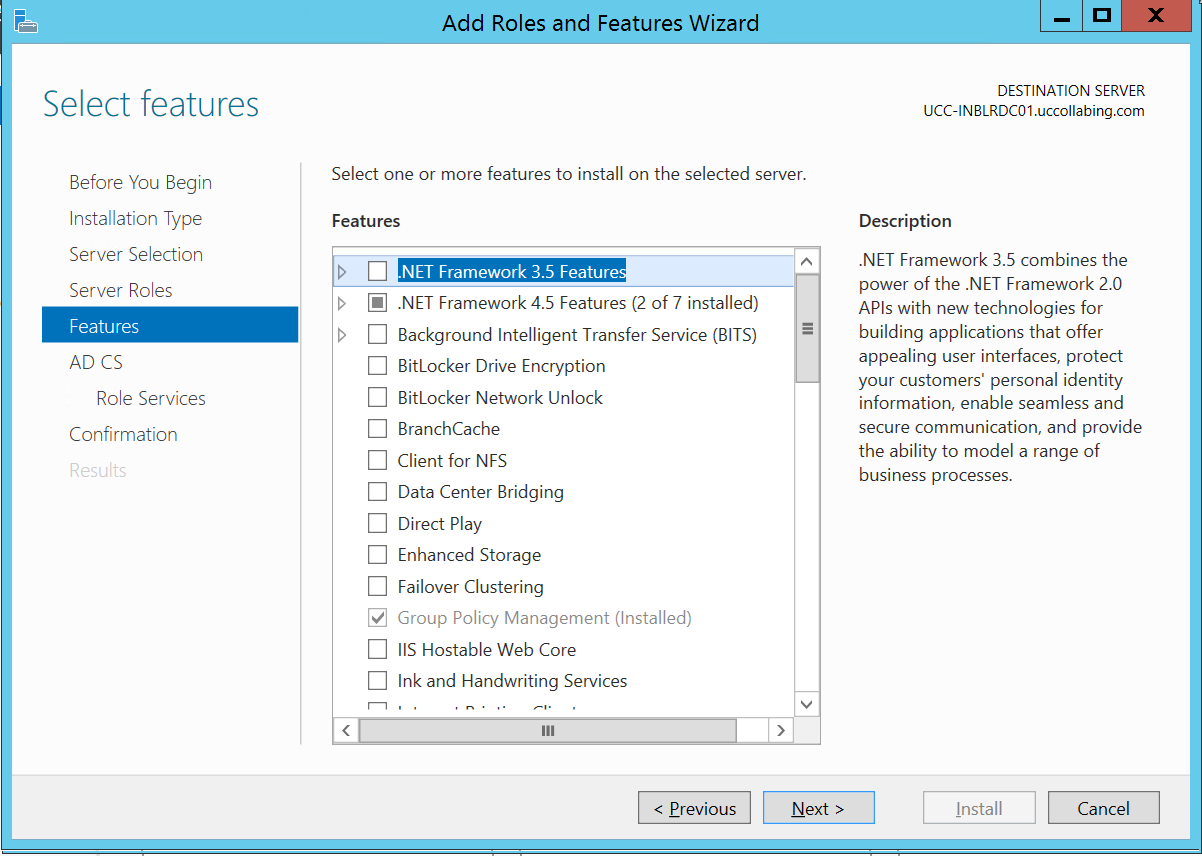
- Check Box on “Active Directory Certificate Services” and click on “Add Features”
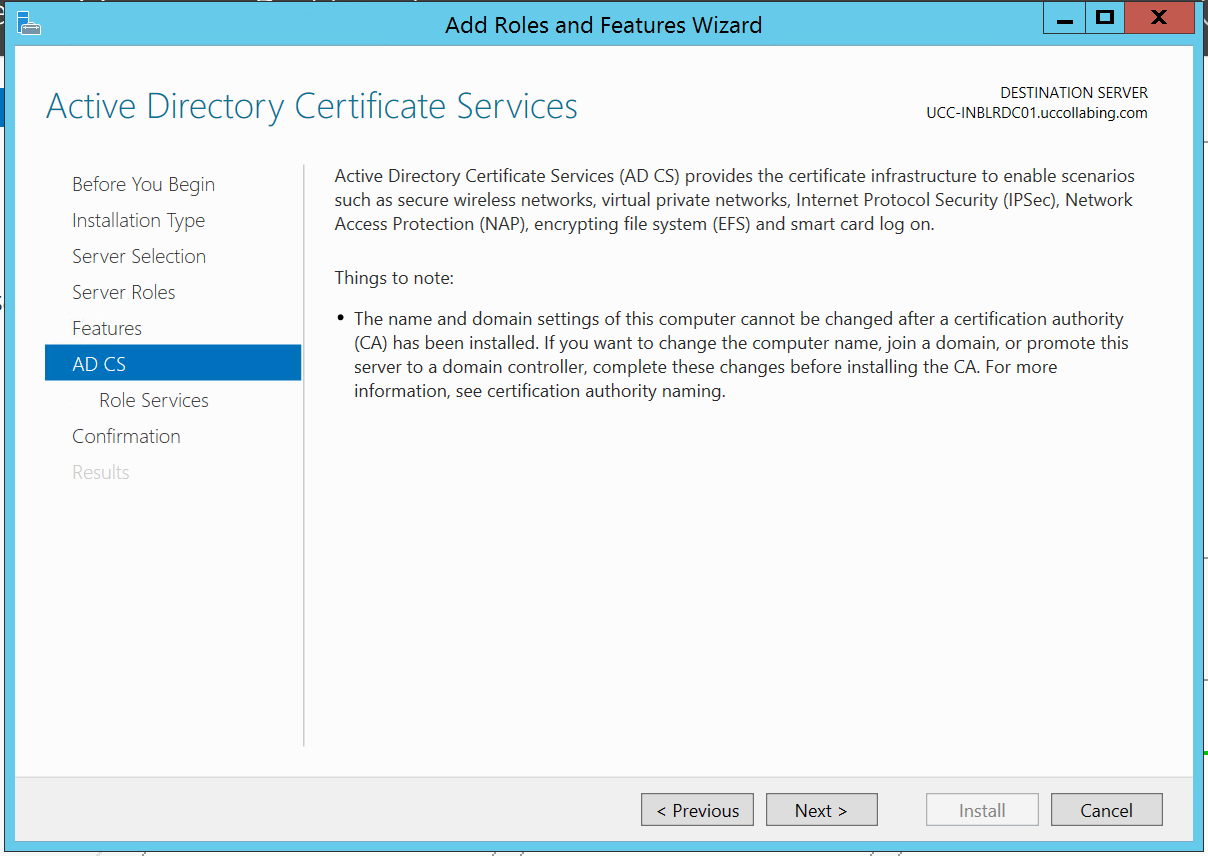
- Click on Next
- Click on Next
- Click on Next
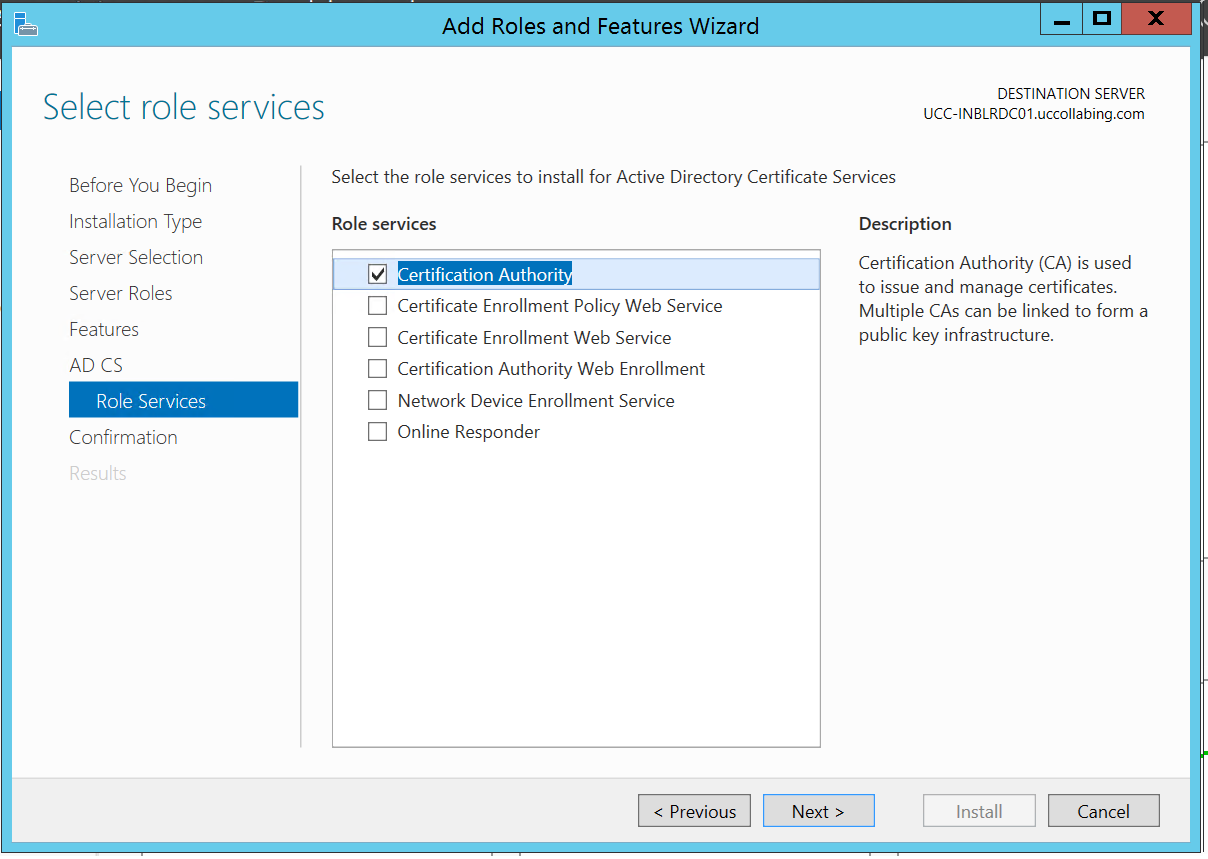
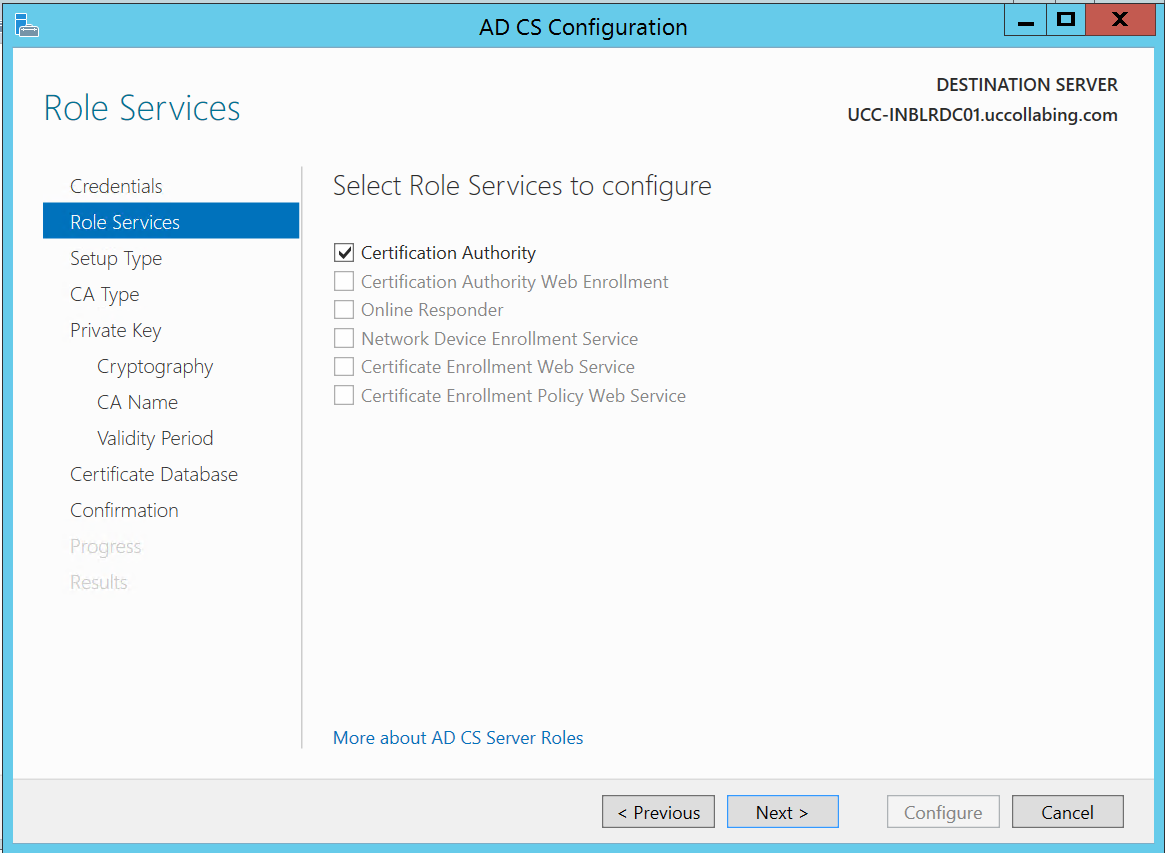
- Ensure that “Certificate Authority” is checked and click on Next
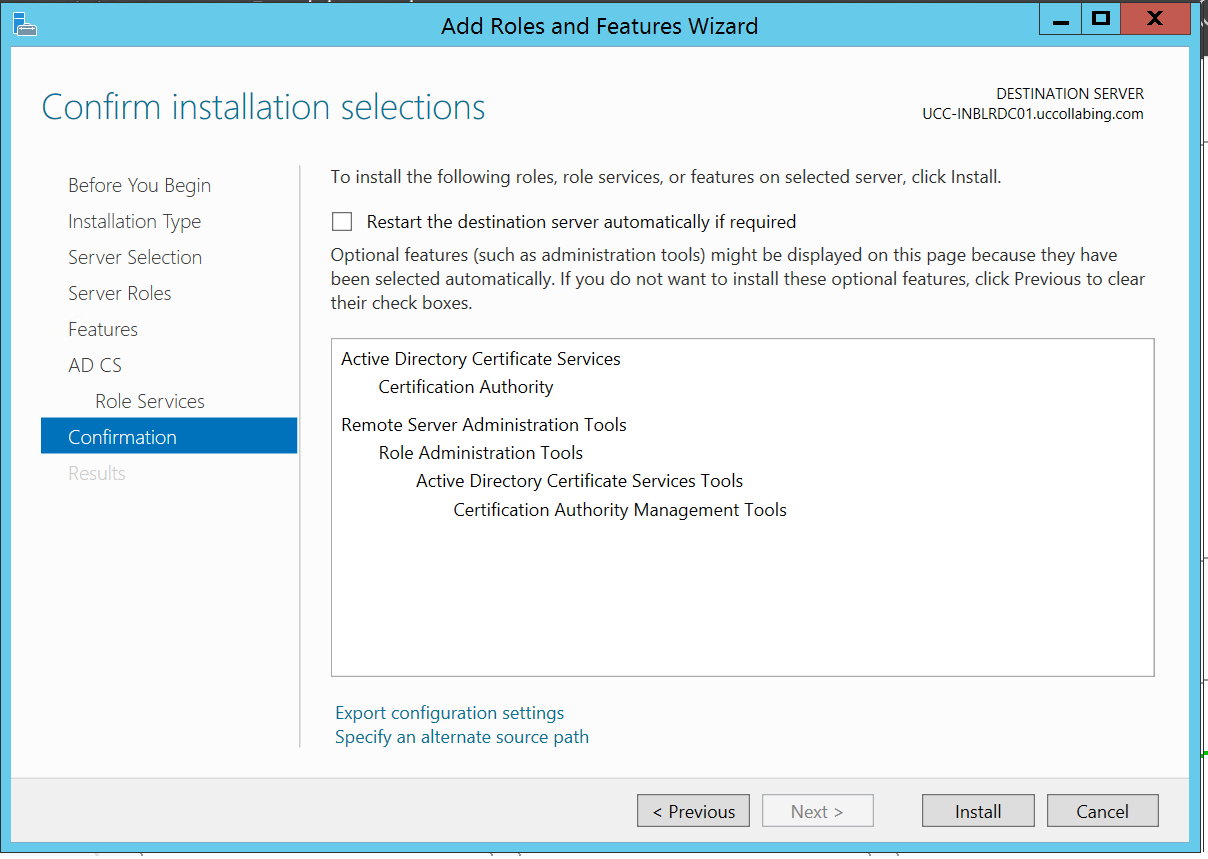
- Click on Install
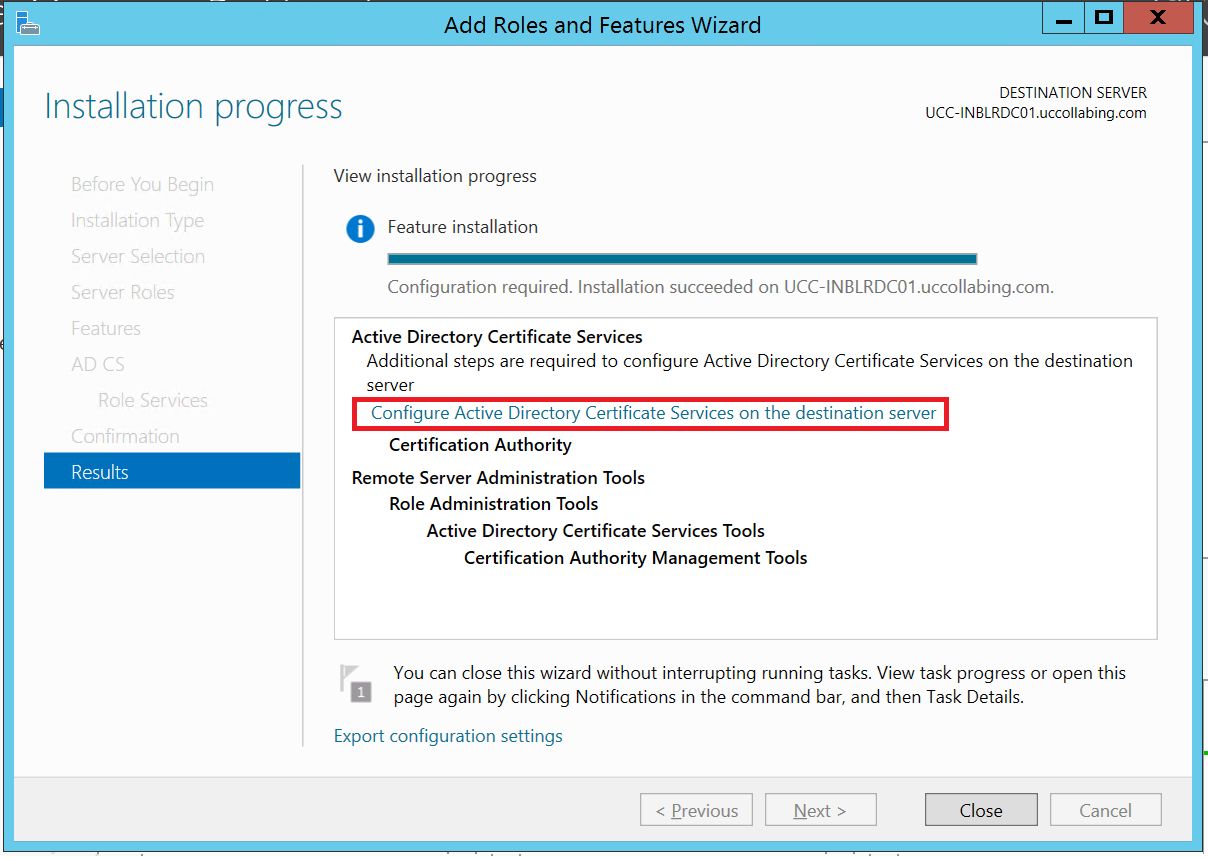
- Once the installation is completed, click on “Configure Active Directory Certificate Services on the destination server
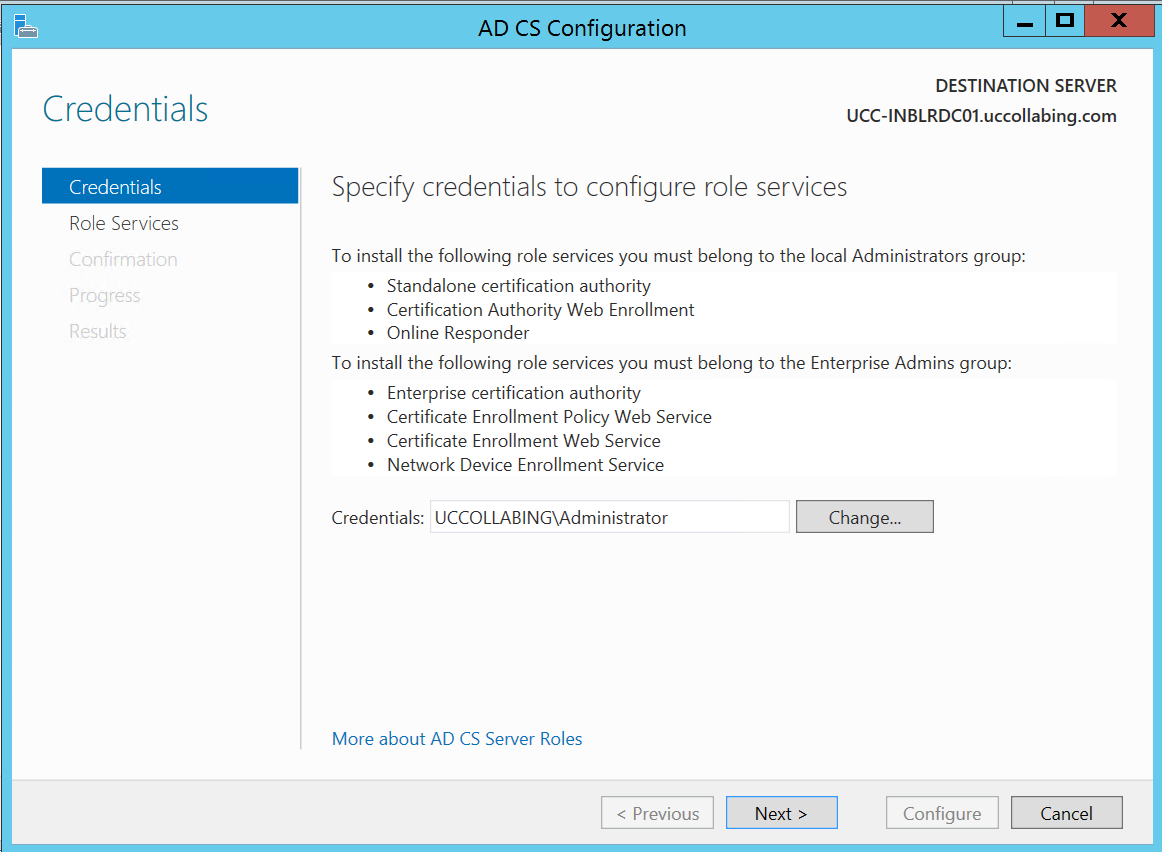
- When AD CS Configuration window appears, click on Next
- Check Box “Certificate Authority” and click on Next
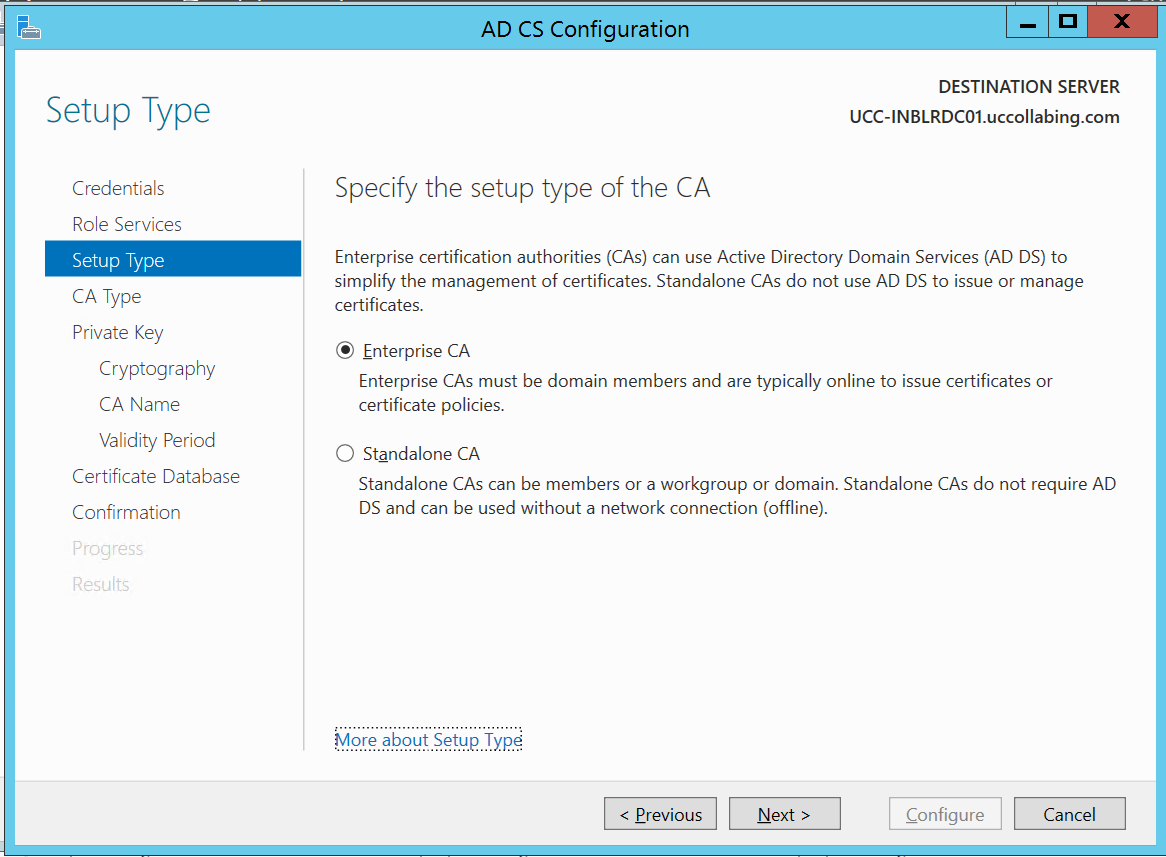
- Radio Check “Enterprise CA” and click on Next
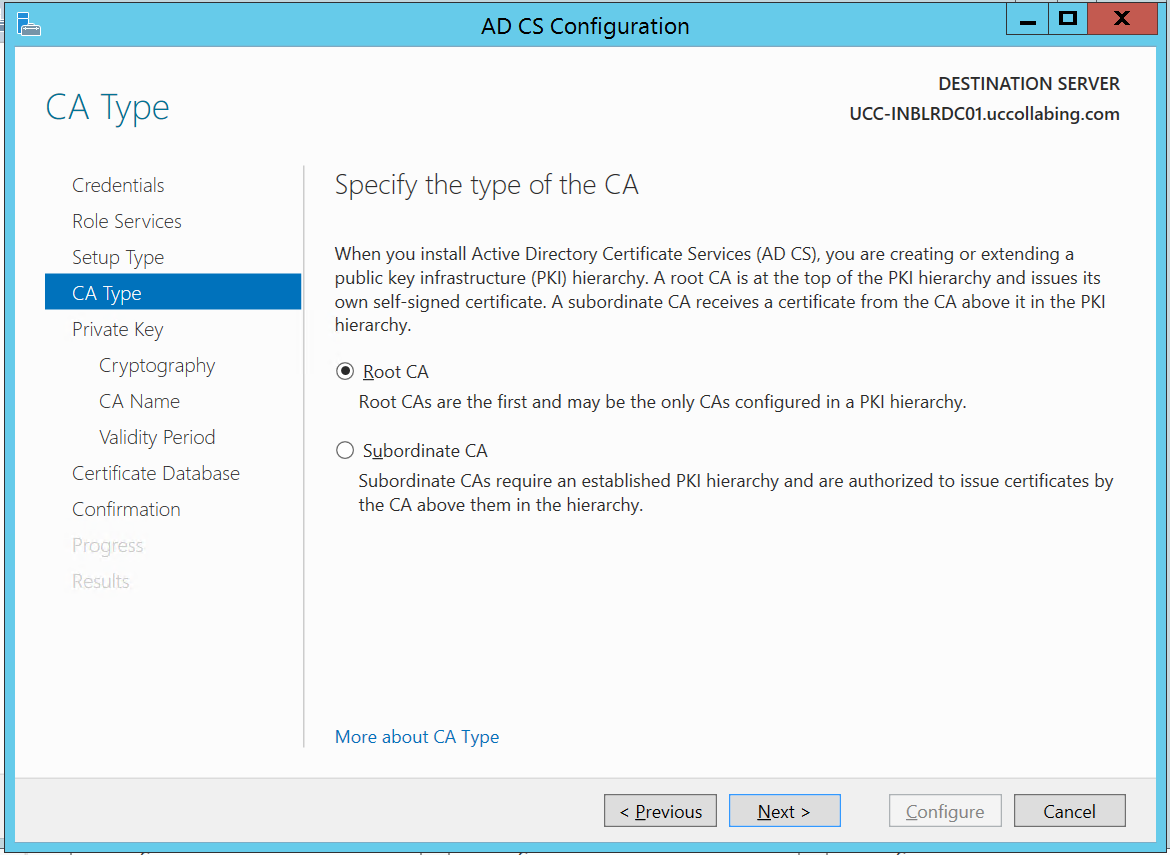
- Radio Check “Root CA” and click on Next
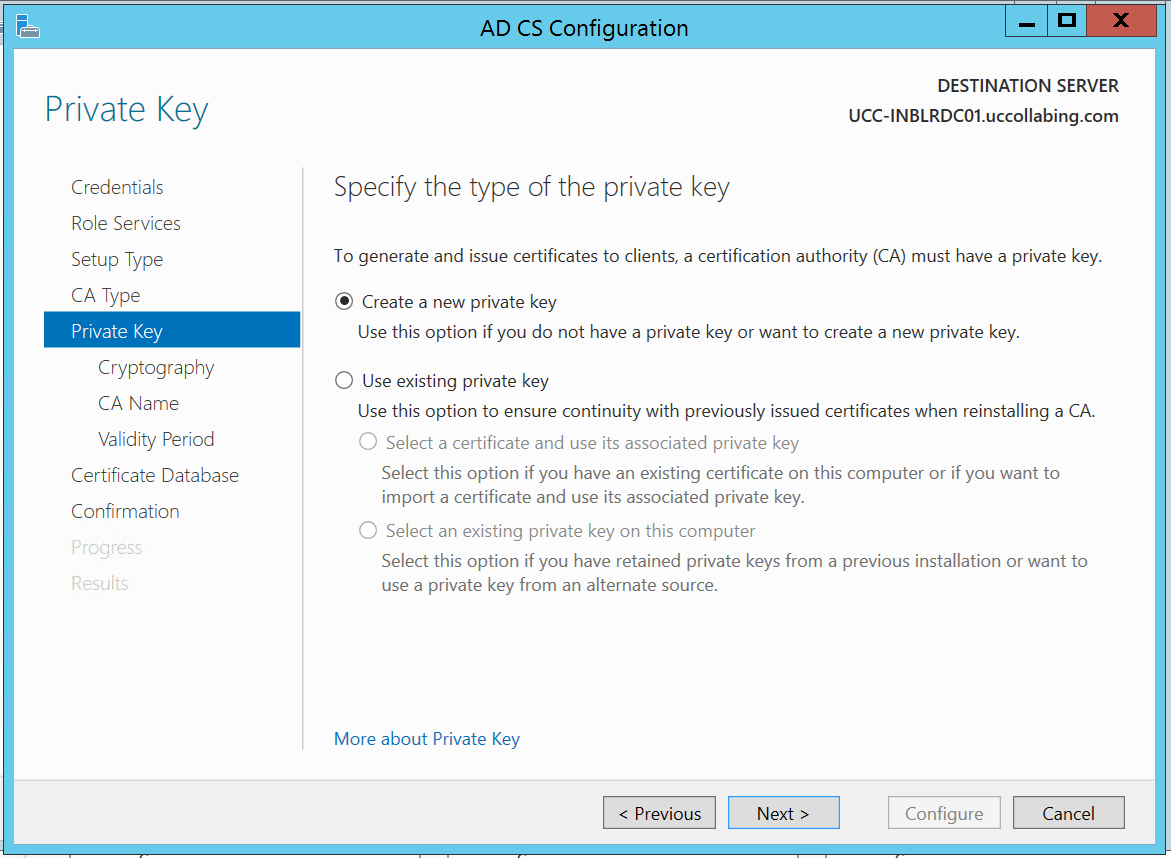
- Radio Check “Create a new private key” and click on Next
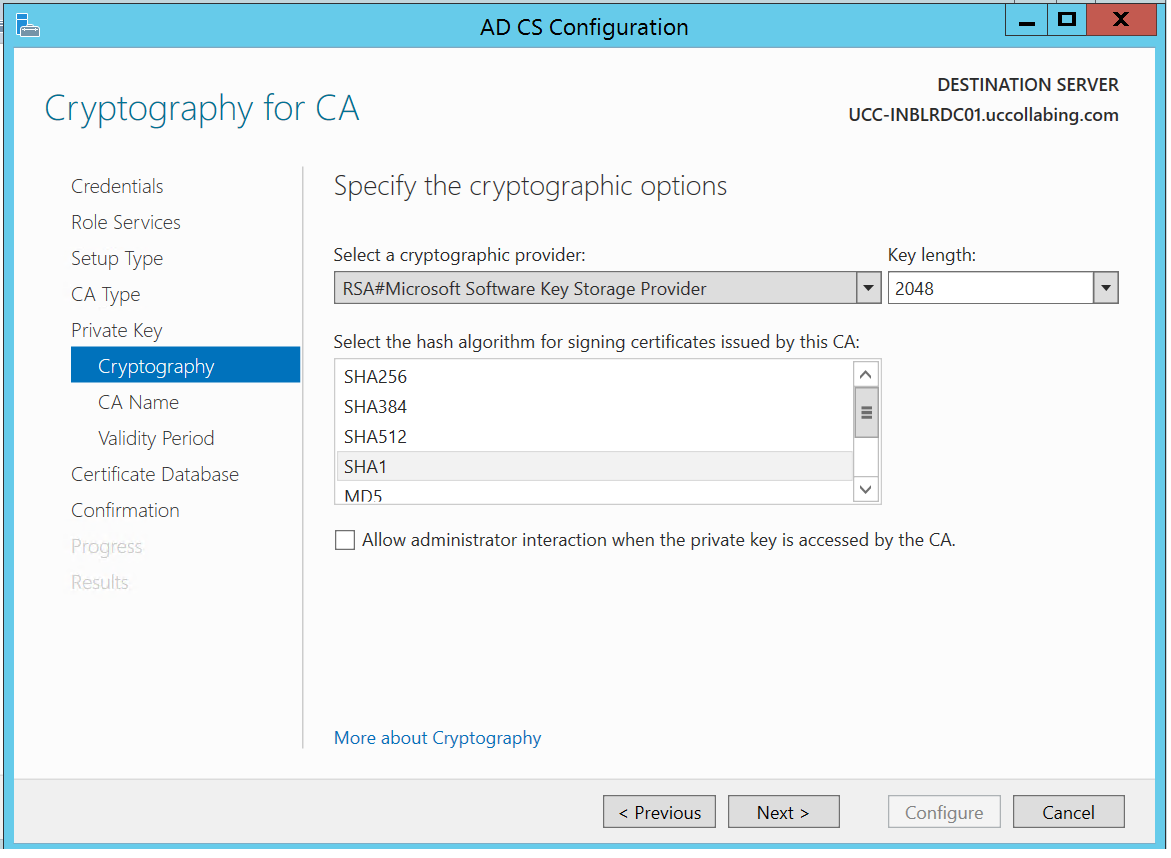
- Cryptography for CA, leave defaults and click on Next
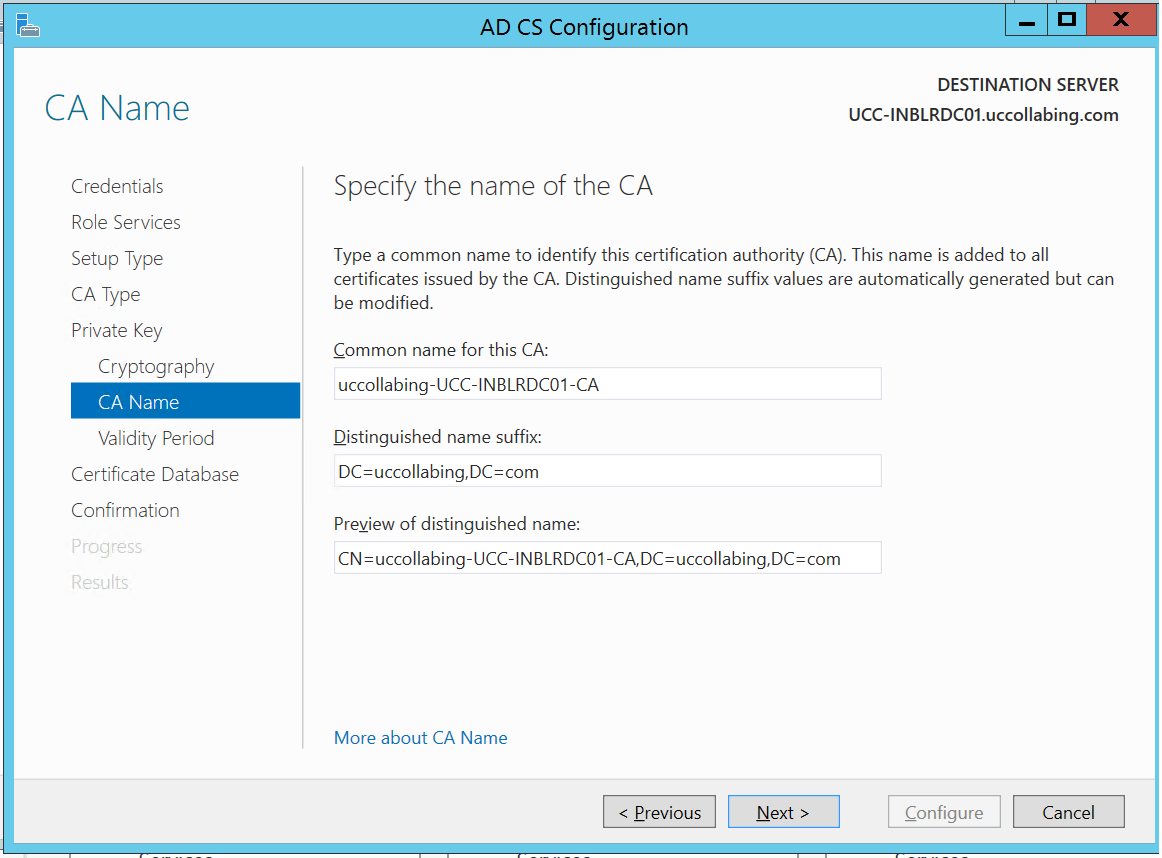
- Specify the name of the CA, leave defaults and click on Next
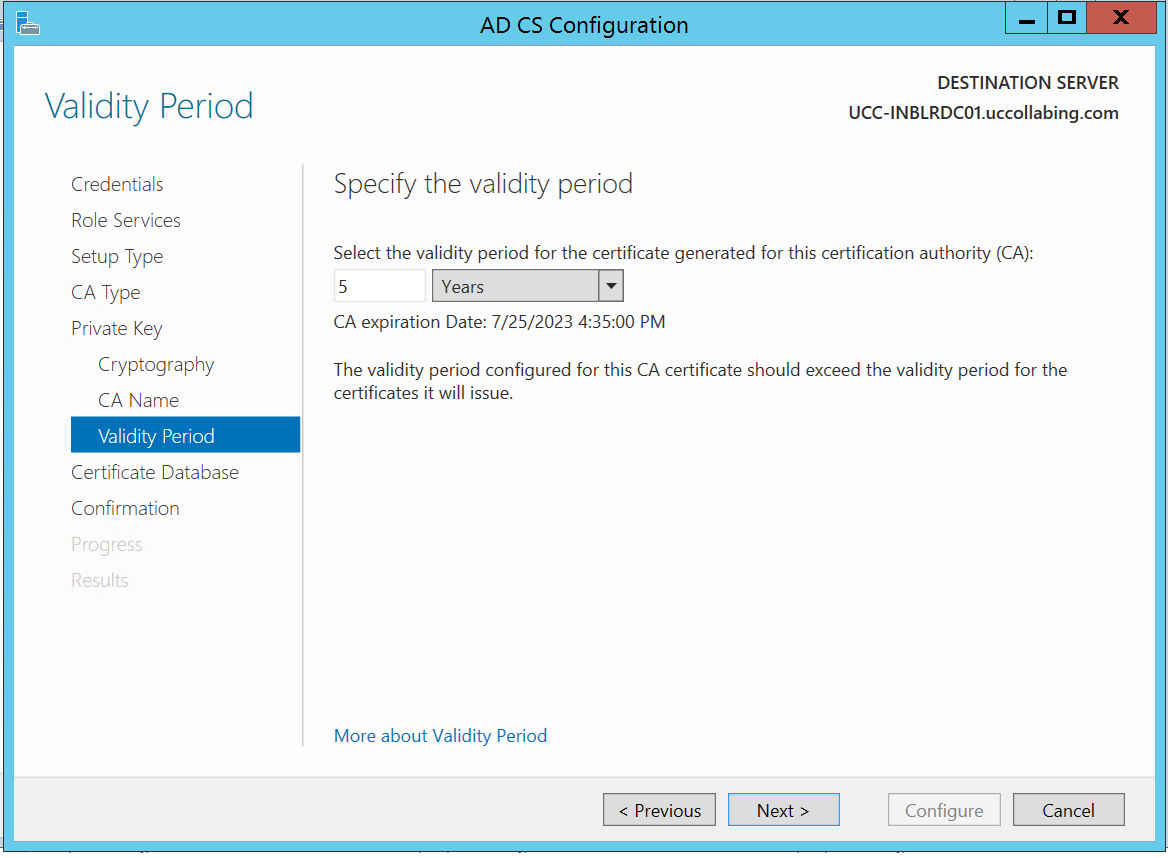
- Specify the validity period, leave default and click on Next
- Specify the validity period, leave default and click on Next
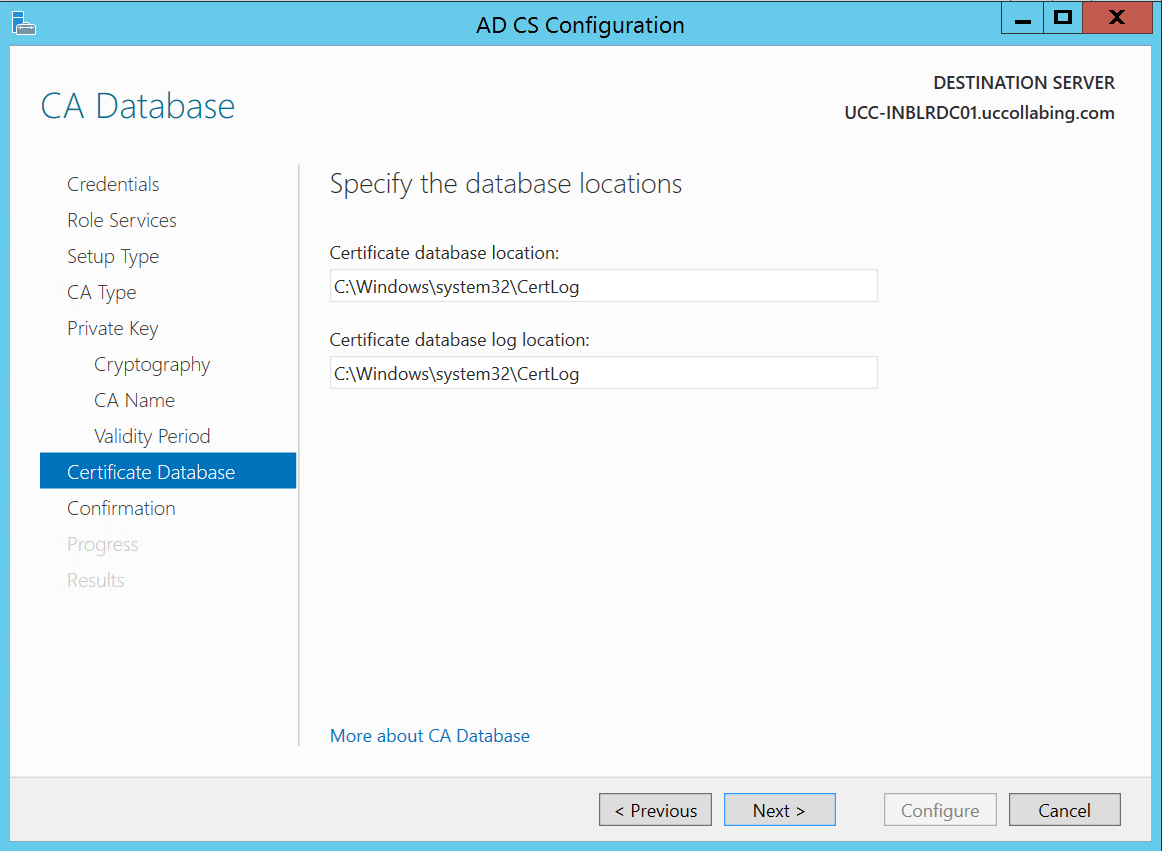
- Specify the database locations, leave default and click on Next
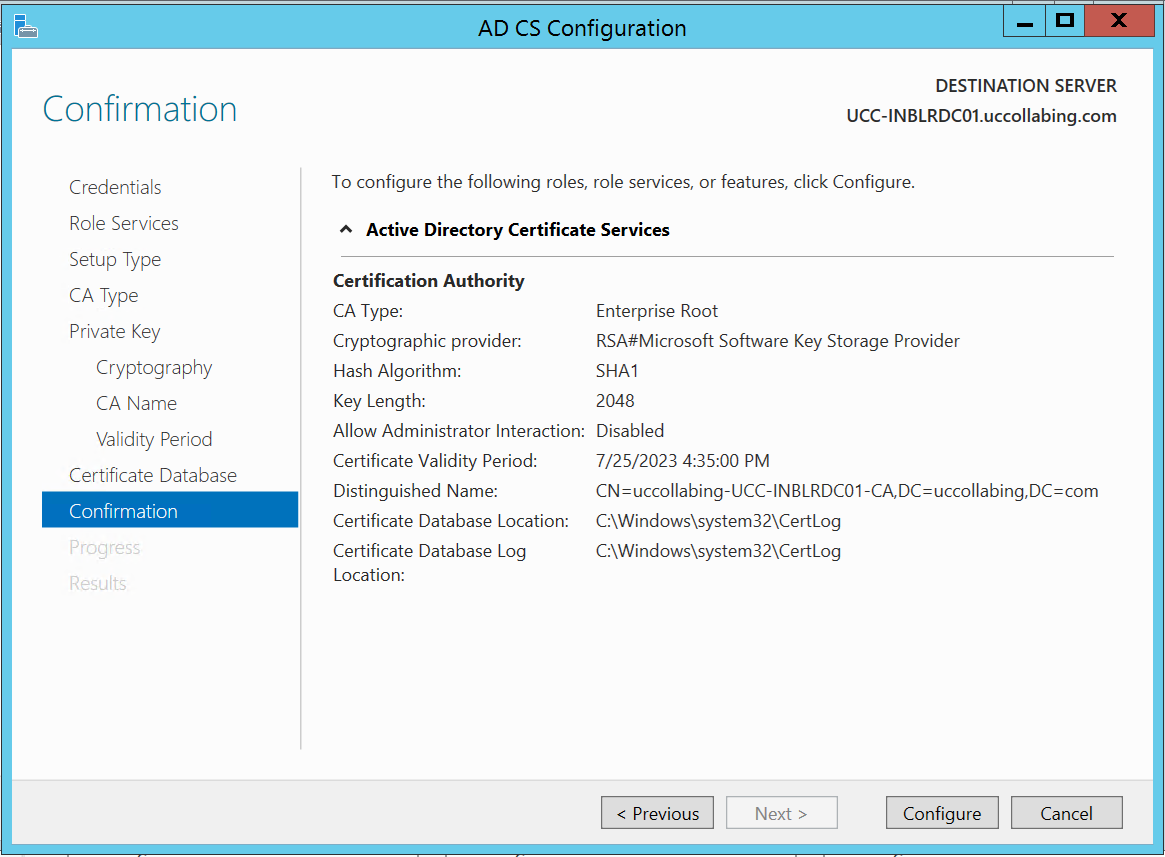
- Confirmation, click on Configure
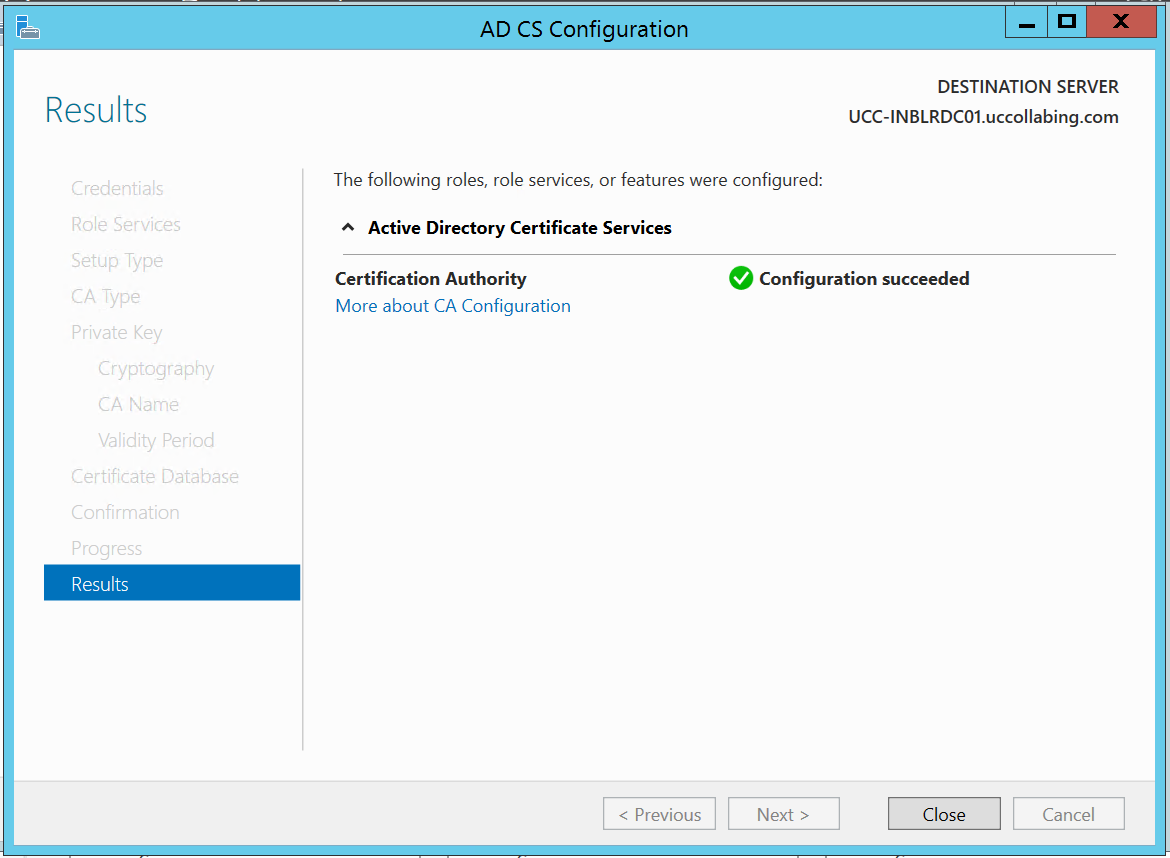
- If you see the results window reading as “Configuration Succeeded” that means that CA is configured successfully. Click on Close.
That’s all, your CA server is ready now.

Hope this helps!

I am working in an IT company and having 10+ years of experience into Cisco IP Telephony and Contact Center. I have worked on products like CUCM, CUC, UCCX, CME/CUE, IM&P, Voice Gateways, VG224, Gatekeepers, Attendant Console, Expressway, Mediasense, Asterisk, Microsoft Teams, Zoom etc. I am not an expert but i keep exploring whenever and wherever i can and share whatever i know. You can visit my LinkedIn profile by clicking on the icon below.
“Everyone you will ever meet knows something you don’t.” ― Bill Nye

Pingback: Installing Lync 2013 in Lab – Prerequisite Lync Server 2013 Roles