How to export and import OVF from VSphere ESXi?
Many of us has come across Exporting of Virtual Machines to a Server/Local Disk or Importing of Virtual Machines from a Server/Local Disk/ Datastore (Datastore will be covered in the next post). We will discuss the same today in the below post. Let’s start it right away.
How to Export Virtual Machine to an OVF file
- Select the Virtual Machine that you want to Export as an OVF and Power off the Virtual Machine.
- Click on File > Export > Export OVF Template
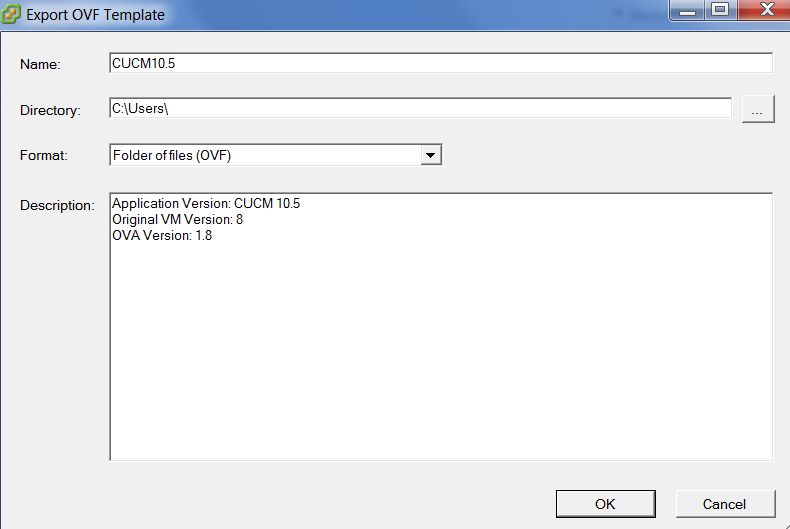
- Name > Enter a Name of the OVF Template
- Directory > Locate the directory where you want to export the OVF
- Format > Select Folder of Files (OVF)
- Description > Enter Description of the OVF
- Uncheck >
- Include image files attached to floppy and CD/DVD devices in the OVF package
- Click on OK
How to Import Virtual Mahine from an OVF
- Login to Vsphere where you want to Import the OVF file.
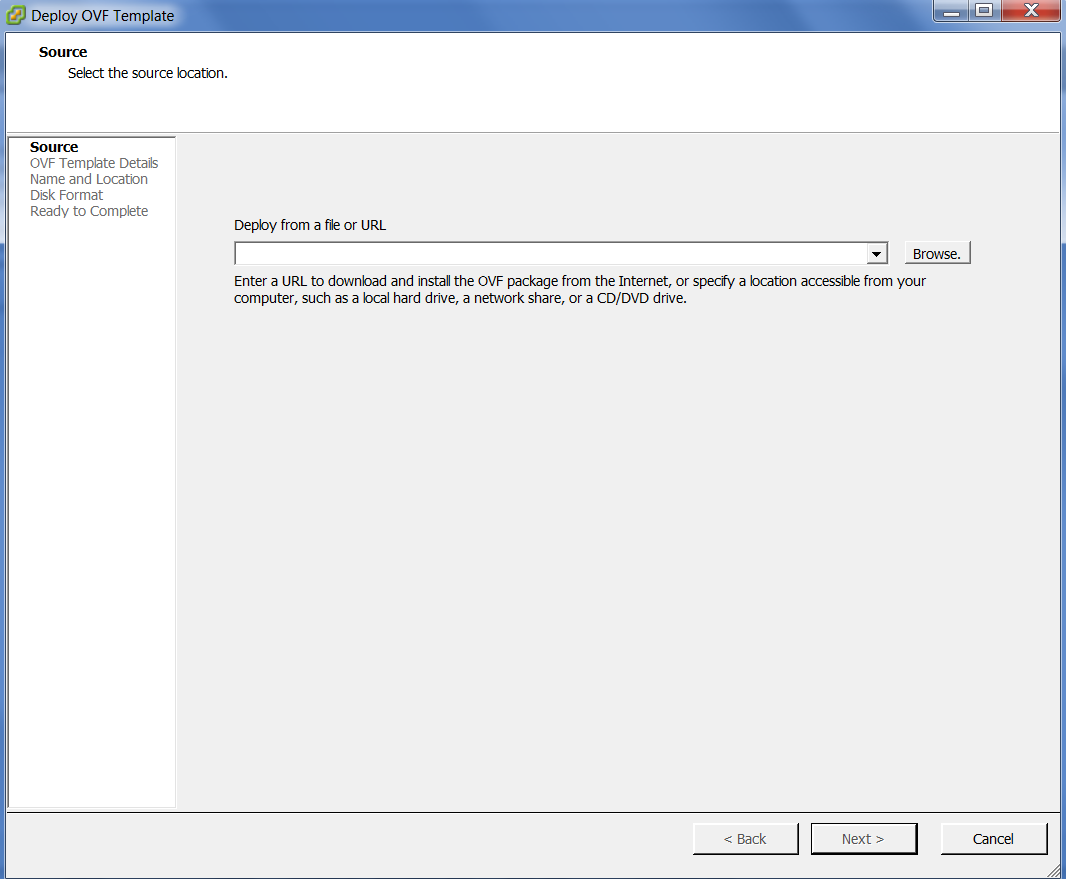
- File > Deploy OVF Template
- Click on Browse and Select the OVF File that you would like to Import/Deploy.
- Click on Next
- Follow the Wizard and select the options accordingly (how would you like the VM to be deployed)
- Click on Finish
That’s all !! This is how you export or import Virtual Machines using OVF.

I am working in an IT company and having 10+ years of experience into Cisco IP Telephony and Contact Center. I have worked on products like CUCM, CUC, UCCX, CME/CUE, IM&P, Voice Gateways, VG224, Gatekeepers, Attendant Console, Expressway, Mediasense, Asterisk, Microsoft Teams, Zoom etc. I am not an expert but i keep exploring whenever and wherever i can and share whatever i know. You can visit my LinkedIn profile by clicking on the icon below.
“Everyone you will ever meet knows something you don’t.” ― Bill Nye

Good post, but a minor correction is needed. You need to select VMDK files and not just OVF to complete import.