Installing Eve-NG on VMWare Workstation or ESXI for Cisco Voice & R&S
Recently i thought of installing EVE-NG on my lab and use it for Cisco Voice like CME or Voice Gateway. EVE-NG is a an Emulated Virtual Environment Next Generation which is a multi-vendor virtual network simulator.
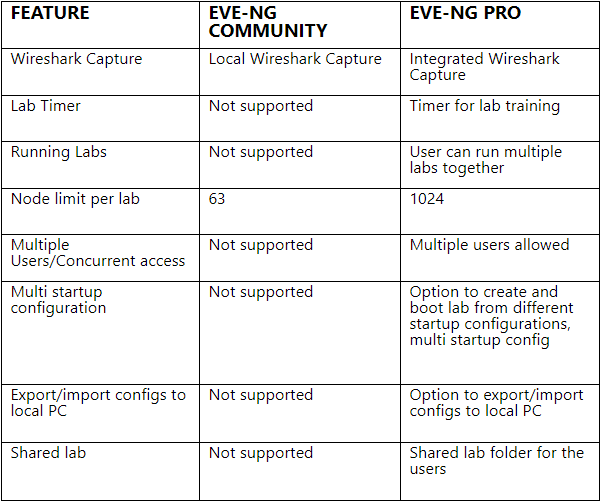
There are two flavors of EVE-NG i.e., Community Version (which is free-) and PRO Version (which is $140.62 per year). Eve-Ng Community Edition has a 63 node limit per lab which should be sufficient to practice for CCNA/CCNP/CCIE lab exams. Since it supports multi-vendor products, you can prepare yourself for exams for the products like Juniper, Cisco, Palo-Alto, Aruba, Citrix, Huawei, VMWare, VyOS, Windows etc.
Some differences are highlighted below:
Pre-Requisites for Eve-NG
You can install EVE-NG on VMWare ESXI and Workstation as well. Again, there are two ways to install it i.e., using OVA or ISO file. In our tutorial, we will make use of EVE-NG Community version ISO file to install the EVE-NG. What would you need?
- EVE-NG ISO/OVA File – Download it from the official website.
- IOUkeygen.py – Download it from our website.
- iourc – Download it from our website.
- i86bi-linux-l3-adventerprisek9-15.5.2T.bin – Download it from here.
How to install EVE-NG on VMWare ESXI or VMWare Workstation
I am assuming that you have already installed VMWare ESXI or Workstation. Next is download the above mentioned files in a location.
Watch the Video – Youtube Link
Creating a Virtual Machine
- Launch VMWare Workstation Application.
- Click on File > New Virtual Machine
- Radio check on “Typical” and click on Next.
- Radio Check “I will install the operating system later” and click on Next.
- Guest Operating System > Radio Check “Linux“
- Version > Select “Ubuntu 64-bit” and click on Next.
- Virtual Machine Name > Name it as “EVE-NG” and click on Next.
- Maximum Disk Size > 50 GB and click on Next.
- Click on Customize Hardware
- Click on Memory and change the memory size to 8GB
- Click on Processors and Checkbox “Virtualize Intel VT-x/EPT or AMD-V/RVI“
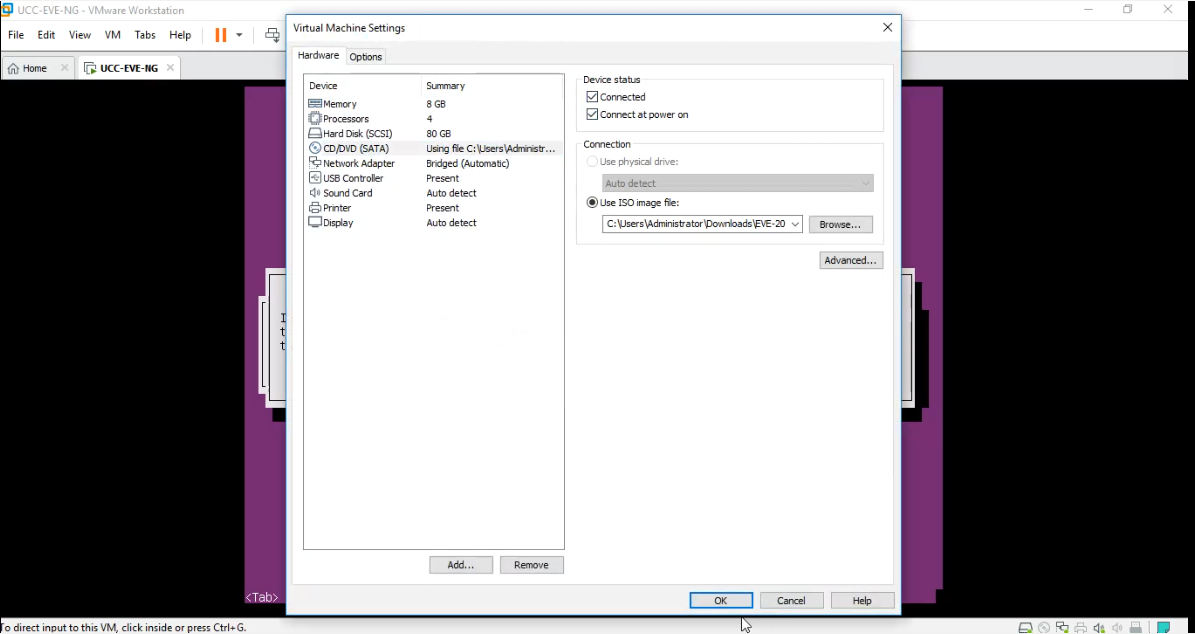
- Click on CD/DVD (SATA) > Select the EVE-NG ISO File so that the VM can boot.
- Network Adapter > Click on NAT
- Click on Close
Installation of EVE-NG
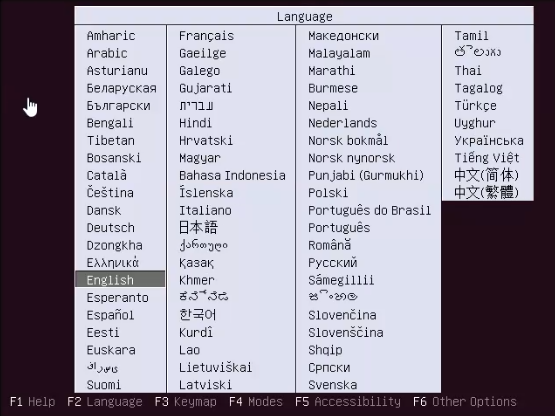
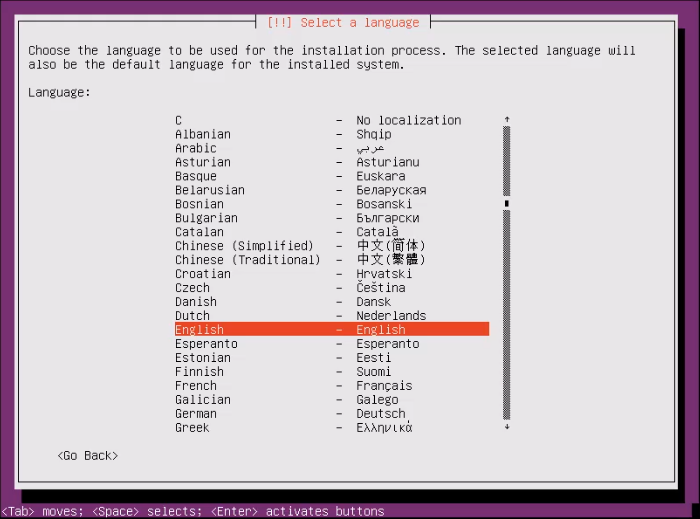
- As soon as you Power ON the machine, you will be prompted to select a language. Select English.
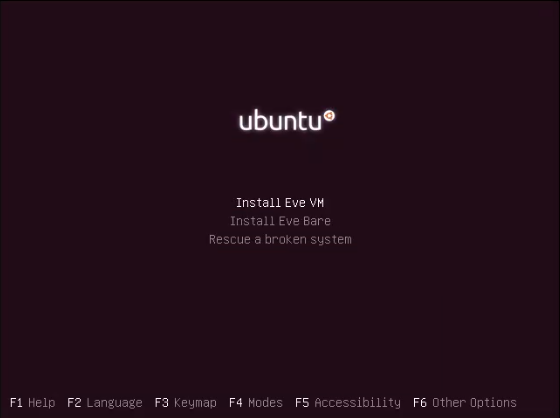
- Choose Install EVE VM.
- Select a language > Choose English.
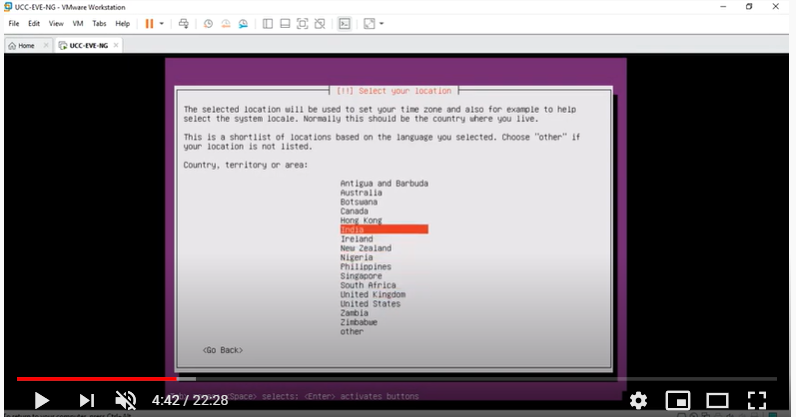
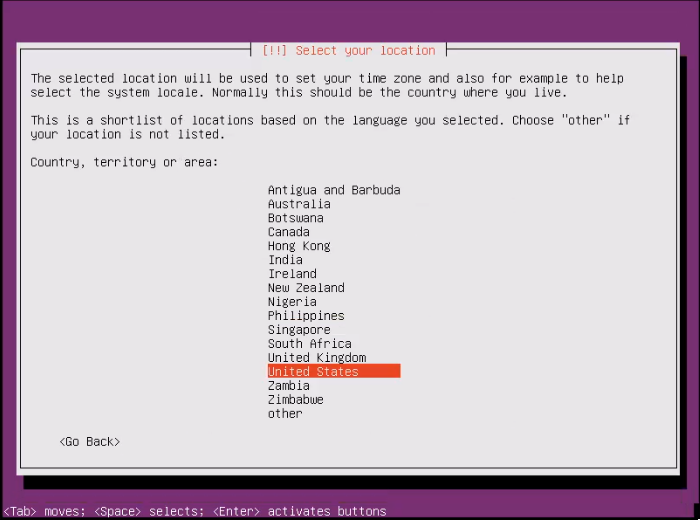
- Select your location > Choose your Country Territory.
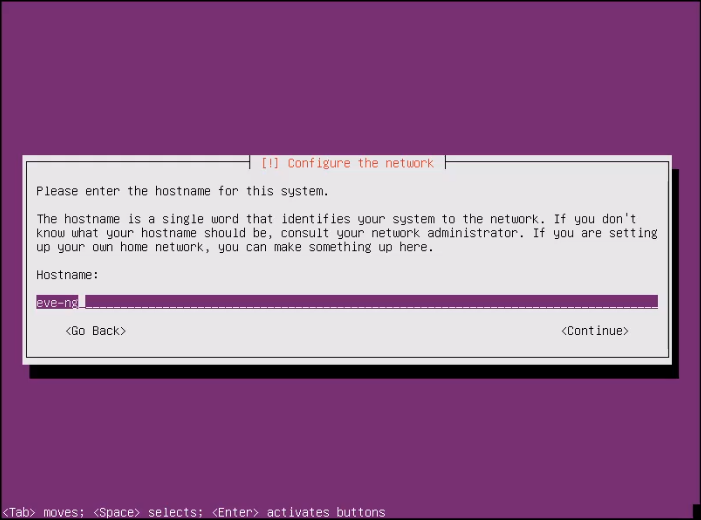
- Configure the hostname> I will leave it as default, you can choose any hostname.
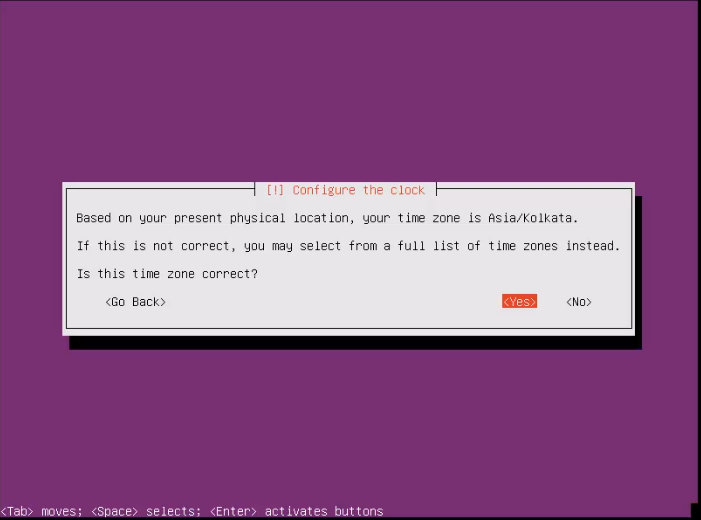
- Configure the Clock> Click on Yes
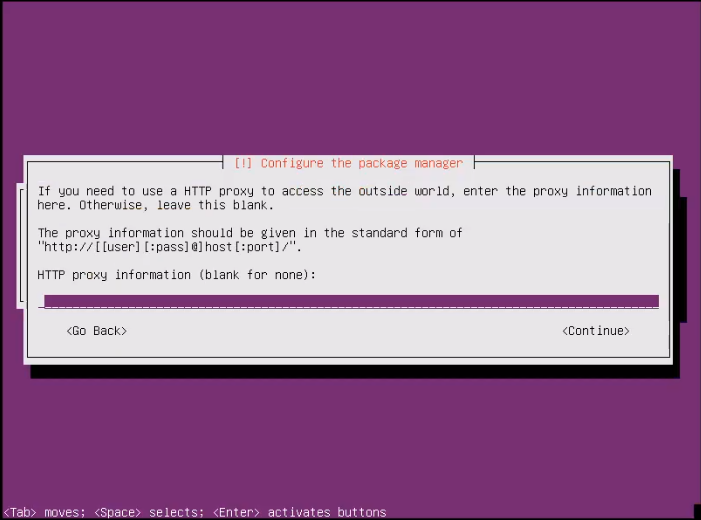
- Configure the package Manager > Click on Continue
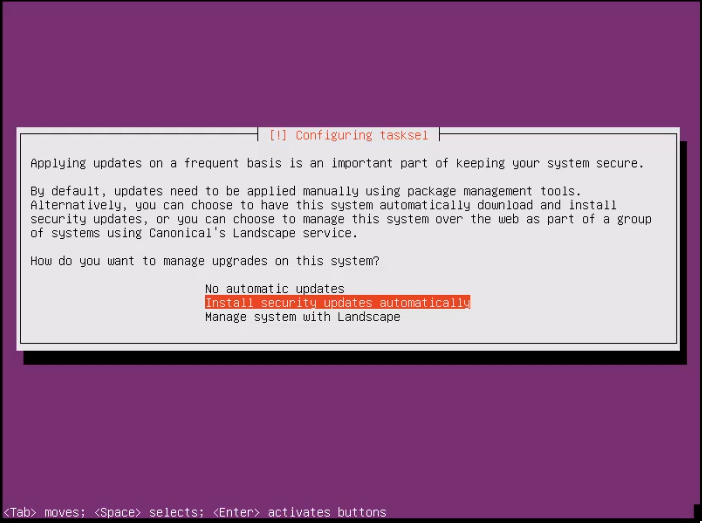
- Configuring Tasksel > Choose Install security updates automatically.
- Finish the installation > Right click on Virtual Machine and click on Settings >
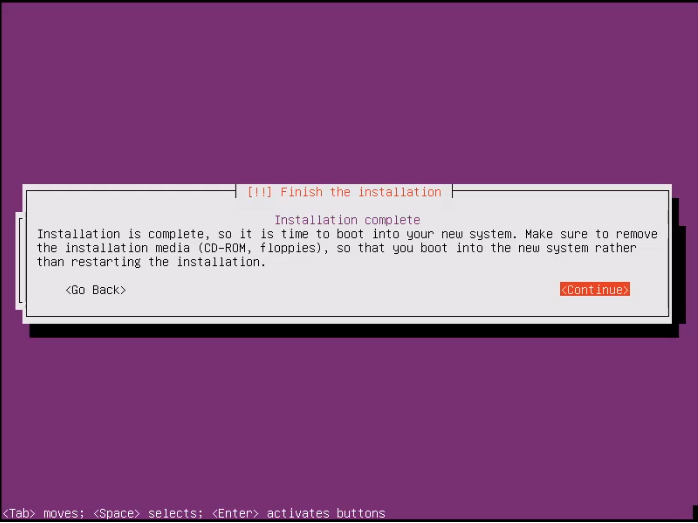
- Click on CD/DVD (SATA) and under Device status > Click on Connected and OK
- Click on Continue on VM. It will take sometime to complete the installation – Sit Back and Relax.
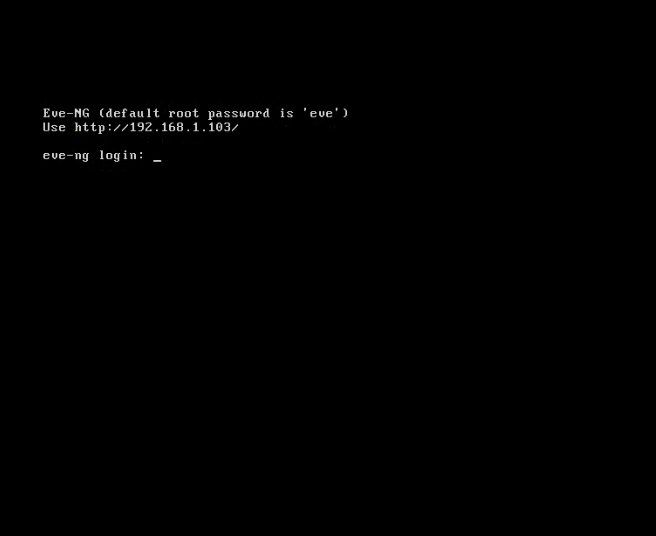
- Once the installation is completed, it will ask to enter username and password
- Enter username as “root” and password as “eve“
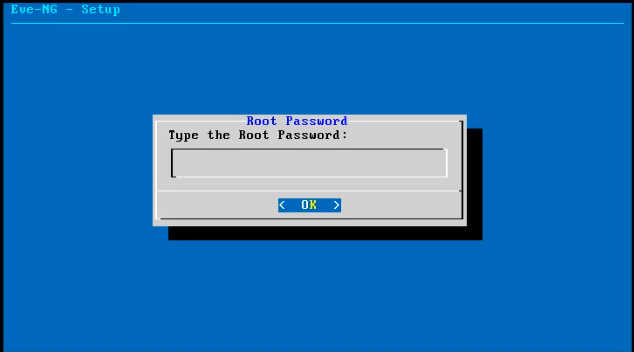
- Root Password > It will ask you to create a new root password and confirm new root password.
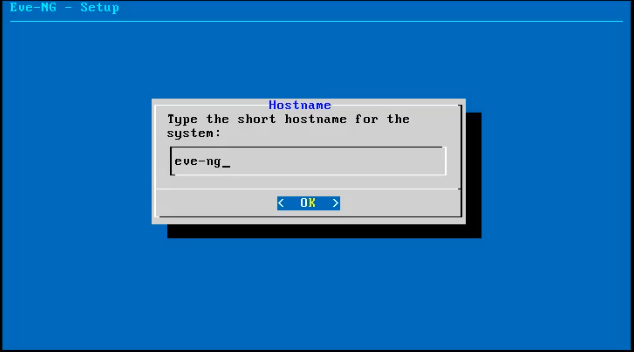
- Enter a Hostname >
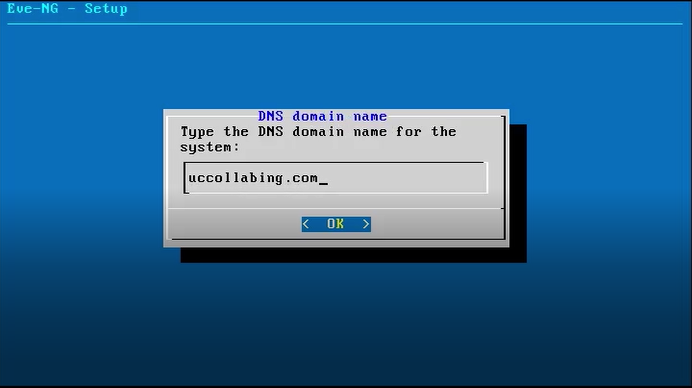
- Enter a DNS Domain Name >
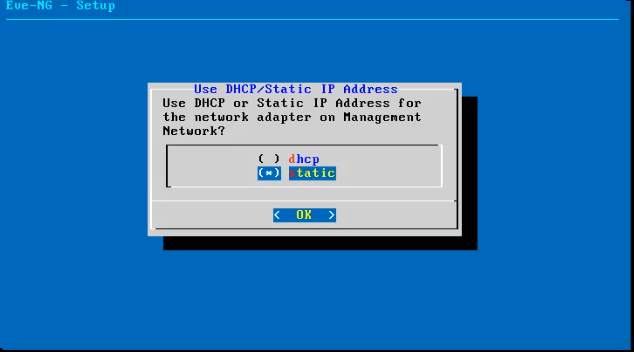
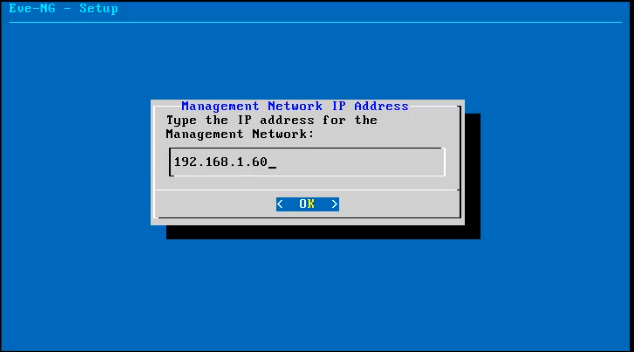
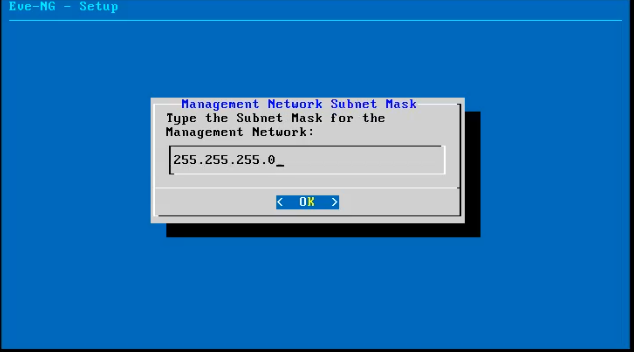
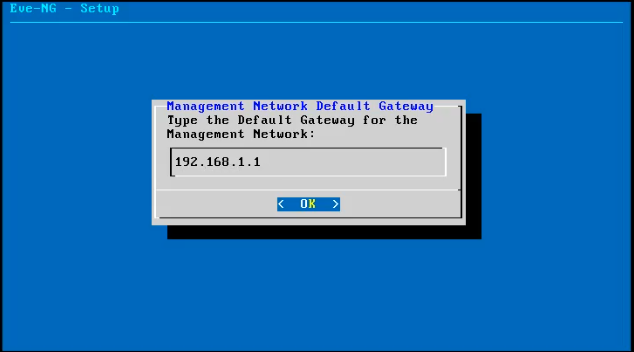
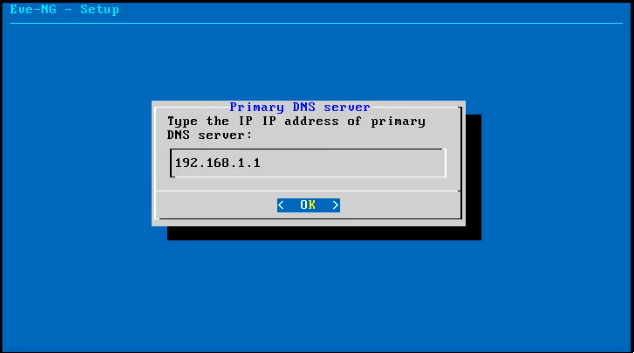
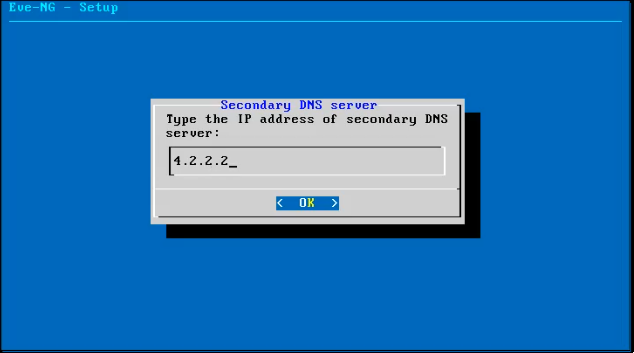
- Configure DHCP/Static IP Address >
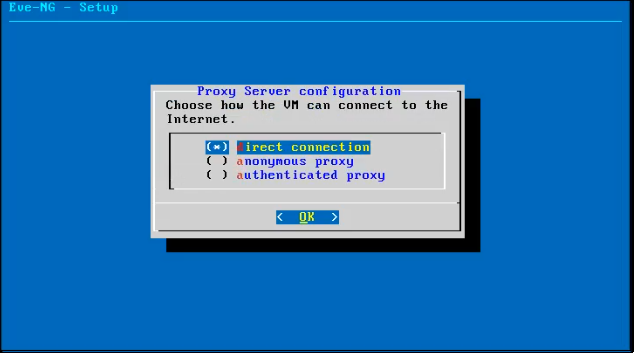
- Proxy Server Configuration > Select Direct Connection.
- Wait for the system to be rebooted. Once you see the login prompt, the system is successfully configured. It’s time to upload some files and modify permission.
Initial Configuration of EVE-NG
Uploading necessary files to EVE-NG
- Launch FileZilla or any FTP Client application
- Enter the IP Address of EVE-NG, username as “root“, password as “eve” and port as “22“.
- Click on Connect
- Navigate to the folder > /opt/unetlab/addons/iol/bin
- Upload the following files:>iourc
>IOUkeygen.py
>i86bi-linux-l3-adventerprisek9-15.5.2T.bin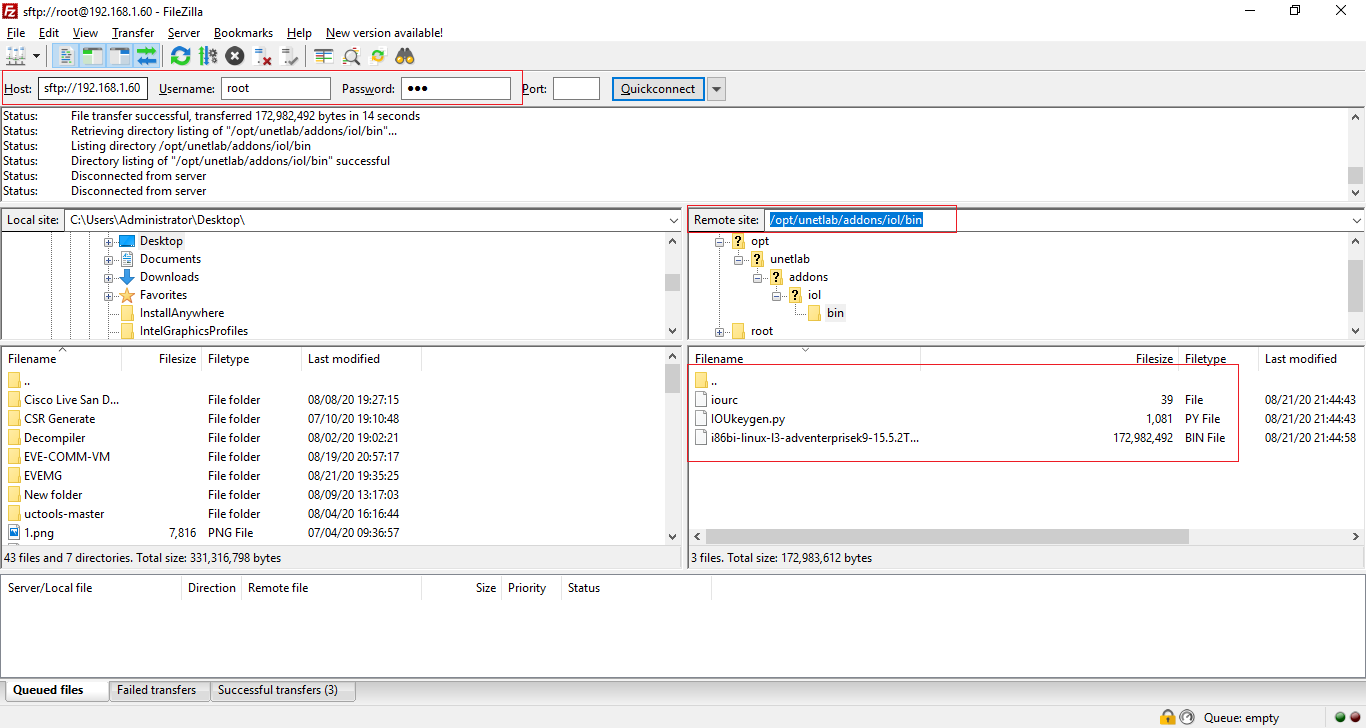
Permission Edit to EVE-NG folder
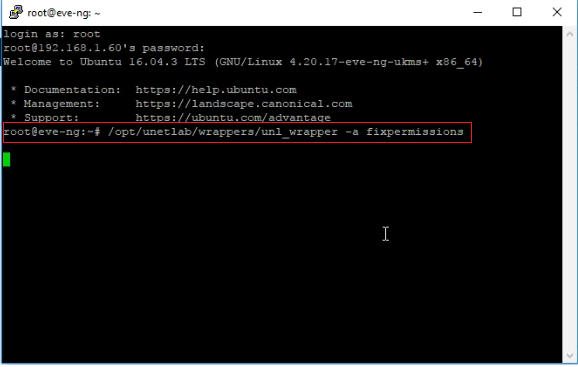
- Login to EVE-NG via VMWare Console or via Putty
- Enter the command “/opt/unetlab/wrappers/unl_wrapper -a fixpermissions” without quotes and hit enter
That’s it! Your EVE-NG is ready to use now.