Installing Lync 2013 in Lab – Prerequisite Lync Server 2013 Roles
Originally posted on December 26, 2021 @ 10:00 am
Lync Server 2013 Roles – Pre-requisite
In our last post, we learned “How to install a Certificate Authority Server (CA) on a Domain Controller“. In this post, we will learn to deploy prerequisite server roles that is required before installing Lync Server 2013.
Lync 2013 Server Roles and Features to be installed:
The following are the roles that would be required to be installed first before installing Lync Server 2013.
- Roles
- Web Server (IIS)
- Features
- Message Queuing | Message Queuing Services
- Remote Server Administration Tools | Role Administration Tools | AD DS and AD LDS Tools
- User Interfaces and Infrastructure | Desktop Experience
- Windows Identity Foundation 3.5
- .NET Framework 3.5 Features
- .NET Framework 3.5
- HTTP Activation
- Non-HTTP Activation
- .NET Framework 4.5 (all options)
- Roles
- Web Server (IIS)
- Role Services
- Common Http Features Installed
- Static
- Default doc
- Https errors
- Health and Diagnostics
- Http logging
- Logging Tools
- Tracing
- Performance
- Static Content Compression
- Dynamics Content Compression
- Security
- Request Filtering
- Client Cert Mapping Authentication
- Windows Authentication
- Management Tools
- IIS Mgt Console
- IIS mgt Scripts and Tools
- Application Development
-
- ASP.NET 3.5
- ASP.NET 4.5
- .NET extensibility 3.5
- .NET extensibility 4.5
- ISAPI extensions
- ISAPI Filters
-
- Common Http Features Installed
- Role Services
- Web Server (IIS)
Either you can install these roles using the as usual GUI method (Server Manager – Add roles and features) or you can use Powershell to deploy these roles. I personally prefer to use powershell to install these roles because when deploying the roles via GUI, there are chances that you may miss to install one or the other role since the list is huge, which in turn will not allow your installation to begin until and unless the missing roles are installed.
Installing Roles using Powershell:
To install the roles via Powershell, here are the steps:
- Login to Lync Server 2013 Server.
- Launch Powershell

- Make sure that you have your Windows Server 2012 mounted in CD/DVD drive. In our scenario, it is mounted in D:\ drive
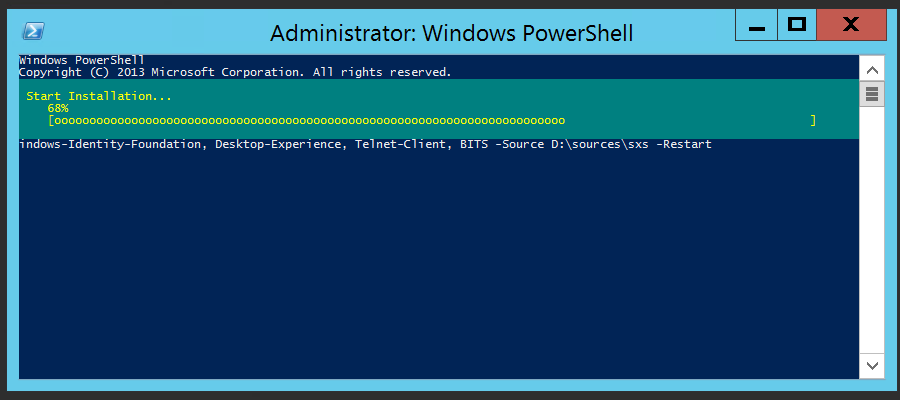
- Enter the following command to install the above mentioned rolesInstall-WindowsFeature RSAT-ADDS, Web-Server, Web-Static-Content, Web-Default-Doc, Web-Http-Errors, Web-Asp-Net, Web-Net-Ext, Web-ISAPI-Ext, Web-ISAPI-Filter, Web-Http-Logging, Web-Log-Libraries, Web-Request-Monitor, Web-Http-Tracing, Web-Basic-Auth, Web-Windows-Auth, Web-Client-Auth, Web-Filtering, Web-Stat-Compression, Web-Dyn-Compression, NET-WCF-HTTP-Activation45, Web-Asp-Net45, Web-Mgmt-Tools, Web-Scripting-Tools, Web-Mgmt-Compat, Windows-Identity-Foundation, Desktop-Experience, Telnet-Client, BITS -Source D:\sources\sxs -Restart
Note: “D:\sources\sxs” is a D:\ drive which is used for DVD\CD drive and the drive has Windows 2012 Server software mounted in it. You are basically pointing the source to a DVD\CD drive under folder \sources\sxs.If your CD\DVD drive is E: drive then the command would read as follows:
Install-WindowsFeature RSAT-ADDS, Web-Server, Web-Static-Content, Web-Default-Doc, Web-Http-Errors, Web-Asp-Net, Web-Net-Ext, Web-ISAPI-Ext, Web-ISAPI-Filter, Web-Http-Logging, Web-Log-Libraries, Web-Request-Monitor, Web-Http-Tracing, Web-Basic-Auth, Web-Windows-Auth, Web-Client-Auth, Web-Filtering, Web-Stat-Compression, Web-Dyn-Compression, NET-WCF-HTTP-Activation45, Web-Asp-Net45, Web-Mgmt-Tools, Web-Scripting-Tools, Web-Mgmt-Compat, Windows-Identity-Foundation, Desktop-Experience, Telnet-Client, BITS -Source E:\sources\sxs -Restart
- Once the command is executed and installation is completed, it will reboot the system.


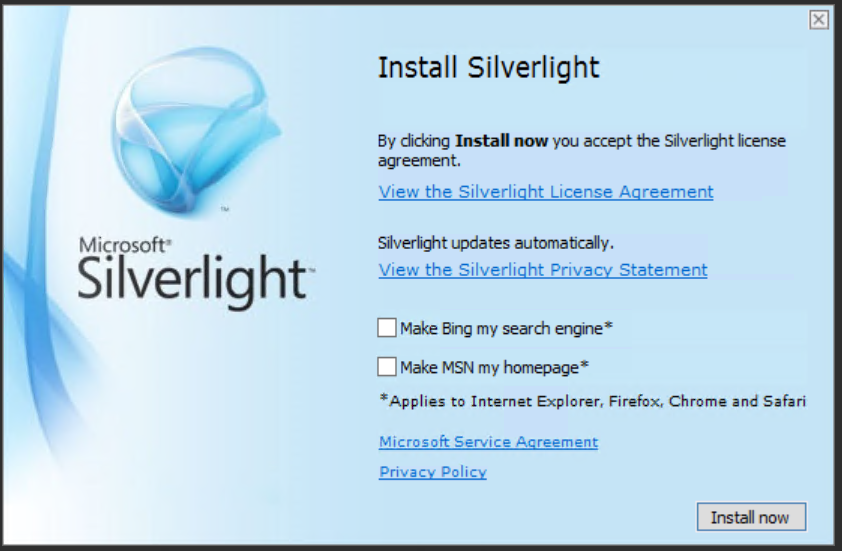
Installing Microsoft Silverlight:
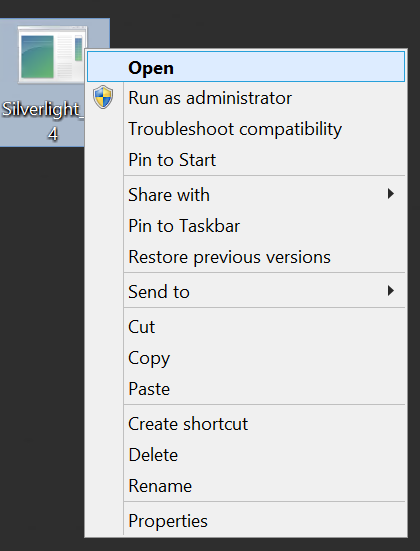
- Once the system is up after the roles are installed, download Microsoft Silverlight from Microsoft official website in your Lync Server 2013 Server.
(https://www.microsoft.com/silverlight/) - Right click the file and click on Open
- Click on Install now
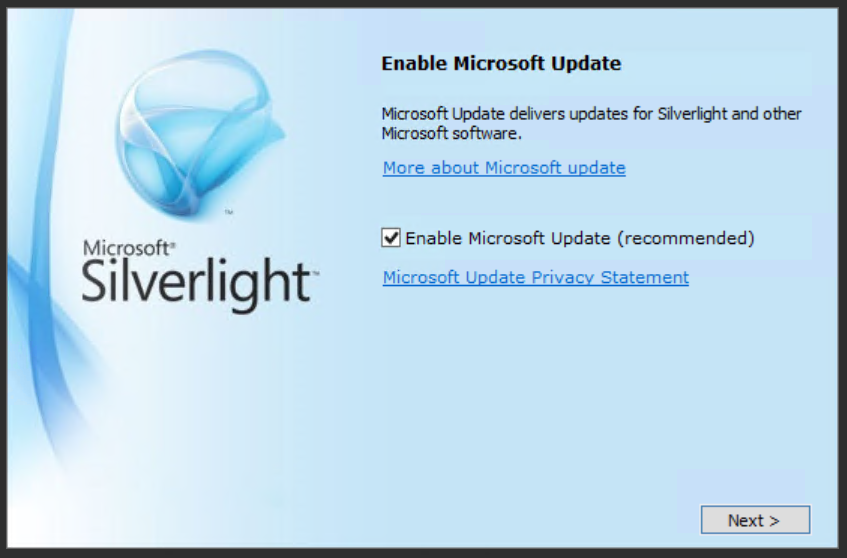
- Click on Next when you see Enable Microsoft Update window
- When you see Installation Successful window, click on close
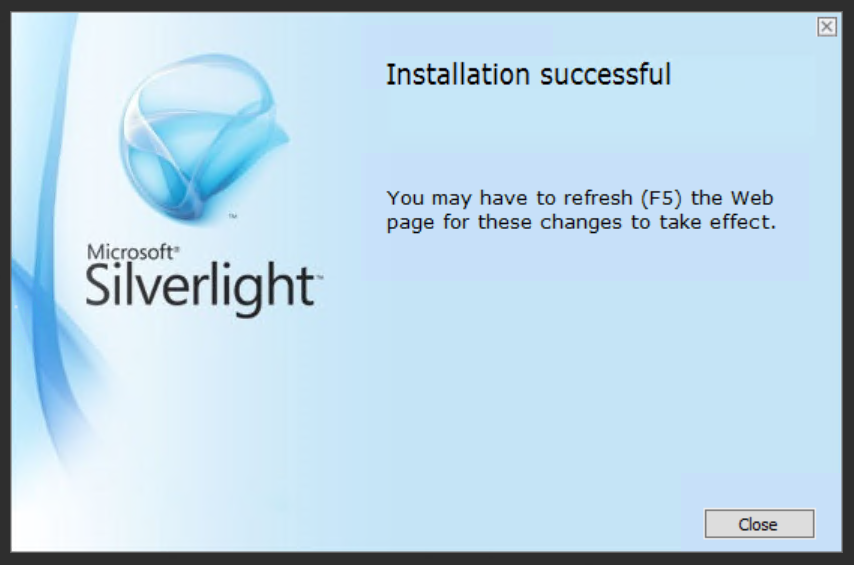
That’s all, hope this helps!
Go back to – Step by Step Lync Server 2013 Installation & Configuration

I am working in an IT company and having 10+ years of experience into Cisco IP Telephony and Contact Center. I have worked on products like CUCM, CUC, UCCX, CME/CUE, IM&P, Voice Gateways, VG224, Gatekeepers, Attendant Console, Expressway, Mediasense, Asterisk, Microsoft Teams, Zoom etc. I am not an expert but i keep exploring whenever and wherever i can and share whatever i know. You can visit my LinkedIn profile by clicking on the icon below.
“Everyone you will ever meet knows something you don’t.” ― Bill Nye


2 Responses
[…] Installing Prerequisite Roles on Lync Server 2013 […]
[…] our last post, we learned “How to install prerequisites before installing Lync Server 2013“. In this article, we will configure and add DNS records which is absolutely necessary for […]